Thursday, June 24, 2010

S is for Snake


(Sophia is 26 Months, Marcus is 42 Months)

Continuing on with our snake theme this week, we decided to make a special craft project using the letter S.  We have been reading the book Crictor by Tomi Ungerer.
Crictor (Reading Rainbow Books)

In the book, Crictor is a friendly pet boa constrictor belonging to Madame Bodot.  Madame Bodot teaches at the public school, so naturally Crictor learns to make various letters and numbers "in his own way."

We decided to make our own Crictor snakes in the shape of the letter S.

Here is how to make this project--

1)  Gather your supplies!
You will need:
  • various shades of washable paint, 
  • several sheets of construction paper, 
  • paint brushes, 
  • scissors, 
  • glue stick
  • pen, and 
  • craft foam


2)  Draw a Letter S on the Construction Paper.   

3)  Ask your little artists to paint their snakes using any snake painting technique they desire.  (It helps if you make lots of hissing sounds while doing this.  It will help you get into the spirit of things.) 


4)  Allow the S shaped snake to dry.  Meanwhile, cut out some eyes and a biforcated tongue out of the craft foam.


5)  When the S snake is dry, cut it out for your child.  (Older can do this themselves.)

6)  Next, have the children paste the cut out snake onto another sheet of construction paper.


7)  Attach the snakes eyes and tongue.

8)  Proudly hold up your finished art piece and pose for a picture for mama.  :) 


For more ideas on using art to expand your child's favorite books, check out:

Wednesday, June 23, 2010

Preschool Math: Montessori Inspired Snake Counting Activity


I put together a fairly cheap Montessori inspired tot tray for the kids this week to go with a unit study we are doing on snakes.  If you have a little boy, you will understand their fascination with creepy creatures like snakes.  However, if your kids are not into snakes, you could very easily pretend these pipe cleaners are worms or caterpillars. 

What you need:
1)  Number Cards (available as a free download from Montessori for Everyone)
2) Pipe Cleaners

Instructions:
1)  Print out the Number Cards on heavy card-stock and laminate.  
2)  Cut the pipe cleaners in 2-3 inch pieces and bend into natural looking curves.  (So that they look more like snakes, worms, or caterpillars.) 


Presentation:
Put the number cards into a small basket.  Present the snakes in a glass dish or bowel.

Show the child how to put out the cards across the top of a rug, from 1 to 10.  (Since my children are very young, we started using only numbers 1-3 with Sophia.  We then went up to the numbers 1-5 when she was ready.)  Then, let them take one snake out at a time and count the correct amount of snakes starting with number 1 and continuing across.  (For a very detailed explanation on using Montessori number cards with counters, see this link.) 


Recommended Book Go-Along:
Crictor by Tomi Ungerer
Crictor (Reading Rainbow Books)

Crictor is a very cute story about a friendly pet boa constrictor.   It is a heartwarming, entertaining story that your children will love.

Crictor is one of the books included in the anthology Harper Collins Treasury of Picture Book Classics.   This book is part of the Sonlight P3/P4 Curriculum that we are reading through with our tots. 
HarperCollins Treasury of Picture Book Classics: A Child's First Collection


Also Check Out:
Math Monday
Montessori Mondays
DIY Math Montessor Materials
Thursday, June 10, 2010

The Cassandra Apron: Two is Better than One


Here are two matching aprons that I sewed for a friend of mine.  I only wish I would have sewn three, because I have to admit that I will have a hard time parting with these aprons.   (I only hope that she likes it as much as me!)


I love her choice in fabric.   I actually have these prints in a multitude of colorways...and I am going to have to put them to use soon!  They are way to pretty to be sitting on the shelf.  They need to be turned into something pretty to wear.  :) 

The front of the apron is a vibrant print.  It is bright green with a gorgeous Dahlia design on it.

The back of the apron is very calming color scheme.  The darker greens look so cool with the browns and warmer cream.

The ties and bindings are in in a vintage dot print.


Pattern Review:

I used the Emmeline Apron Pattern by Sew Liberated.  I love this pattern.  It is very quick to put together and so flattering on.  She also gives detailed instructions that ensure a sturdy apron that will last for generations.

Both aprons are fully reversible.   They have a gathered bodice, a wide a-line darted skirt, and extra long wide waste straps that can be tied in back or in front to give the apron a different look.

The pattern also provides full sized pieces printed on high quality paper.  (No flimsy tissue paper in this pattern!)  The only thing that doesn't have a pattern piece is the bias tape that you need to make to encase the sides of the bodice.  (Also used for the neck straps.) 


The front fabric is a beautiful water lily fabric by Sandi Henderson (for Michal Miller.)  (Part of the Sandi Henderson Ginger blossom collection.)

The back fabric is also by Sandi Henderson.  It is called Dahlia lime.  I have tried my hand at growing Dahlias in my garden this year.  I just hope they turn out half as pretty as the ones on this fabric. 

Well, thanks for looking!!
Friday, May 21, 2010

Peasant Dress for Sophia


Here is a peasant dress that I made for Sophia using the Claire pattern from Portabellopixie.  I made it to match my Easter dress.  (I never got around to blogging about my Easter Dress...but you can see pictures of it on Flikr.)


Pattern Review:
I know I have reviewed other Portabellopixie patterns on my blog before.  So, there is not much left for me to say other than Portabellopixie patterns are the best patterns out there on the market today.  Seriously.  THE BEST.  The instructions are printed on nice thick glossy paper.  The instructions are well written and very clear.  They are also well illustrated with full color pictures.  You also get a lot for your money with Portabellopixie patterns.  This particular pattern includes 5 different options in sizes 6 months - girls 8.  Seriously, what other pattern company other there gives you that much in ONE pattern?   Most would spread that package out into 10 different $15 patterns!  Sandi also includes an inspiration gallery showcasing some beautiful dresses and tops sewn in this pattern.  AND, she includes a printed copy of her full color tutorial on shirring.

Now, that said, I do think that this dress is a little big on Sophia.  I used the 18 month size, and as you can see it fits a little larger than I would have liked.  However, that may be due to my shirring.


Speaking of Shirring...
GRRRRR.....
Can I just vent for a second?  AAAGGH!  Shirring on my machine is so incredibly frustrating.  Inside of my head, I have all of these really cute ideas for summer sundresses for the girls  I have spent countless hours troubleshooting how to shir on my machine...and could only get it to work intermittently.


I did some research and found that this is a common problem with brother machines. (It has something to do with how the bobbin feeds.) SO I even borrowed my mom's machine (which is a singer) and couldn't get it to work either! I spent 4 hours just trying to get the elastic thread right. I wasted 3 spools of elastic thread troubleshooting this...and only got a few measly rows shirred. SO FRUSTRATING!


Here is a close up of the shirring that I did get to work out correctly:


WELL, Thanks for looking!  And happy crafting to you all!


How to Throw a Pirate Party...Attached Mama Style


For Marcus's third birthday we had a pirate party.    Here is how we pulled it all together.


Cake:
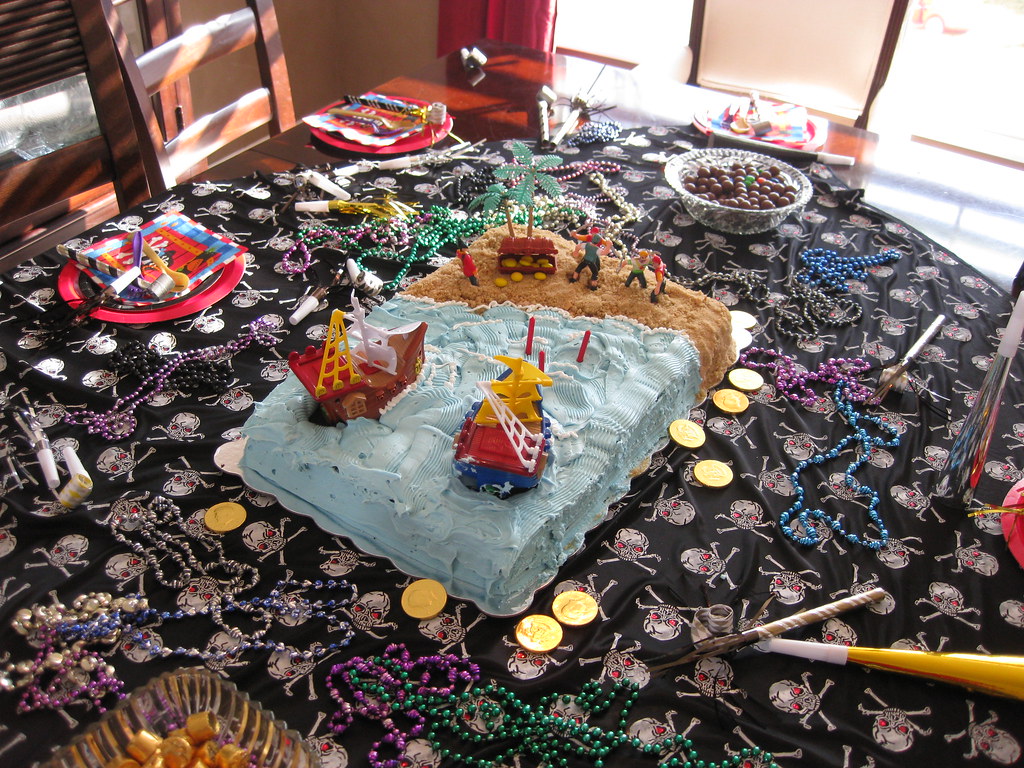
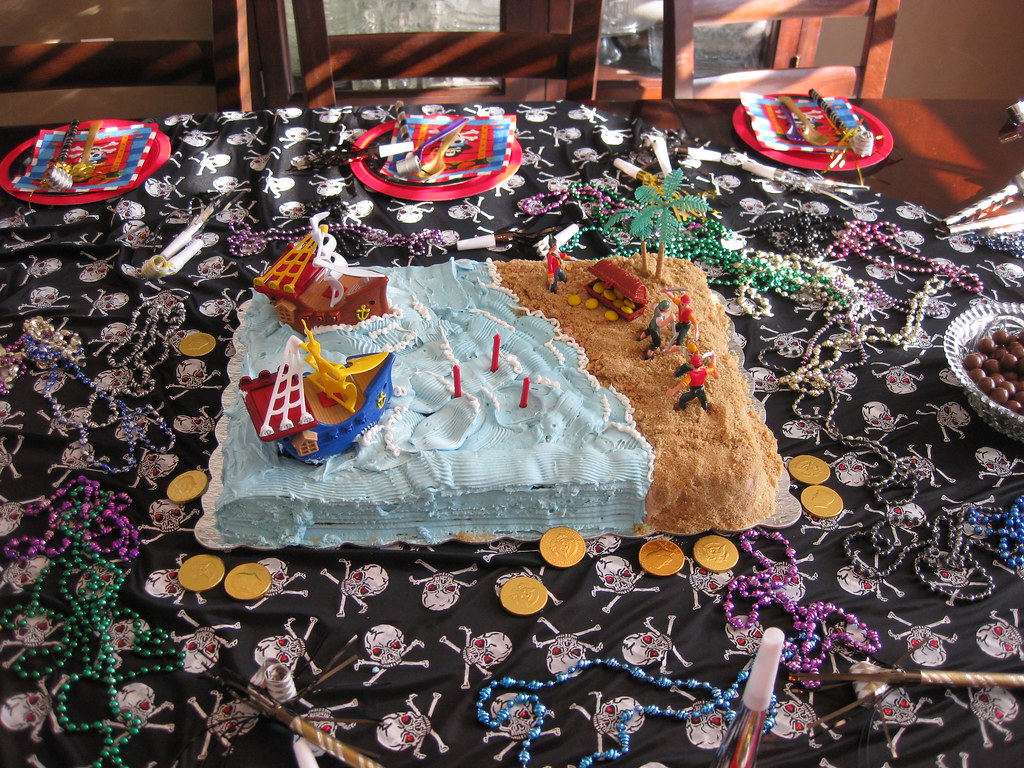
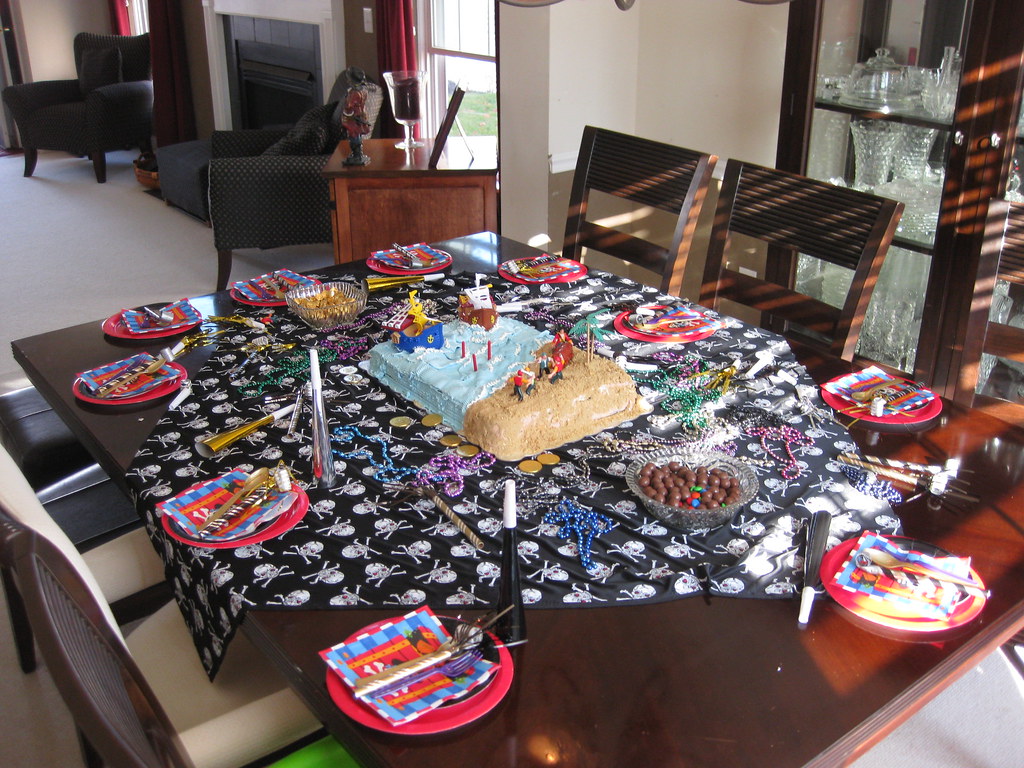
This was the pirate cake I made for the party.   The "ocean" was blue and white frosting that was piped out to look like ocean waves.  The "sand" was a mixture of one part graham cracker crumbs and one part brown sugar.  I used yellow M&M's for the golden coins in the treasure chest.  The dueling pirate ships and the pirates battling for the treasure were all plastic toys that we had around the house.


When serving the cake, instead of people asking for "chocolate" or "white" cake, they would specify "Ocean" or "Sand".  The "sand" was a big hit among the kids.   Every child there asked for a piece of sand cake.   They all said that the sand and graham cracker combination was pretty good.  However the best complement I received came from one little boy.  After tasting his piece he exclaimed, "WOW!  It really tastes like real sand!!"  That comment cracked me up.


For other pirate cake ideas, I highly recommend checking out this page.  There are many photos of gorgeous pirate cakes to gain inspiration from.  The website also contains a lot of detailed instructions on how to make a pirate cake for your party.


Outfits:
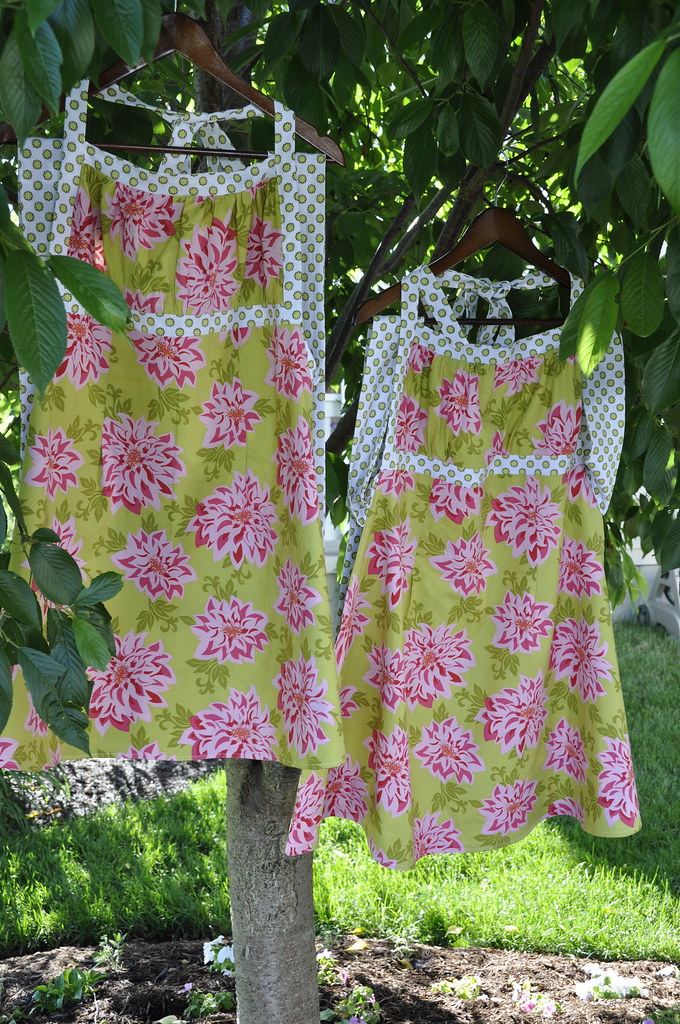
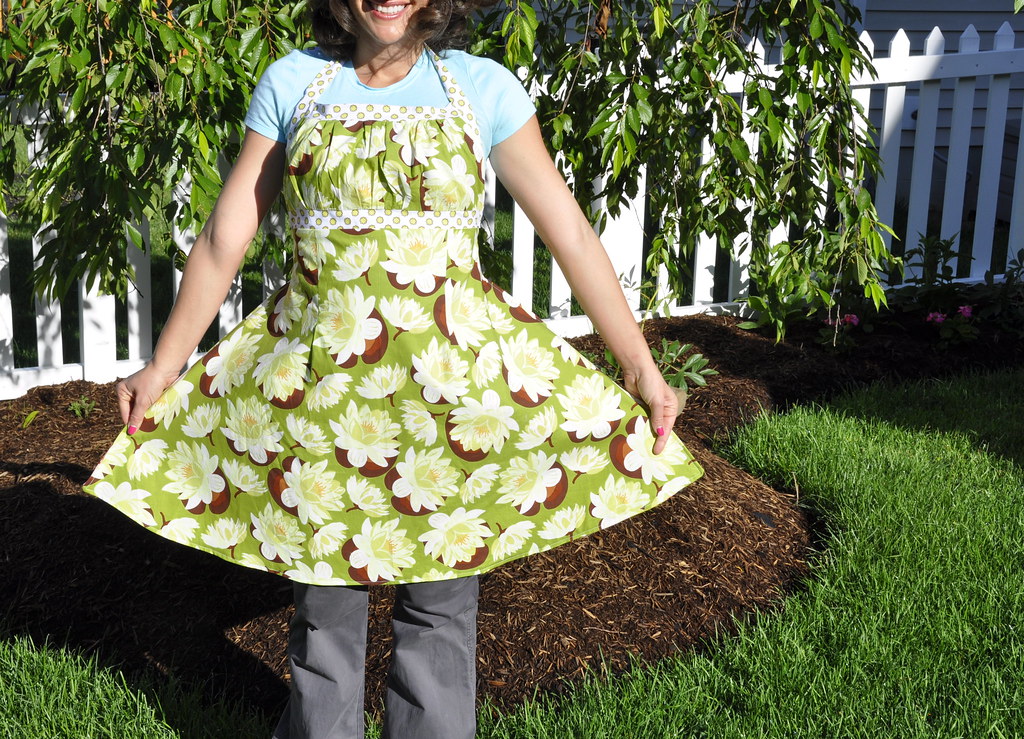
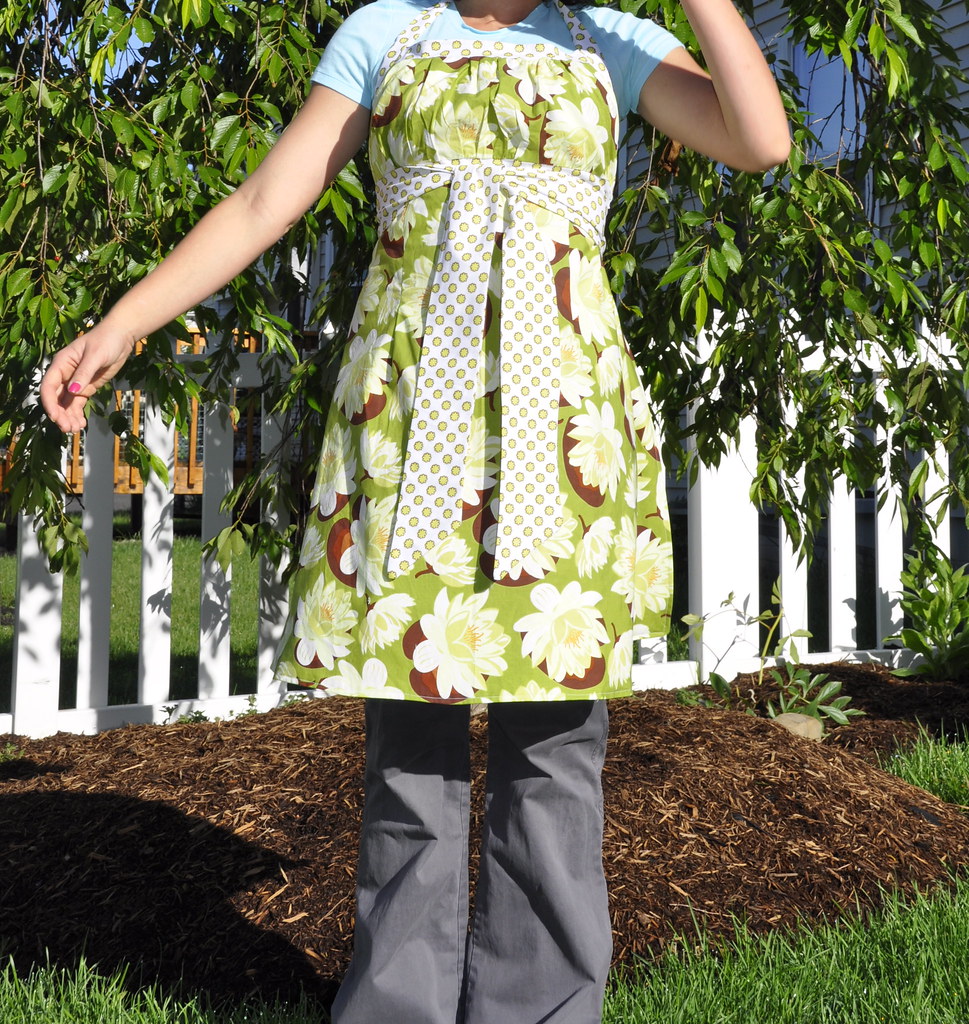
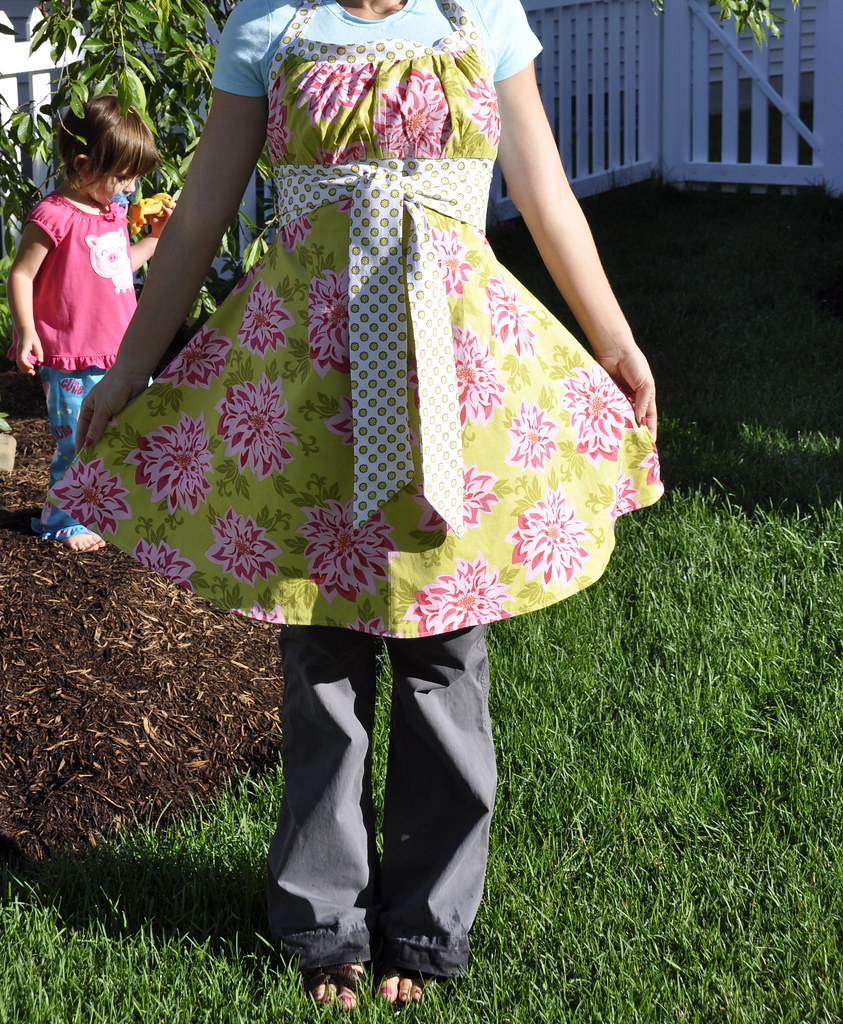
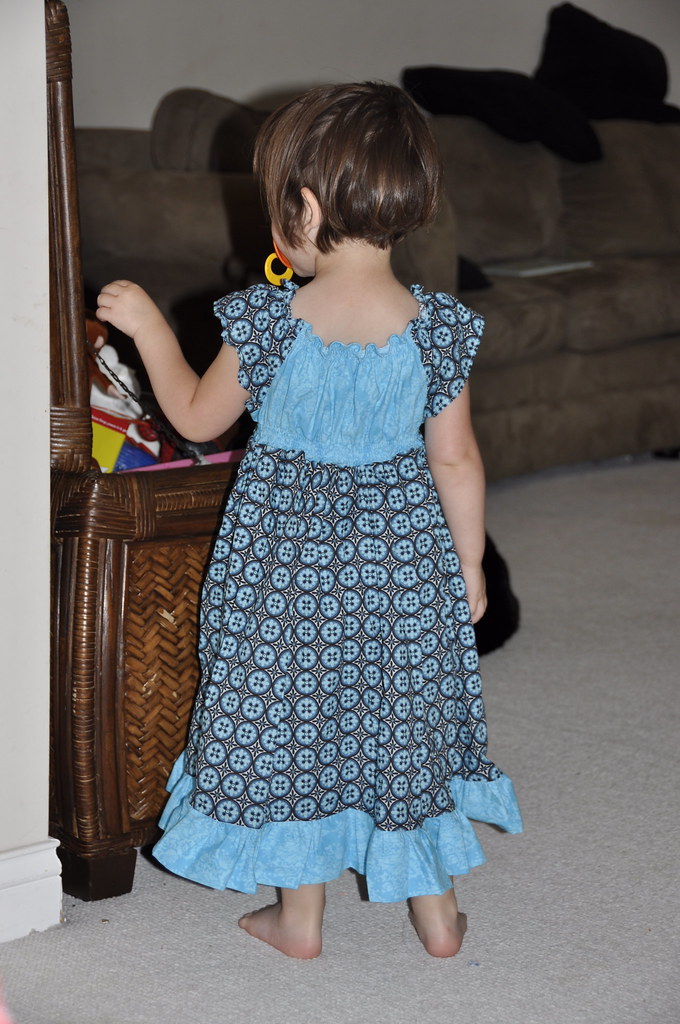
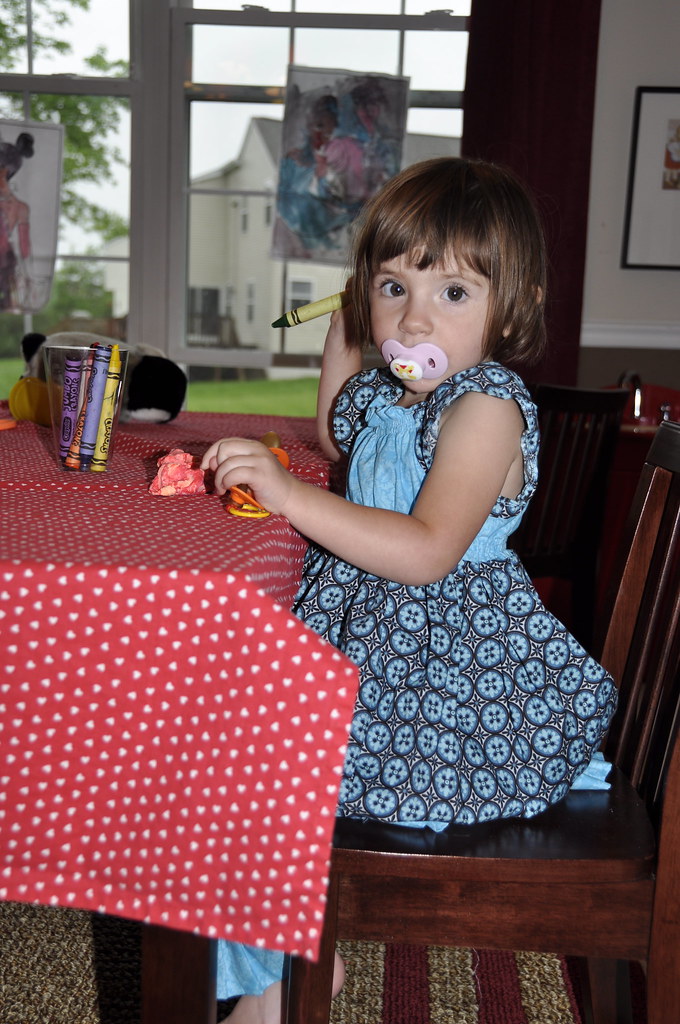
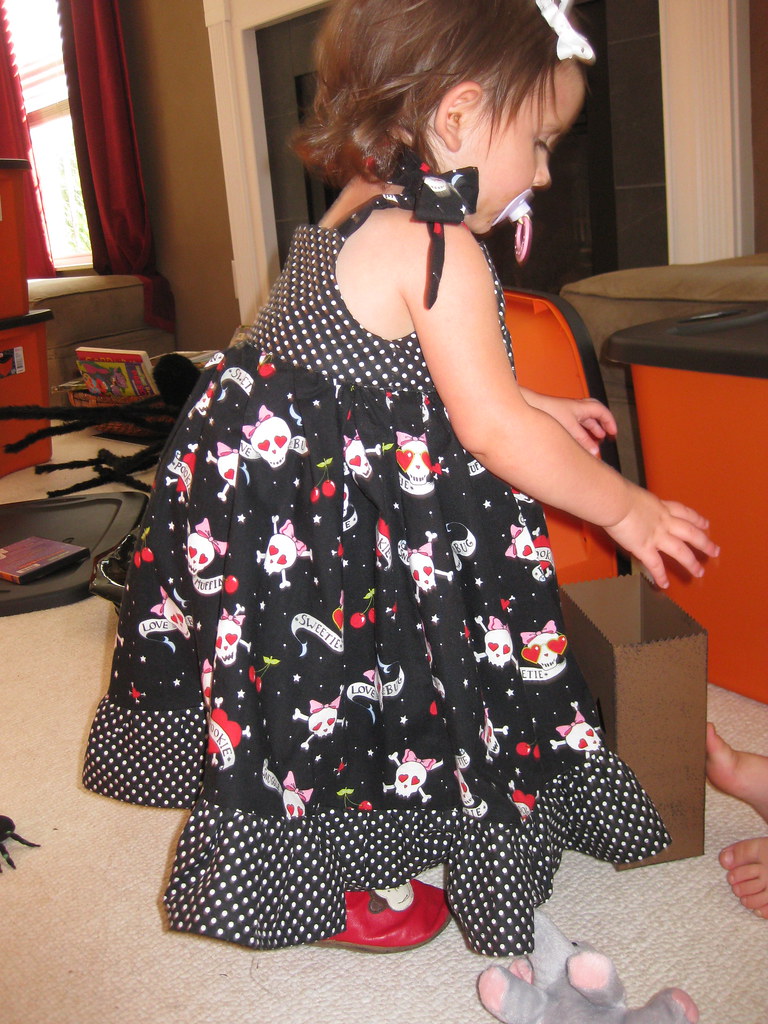
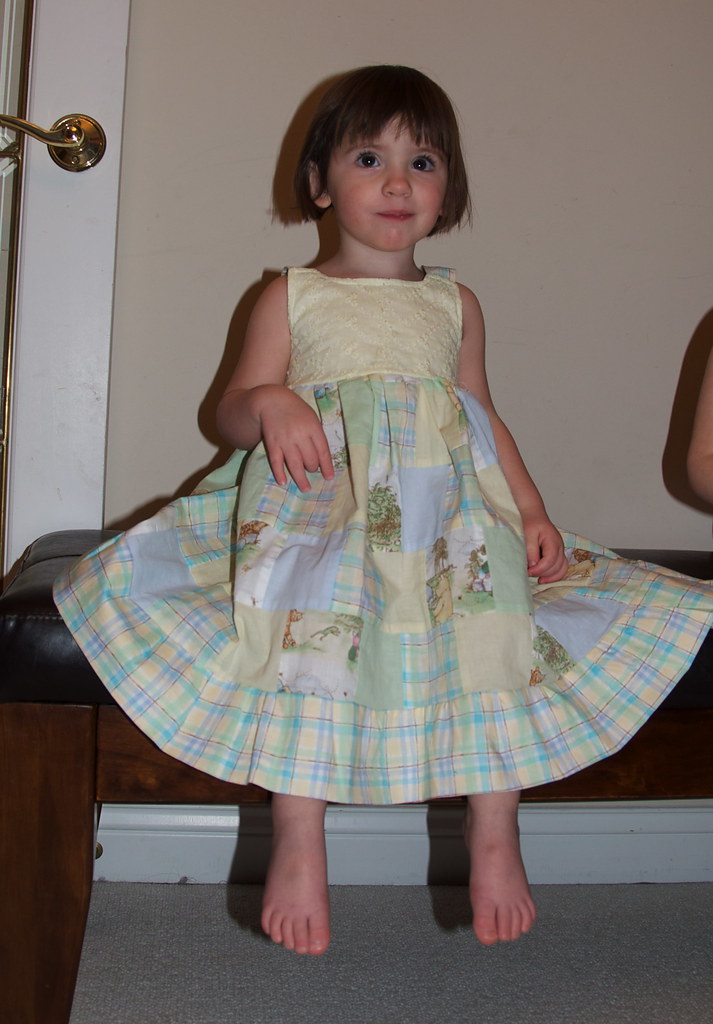
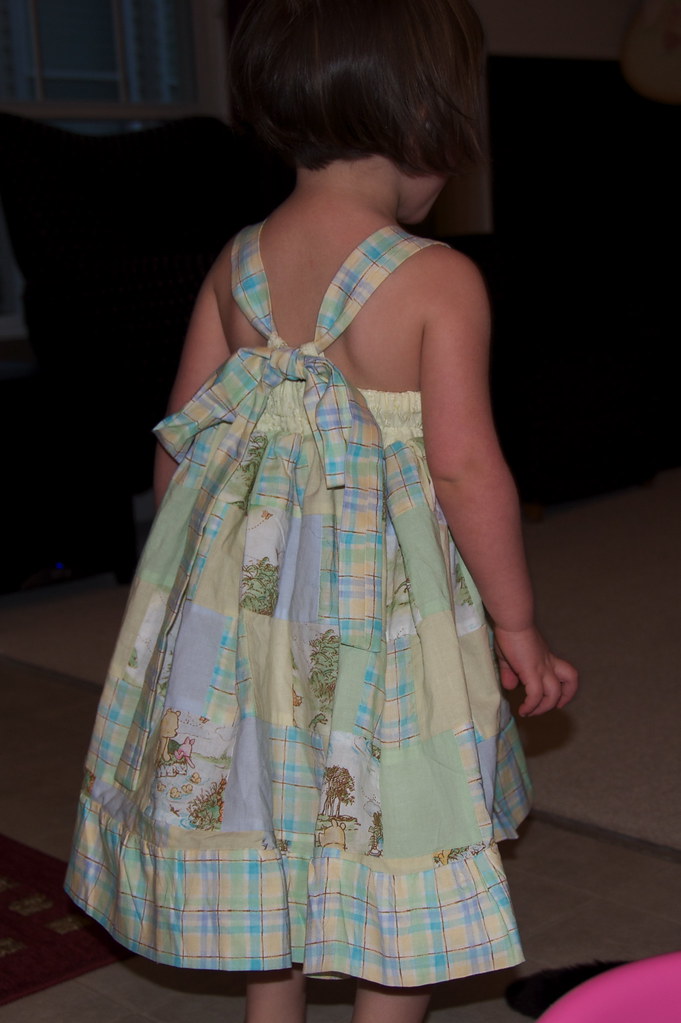
Marcus and Sophia sported their matching pirate outfits that I sewed for them.


Food:
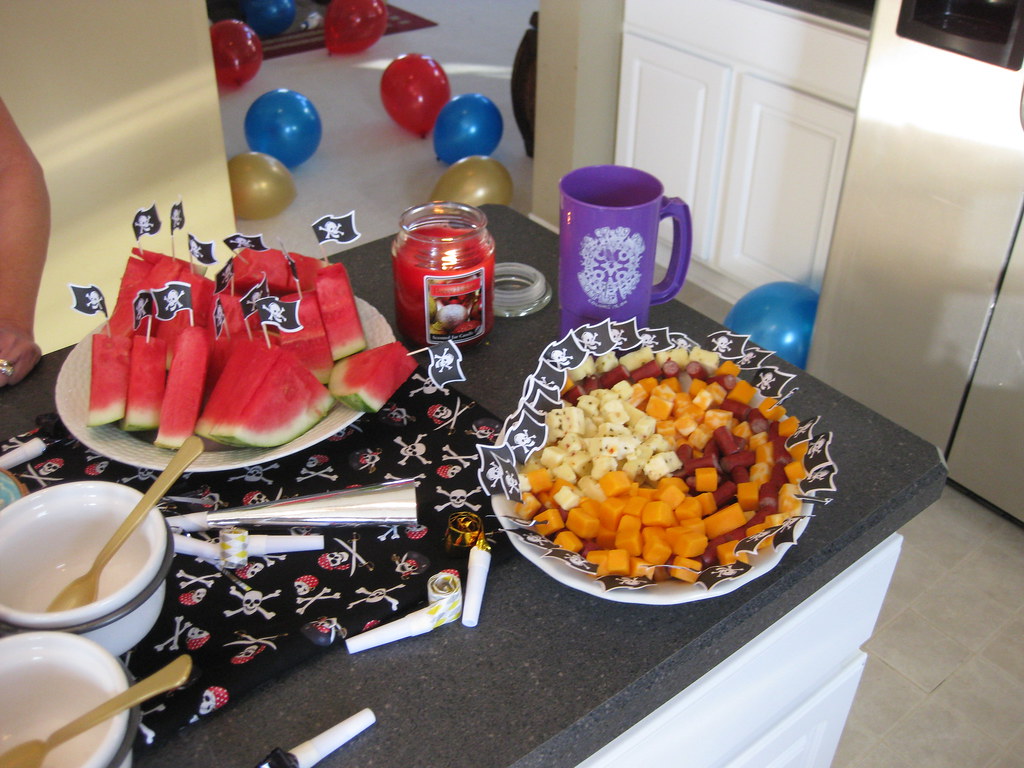
We served watermelon boats with pirate flags in them.  We also served goldfish crackers in pirate cup cake liners.  We also put out a bowel of malted milk balls which I labeled "cannon balls."
If you are serving a main course, I have seen very cute ideas for making hotdog octopuses that would be great for a pirate themed party.  You can find instructions on how to make them here.


Decorations:
I put out some scrap pirate themed fabric on the cake table.  I also laid out some chocolate coins covered in gold foil and some beaded necklaces.  (Pirate treasure.)  I blew up quite a few red, black and gold balloons that we tied around for decoration.  Then, we had a lot of blue balloons on our floor for the kids to play with.  (Meant to look like an ocean.)

As far as decorations went, I lucked out with my timing.  Michael's happened to be clearing out their pirate party decorations so they were marked down considerably.  I purchased some pirate gift bags that were meant for wrapping up presents for just 10 cents each.    And the pirate plates, napkins, and cups costs me pennies also.   It is funny, but both times I have thrown Marcus a birthday party, I have found all of the supplies I needed on clearance.

Games/Entertainment:
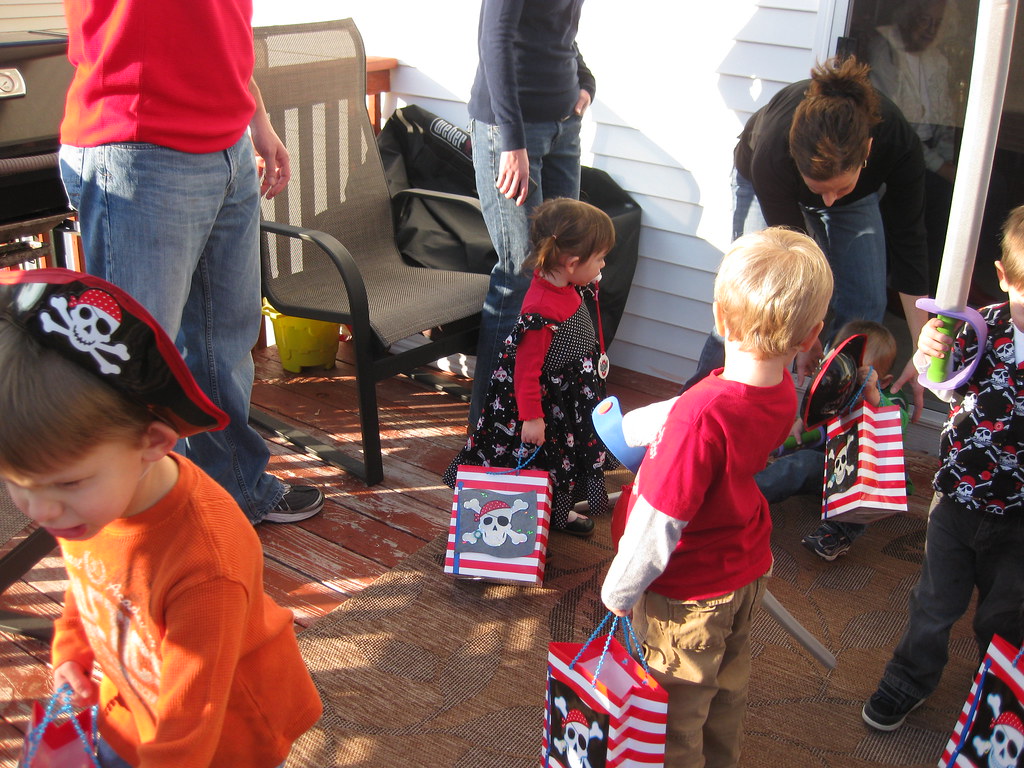
Upon arriving each guest was given their pirate kit.  It contained a pirate hat, an eye patch, a hook hand, and a foam sword.  The foam swords were HUGE hits.  The kids spent a good amount of time just running around and whacking balloons on the floor with the swords, talking in pirate voices, and just being crazy.  :)

After awhile the kids headed out to the backyard where we had a pirate treasure hunt.  I needed the treasure hunt to be simple enough for even very young children to follow.  So I hid some golden covered chocolate coins and some large ring-pops out in the backyard before the children arrived.  I then gave each child a pirate gift bag and let them search for treasure.  (Similar to how an Easter egg hunt works.)

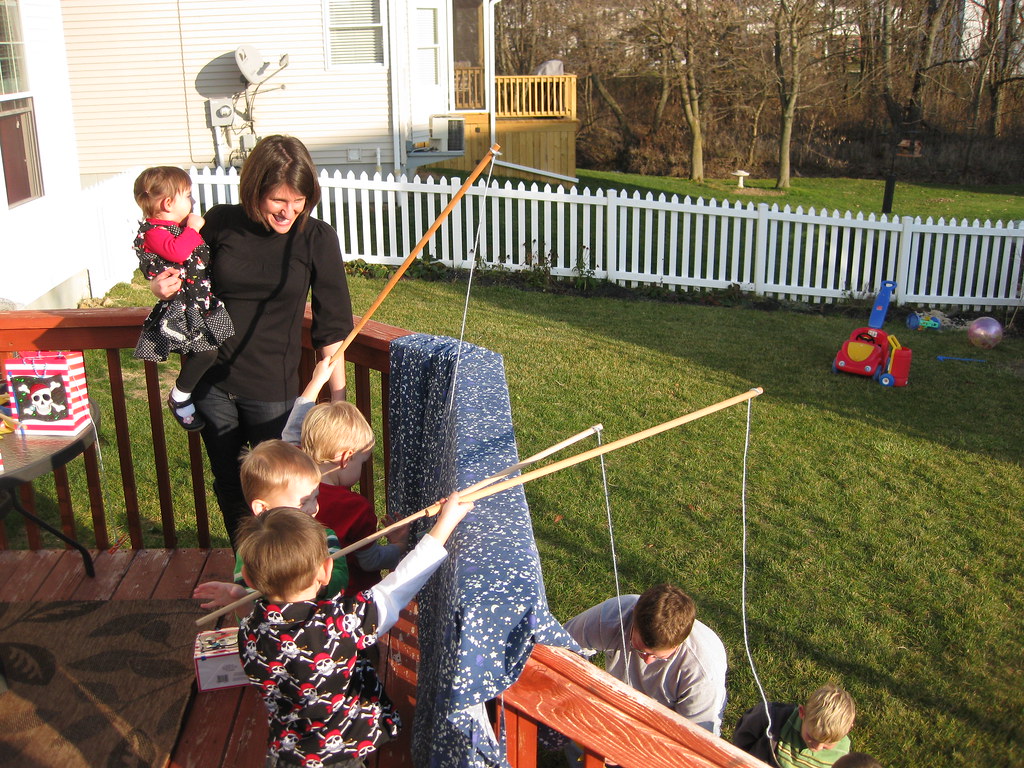
After the treasure hunt, the pirates had to fish for their dinner.  I made some fishing poles out of dowl rods and yarn.  At the end of the fishing line was a clothes pin.  The kids then threw the lines into sea (a blue curtain or sheet).  Behind the curtain was Uncle Chris who helped put various candy and prizes on the lines as they were thrown in.  Sometimes he would attach something funny to the line (like an old boot) and the kids would throw it back into the ocean and try again.  We learned a hard lesson during this game however.  The volunteer should definitely wear some type of head and face protection!   Poor Uncle Chris kept getting pelted in the head by clothes pins!  :(  (Sorry Chris!)


Other than that, the games were a big hit with all of the kids.  None of them required taking turns, waiting, or standing in line.   Also, they had simple rules to follow and everyone left a winner.

Music:
We played a mix of music from the albums The Paddy West School of Seamanship by the Sea Dogs and Pirates of the Caribbean:  Swashbuckling Sea Songs


Warning:  Some of the sea dog's songs need to be edited for content for little ears before you play them at the party.  Let's just say they are very pirate like in nature.  I posted an iMix of the songs I used on iTunes and will update this post with a link as soon as I have it.  


WELL, THANKS FOR READING!  I HOPE THIS PAGE IS A HELP TO ALL OF YOU PARENTS OF LITTLE PIRATES OUT THERE!!
Tuesday, April 27, 2010

Marcus and Sophia painting this morning

Sunday, April 11, 2010

Sophia's Birthday Dress

I once heard it said that when it comes to parenting the days are long, but the years are short.  I find that saying especially true when it comes to my own journey through parenting.

On April 17th, 2010 my little baby girl will be turning two.  I can't believe that is happening so soon.  It seems like just yesterday I was holding her in my arms at the hospital.

Sophia is very aware that she is having a birthday.  She is most excited to have a cake with candles on it,  and of course, presents!  She told me the other day that she wants a Winnie the Pooh party and a pink scooter for her birthday.  (Marcus has a red scooter that she has been coveting for quite some time.  So I think that is where the idea came from.)  

For her birthday, I sewed her a Winnie the Pooh dress to wear to her party.  I call the dress Pooh in Patchwork.  ;)

The skirt of the dress is a patchwork print of Classic Winnie the Pooh scense, yellow, light blue, and plaid.  (This is a modification to the original pattern.)  I also added a ruffle to the bottom.

Sophia likes the dresses twirl factor and rates it "two pacifiers up!"  Here you can see her extenstive twirl testing process. 


Pattern Review:  The dress by designer Sandi Henderson and her Portebello Pixie boutique patterns.  (This is the Party Dress from the Analise pattern.)  I can't rave enough about all things Sandi Henderson.  Her fabrics are gorgeous and her patterns are the best out there.  Period.

Why are her patterns the best?  Well, everything about them is top notch.   The instructions are very well written and in FULL color.  (Love that!)  She also has all of the steps fully illustrated which is great for us sewers who like to cheat and not actually read the instructions.  Her pattern features full size pieces (LOVE that!) and the pattern is printed on nice, thick paper which is easily traced.  She also has tons of full color inspiration photos which show various samples of dresses and skirts sewn with this pattern.  (I love that too!) 

This dress has a very cute back option that is finished by a sweet little bow.  Very creative design, and I think it makes a perfect dress for a little girl.  She can wear it with a long sleeve short in the winter.  And on hot summer days, she can wear it as a jumper.


Most of all, I hope our little girl knows how much we love her.  It has been a wonderful two years with our baby.
 

Blog Template by BloggerCandy.com