Showing posts with label sewing. Show all posts
Saturday, July 6, 2013

Beco Babycarrier Makeover and Nursing Cover

Hi There Everyone,

For those that don't know, we are expecting our third child sometime in September.  SO--I have been doing some sewing/nesting in preparation. 

The first thing on my list was to find a way to spruce up my old Beco 4G babycarrier.  Marcus and Sophie pretty much lived in this carrier from the time they were babies until they were as old as 3 or 4.  It had seen a lot of use to say the least.  The straps were faded, and I had sort of fallen out of love with the fabric.

Here are the before pictures of the carrier:

Before

And here are the after pictures:
After

 I starting out trying to dye the carrier with rit dye in the washing machine.  I was trying to re-darken the faded, black straps.  That didn't really do much.  (Just made a mess in my washer!) I probably should have used a better type of dye, but I was impatient and just wanted to get this project finished.
Here is me doing my "Vanna White pose" with the baby carrier.  I always feel like such an idiot getting my picture taken for these sewing projects.  :) 
I had some gorgeous Japanese fabric in my stash that I was going to turn into an apron.  (Echino for all of you fabric nerds.)  However, I figure I need another apron like a whole in the head---so I used the fabric to recover the carrier.  This was actually amazing fast and simple to do.  I just appliqued the new fabric over the old...and voila...a new looking baby carrier.  (I like this new fabric so much better!)

I had enough fabric left over to sew a matching nursing cover.   

Here's the matching nursing cover.  As you can see, I only know one "Vanna White" pose.  You can also see that I haven't gotten around to weeding much this pregnancy. 


Thanks for looking!

Wednesday, May 22, 2013

Sewing for my Mama

Here's a little sewing I did for my mama for Mother's Day.....

The first thing I made was a fabric journal cover.  This cover was made to fit just a standard sized memo book you can buy at the store.  (I wanted to make it fit something standard and easy to come by so you could replace the journal easily when the paper was used up.)

I used a natural colored linen for the main fabric.  Then I quilted a little "strip" together out of some pretty scrap fabrics I had in my stash.  I then embroidered it with a retro looking kitty and added her name. 
-->

The inside of the journal is lined in one of my favorite Heather Bailey fabrics.  (It is called "Church Flowers" and it is from her nicey jane collection.)  I also added a ribbon bookmark just because.


I had some extra fabric, so I also made a simple fabric bookmark that was personalized for her.
Fabric Bookmark Front

Fabric Bookmark Back
Finally, I stitched up some flour sack towels and embroidered some cute, colorful animal sayings on them.


Well, that's all folks!  Thanks so much for looking!  


Friday, July 6, 2012

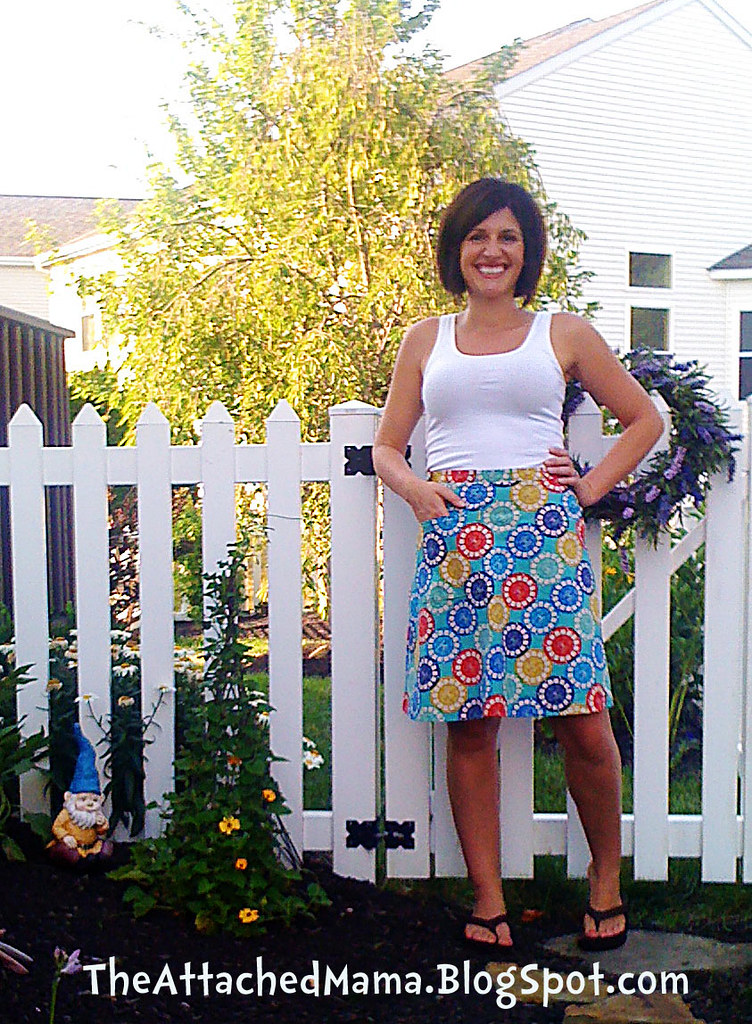
Why yes---that IS a view master skirt I am wearing today...

Wanna know just one of the great things about not working in a cubical anymore?  I can pretty much wear any bizarre thing I feel like.  For some stay at home moms that translates to comfy yoga pants and t-shirts.  For me, that freedom translates to strange things I sew using wild fabrics---and now---I present to you my latest creation...a view master skirt.  Yes...you read that correctly....a view master skirt.  And that is what I am wearing today.
Photography by 5 year old Marcus using the camera phone...hence the reason I don't have a head and I am running to scoop up my 4 year old daughter.  :)
For those that don't know, in a former life before kids, I used to work as an engineer for a large corporation.  My co-workers were mostly all male, so my work attire basically consisted mostly of boring chino pants and golf shirts.  Yep--that what I wore most days.  As the saying goes--- when in Rome, you do as the Romans do...right?
Photography by 4 year old Sophie using a camera phone
I have noticed that since leaving my job, my clothing has become increasingly more eccentric.  I didn't set out to become eccentric...it just sort of happened.   And I think that this skirt pretty much takes the cake as far as eccentricity goes.  But what can I say?  It makes me happy---so I love it!

Photography by 4 year old Sophie using...yep...the camera phone!
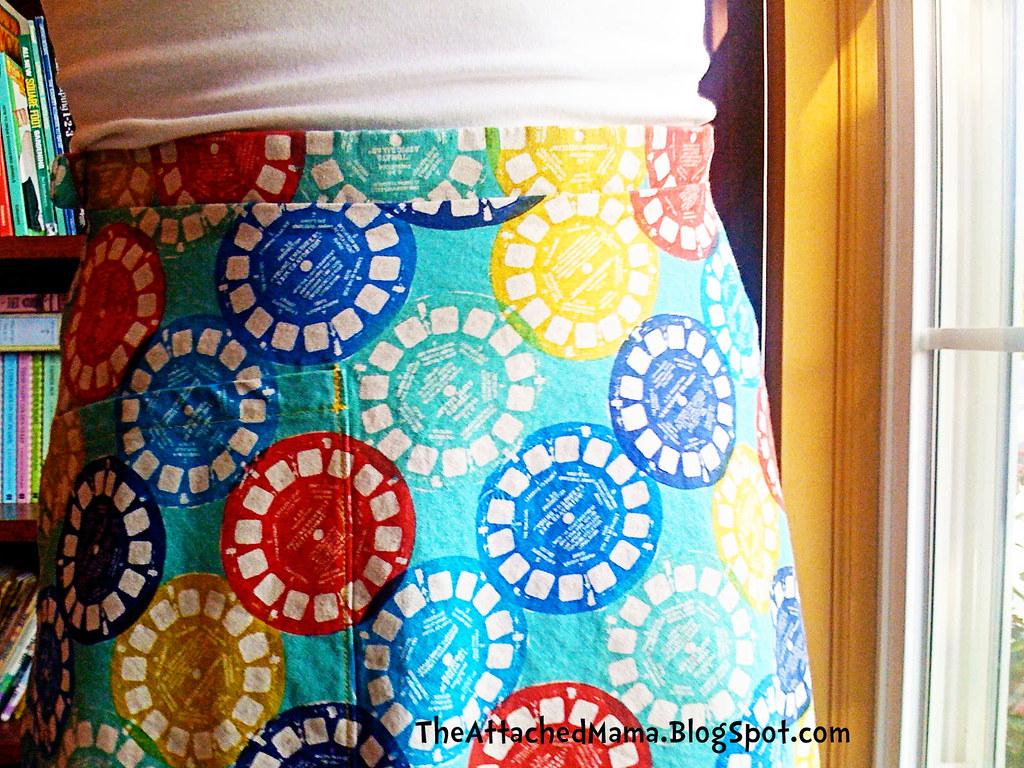
When I first saw this fabric in the store, I immediately flashed back to my happy days of playing with view master reels as a child.  I can remember struggling to set the reel in straight so that I could look at happy little 3D smurfs smiling back at me...or rainbow bright riding a unicorn...or whatever I happened to be into at 3 years of age.  So I contemplated....what can I do with view master fabric?  Hmmm...  A more sane, less eccentric person would have sewn a wallet or a bag or something like that.  Me?  Well, I think to myself, "I want a view master skirt!"  And so I sewed one.

The fabric is from Kokka's fabric.  (Aren't all cool fabrics from Japanese companies?)  It is designed by Melody Miller and part of her line called Ruby Star Rising.  The pattern is my own.  Just a simple A-Line skirt with a waistband, side zipper, and button tab closure.  You can also see my hidden "stealth" patch pocket in this picture for keeping rocks, sticks, Lego mini-figures, and other strange things my kids ask my to carry.
Self Portrait using my trusty camera phone
All of these pictures were taken using my VERY crummy camera phone.  Most bloggers use fancy cameras and take photography classes and things like that.  But they probably wouldn't wear view master skirts.  So on this blog, you must look at blurry pictures taken mostly by children under the age of 5.  I guess it forces you to kind of use your imagination.  :)

Take care!  And thanks for reading!!

Cathy aka The Attached Mama

Links to become "Attached" To:
Thrifty Handmade Days
504 Main
Happy Hour Projects

Sunday, May 1, 2011

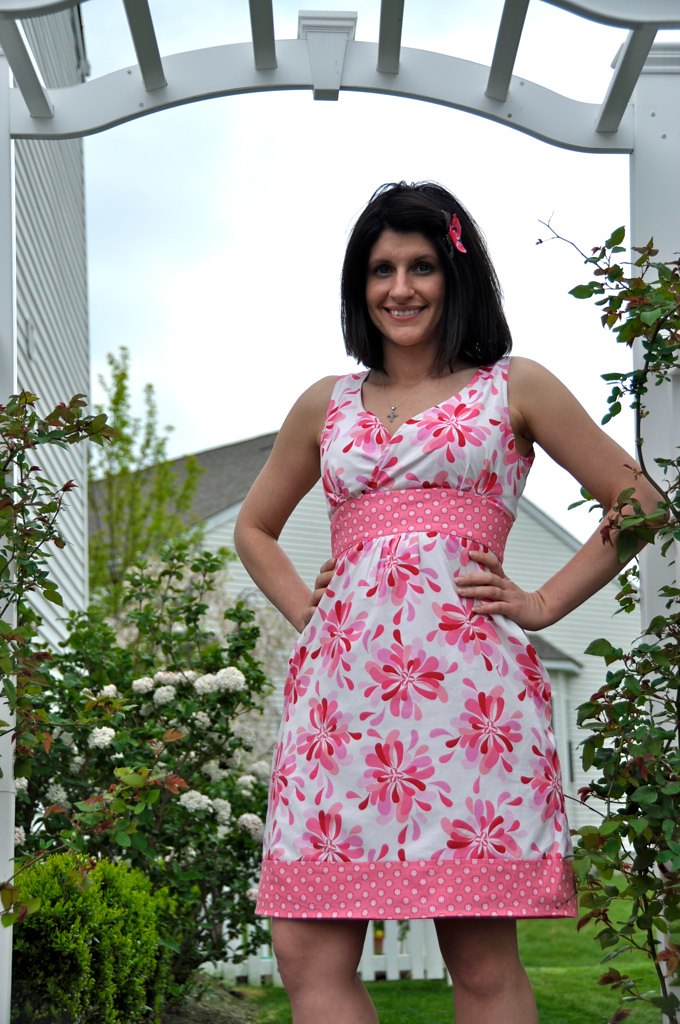
Sewing: Petal Party Dress


I am not 100% sure on this latest creation.   It is a bit loud.  (Some of you are probably laughing when I say a bit.)   It is a lot of print, and a lot of BOLD print at that.  However, I love print...and I love pretty fabric.   So being able to walk around in pretty fabric does lend a smile to my face.  I will admit it.


Fabric Information:
Petal Party in Pink by Sandi Henderson for Michael Miller Fabrics (Part of the Farmer's Market Collection)
Vintage Dot in Pink by Sandi Henderson for Michael Miller Fabrics (Part of the Ginerblossom Collection)


The shape of the dress, however, is not my favorite.  Usually, even when sewing with a bad pattern, I can mess with it enough so that I am able to get it looking at least half-way decent.  Well, I messed with this dress A LOT.  I fussed, I fiddled.  I re-drafted.  I cut.  I tore seams.  And after all of that work, this was the best I could get the dress to look.  
Back of dress
The dress doesn't look too bad when I stand.  However, when I sit, the tummy area kind of baloons out a bit doesn't make me feel very great while wearing it.  And no matter how I fussed with the waistband and skirt, I wasn't able to get it to stop doing it.  I will probably wear it again---because the fabric is very fun.  However, I will not be sewing this same dress pattern again. 

Ignore the wrinkles.  I have been wrangling children all day.  :)


Pattern Information:
This dress is a bit of a Franken-dress.  
It started off as New Look 6774.  But don't pick up New Look 6774 thinking you are going to get a dress that looks like this.   Because I made some major modifications to this dress in order for it to even become a wearable item.

New Look 6774 Cover
New Look 6774 is a "mix and match" pattern that allows the seamstress to design her own look by mixing various skirts, bodice, and waistbands together.  The cover makes the pattern look really cute and fun.  But don't be deceived my friends! 

I cut pieces I+J+K, which is basically that knee length coral dress in the photo above.  But using the pieces as-is, you will never get a dress that fits like the cover picture above.  The bodice pieces are just funky looking...and no matter how I fussed, re-gathered, tore out, and messed with the bodice, I just couldn't get it to look right. 

I should have listened...
Before I sewed this dress I kept reading pattern reviews online where other seamstresses WARNED me that this pattern did not fit well.  However, did I listen?  NO!  That would have been way too easy.  I threw caution to the wind and I just decided to cut the pattern as is---and what did I learn?  I learned that I should have LISTENED to you fellow sewing bloggers!   It would have saved me several hours worth of frustrating trial and error with sewing this dress.

I ended up completly scraping the bodice as is.  After I messed with it for several hours, I came to the conclusion that it didn't even have "good bones" in which to modify.  So I ended up drafting my own front and back AND waistband.   So really the only part of the dress that is original to New Look 6774 is the skirt...and I have to admit that is my least favorite part of the dress. 

I also modified the skirt by adding in pockets.  Really deep and nice pockets.  Because every mama needs pockets.  (Am I right? Or am I right?!) 

De-Stashing My Fabric:
I am also trying to use fabric from my existing fabric stash before I buy anything new.   I didn't have enough of the Petal Party fabric so I compensated with adding a contrasting waistband and a contrasting hem band in order to actually get a dress out of the little fabric I had.

I actually think that that makes the dress much more interesting.   However,  I can't even begin to tell you how hard this dress was to cut out because I had to scrape and use ever bitof the petal party fabric in order to get the dress to work.  I even used the bias as hem allowance in order to make it work. 

Special Little Touches:
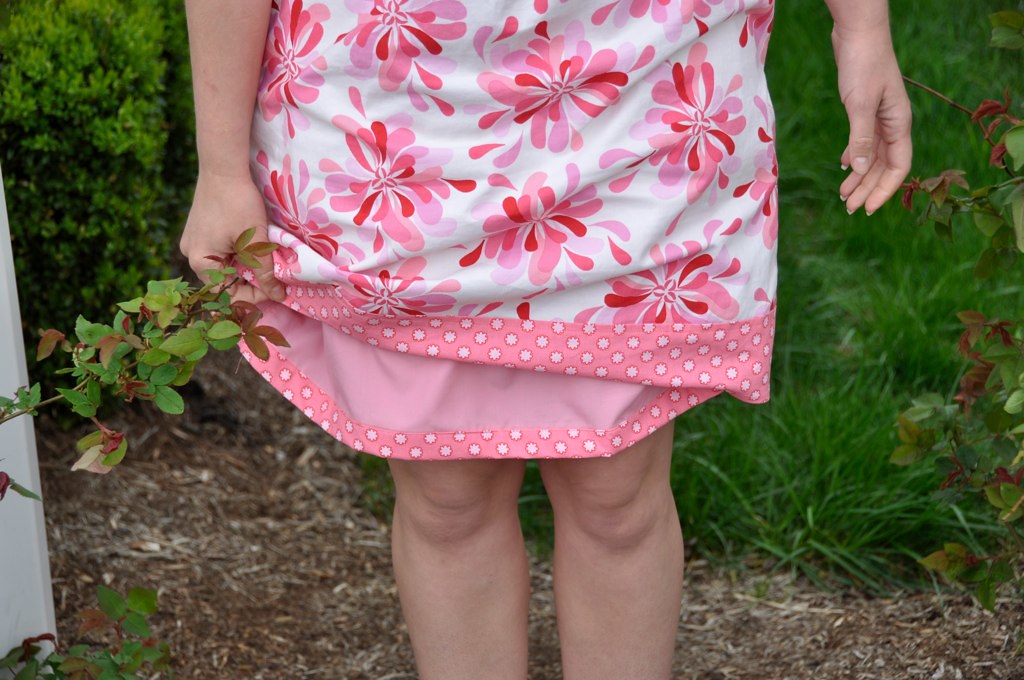
One of the fun things about making your own clothes is that you can add special little touches which make your clothes extra special.    One touch that I started to add was adding a special trim to my skirt linings.  I saw this idea out there on flikr and have been using it on all of the dresses I sew. 
Little detail added to the hem line of the lining.
Thanks Everyone for Reading!!

Monday, April 25, 2011

Geisha Fan Apron

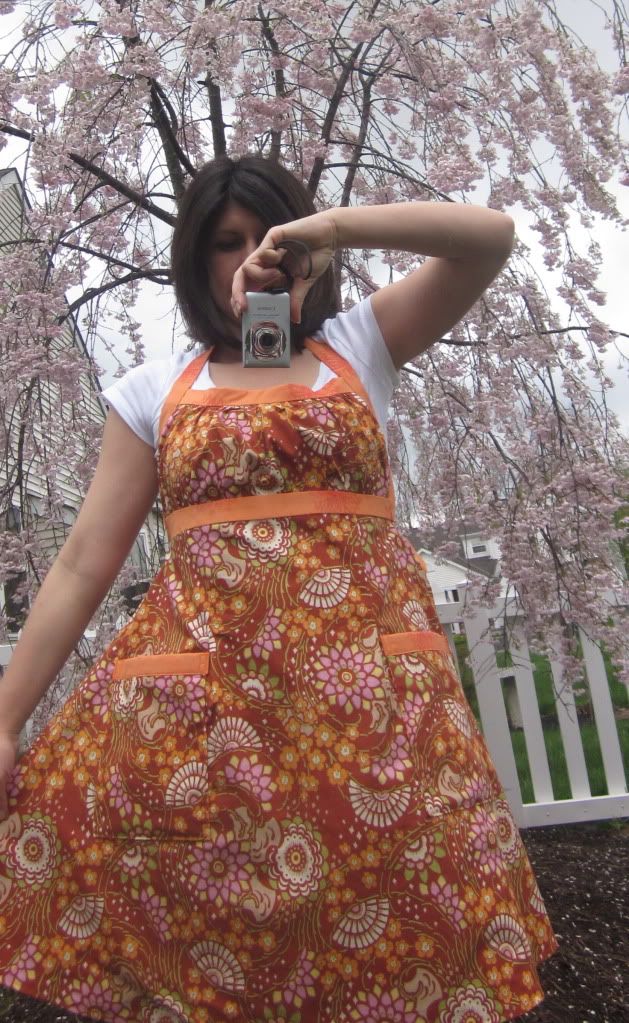
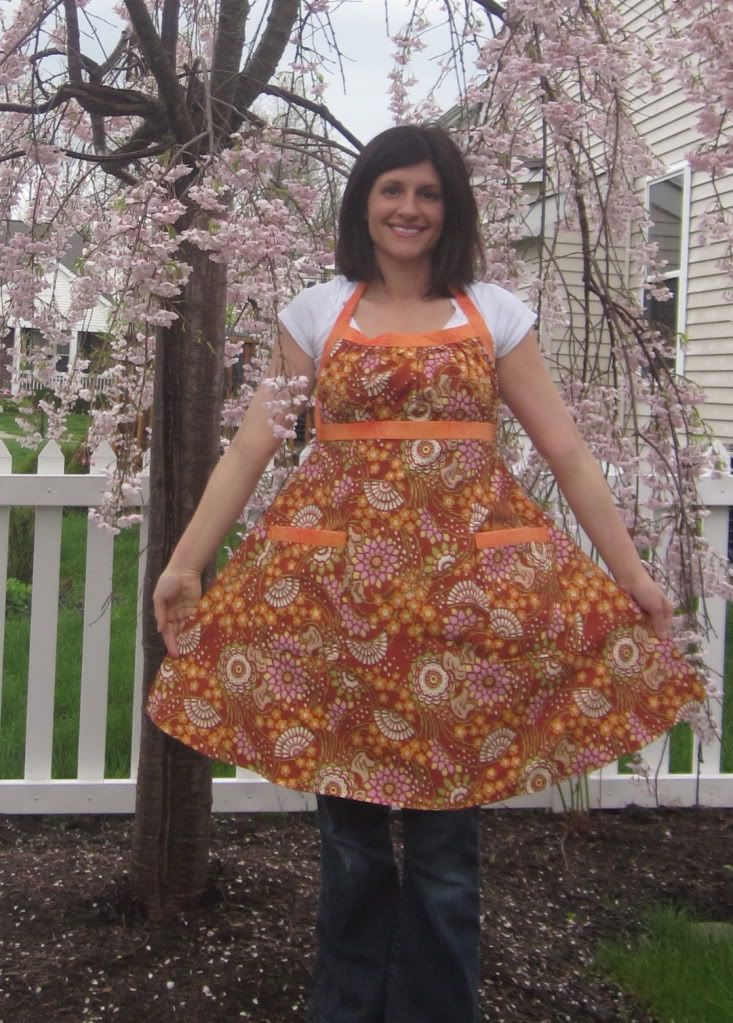
OK...I admit it.  I am terrible at "self photography".  I took these pictures outside while it was raining using a cloudy mirror.  (Yes, I took a mirror out into my back yard!)   The hardest part about blogging about sewing is NOT the actual sewing. It is finding a way to photograph the things you have sewn. 

Trust me when I say that these pictures do not do this fabric justice.  The fabrics were chosen by a friend of mine and I think she did a great job.  I would have never thought of this combination on my own.  I am especially amazed because all three of these fabrics come from different collections and even different designers, but the colors match perfectly.  They look like they were made for each other. 


Pattern Details:
This pattern is the Emmeline apron by Sew Liberated.  This is a reversible apron with gathered bust and a wide, flirty skirt.  The only modification I made was to lengthen the waist straps a bit.  (I like to do this for my own aprons so it can more easily be tied in both the front and the back.)  I also added extra deep pockets to the front and back...because we can all use an extra hand carrying stuff.
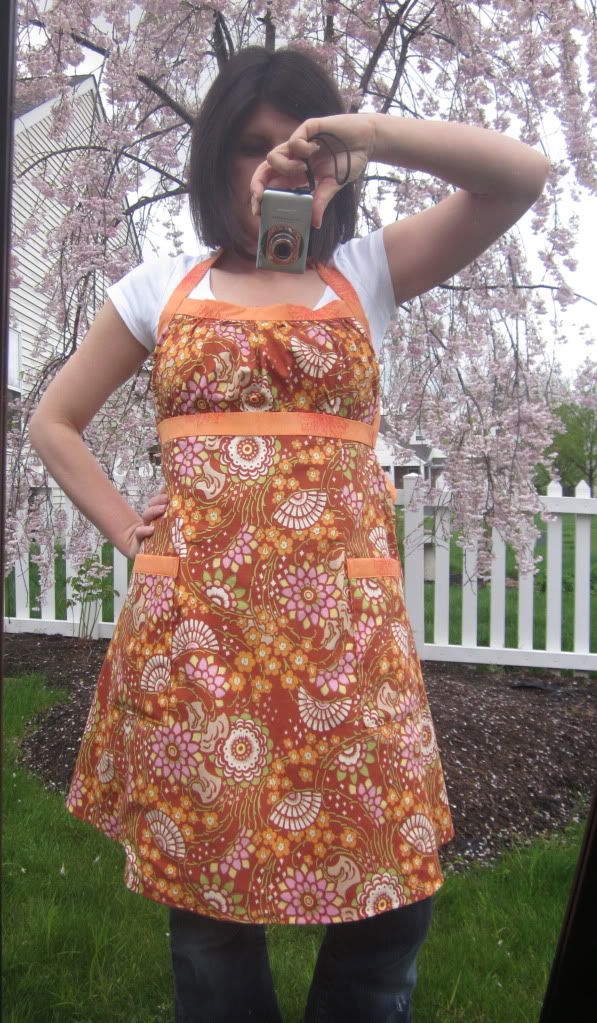
I have sewn this pattern many, many times.  It goes together nicely and I can't really think of any "warnings" that I would need to post if you are thinking about trying it.  Perhaps the only thing I can think of is that the top may need to be modified if you are especially large busted.  However, the top piece is a simple gathered rectangle...so it is a very easy modification. 


Fabric Details:
The main fabric is Geisha Fans by Amy Butler.
Geisha Fans by Amy Butler
The binding, ties, and trim are Floral Elements in Tangerine by Patricia Bravo.
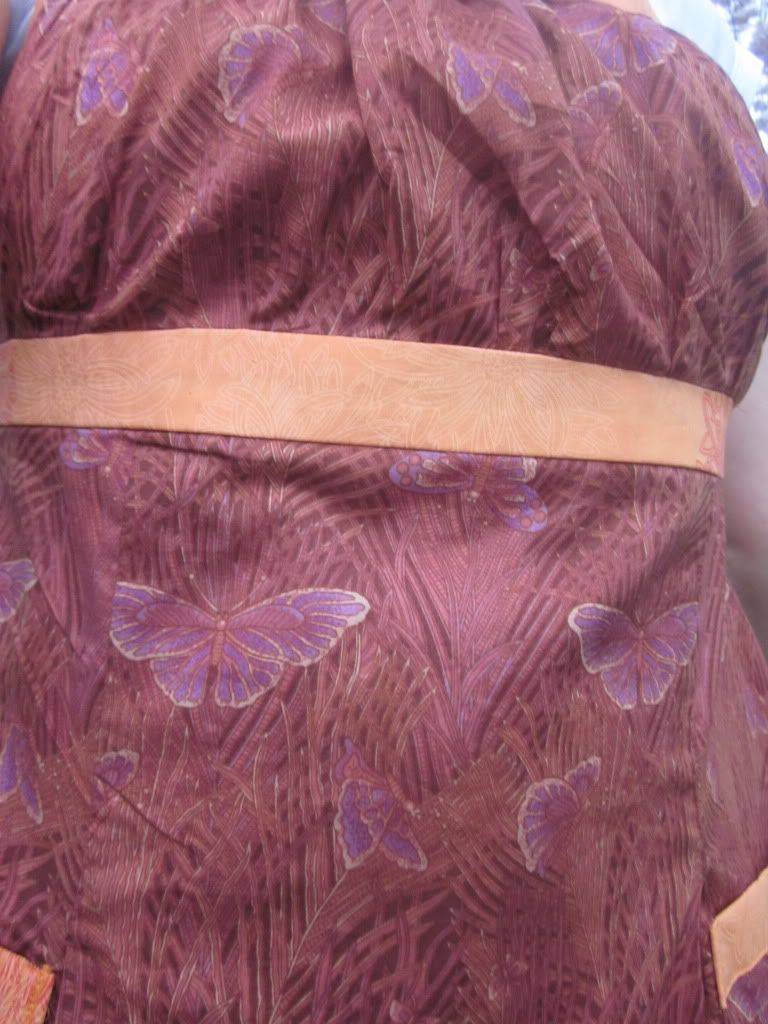
Close up of the Alexander Henry Cotton Lawn Fabric

And finally, the main reverse fabric is this GORGEOUS, luxurious cotton lawn fabric by Alexander Henry.  The thread count is so high in this fabric it feels nearly like silk.   The fabric name is Oxford Butterfly in Rosey Terra Cotta.


Well, thanks for looking!  And thanks for looking at my poor self photography.  (Soon my kids will be old enough to start taking pictures.)
"Hey!  I figured out how to use the timer function on the camera!"
Links to Become Attached To:
Monday, February 14, 2011

Mommy does some crafting of her own...

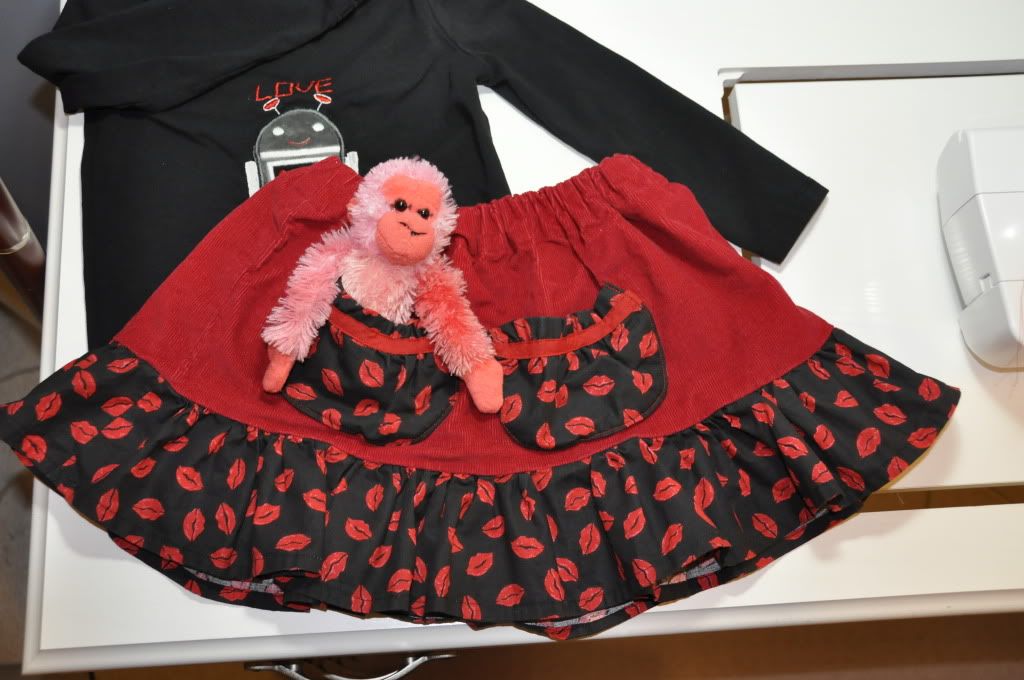
Here are some outfits I stitched up for Marcus and Sophie for Valentine's day.
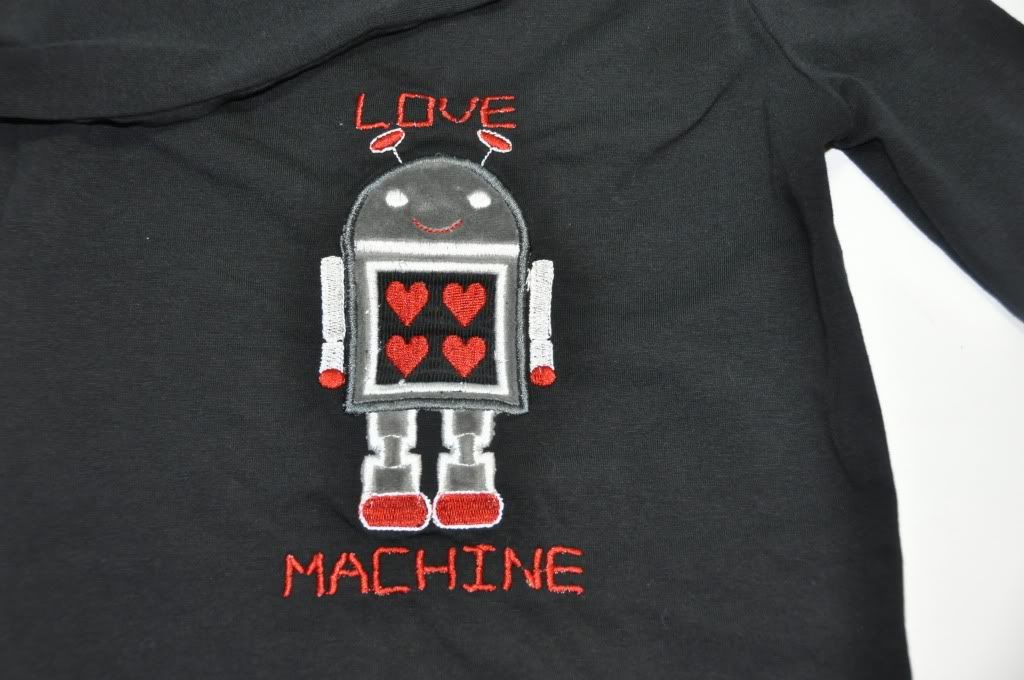
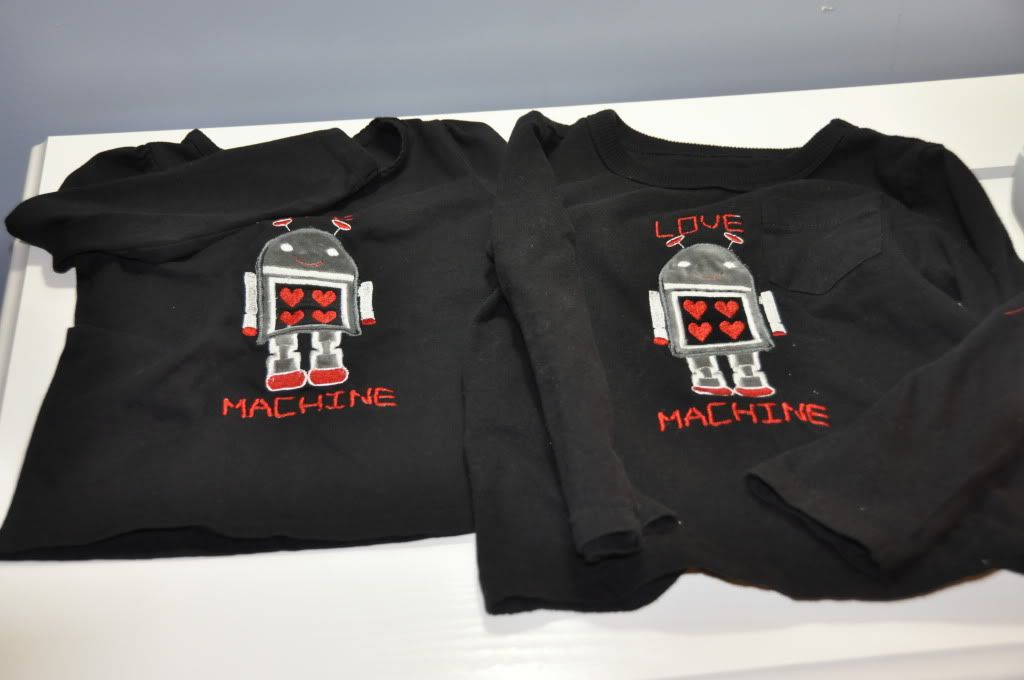
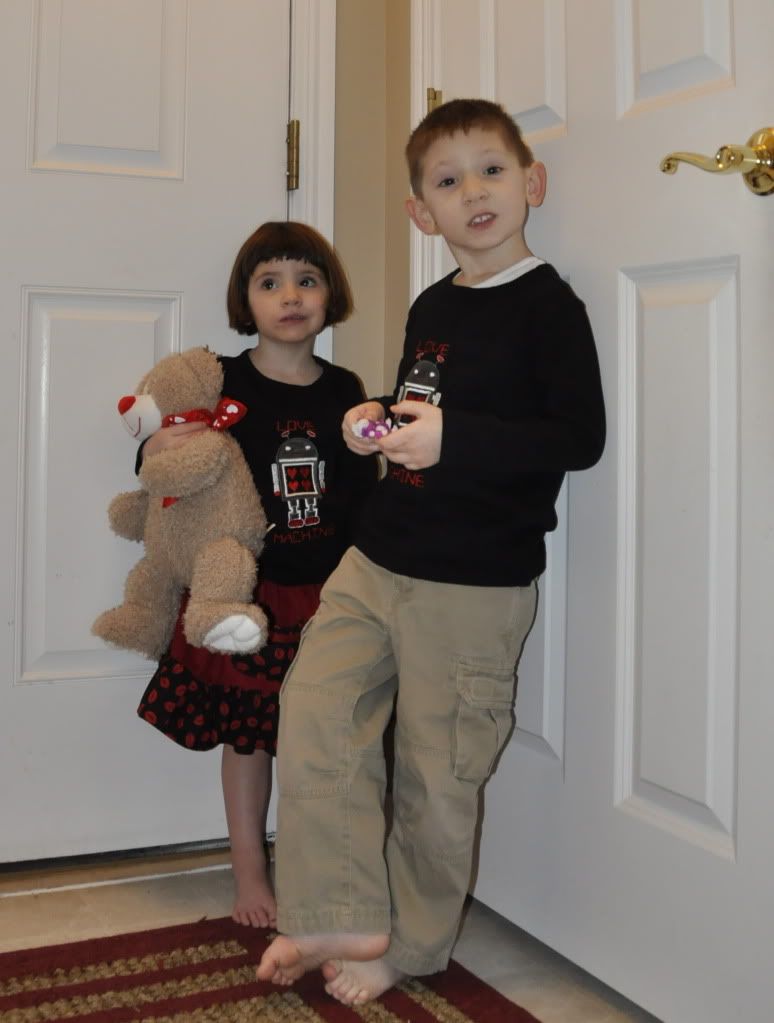
Marcus asked for a Robot or Caveman valentine shirt.  (Odd request, but that is what he wanted.)  So I made him a Robot T-Shirt that said "Love Machine". 

It is an applique that was done on my brand new embroidery machine.  The embroidery machine was a gift from my dear, sweet husband for Christmas.  I have been dreaming of owning an embroidery machine for years, so I have been having a lot of fun playing around with it.  This was my first time using it on a t-shirt.   (T-Shirts can be hard to embroidery on because of the loose, knit fabric.)   I am still very much a beginner...so as you can see I am still getting the hang of things. 

  Really we need a forum capable of "tactile-perception" to get the feel for this t-shirt.  The gray is this silver chenille/minky/velvety-stretchy-mystery fabric that is SO soft.  (I honestly don't know what this fabric is.  I just had it in my scrap bag.)  The black is a corduroy.  The two fabrics really create an extra soft and touchy robot applique.  This was my first time ever using my new embroidery machine on a t-shirt. 

Sophie of course wanted a matching t-shirt...so she also got a robot t-shirt. 
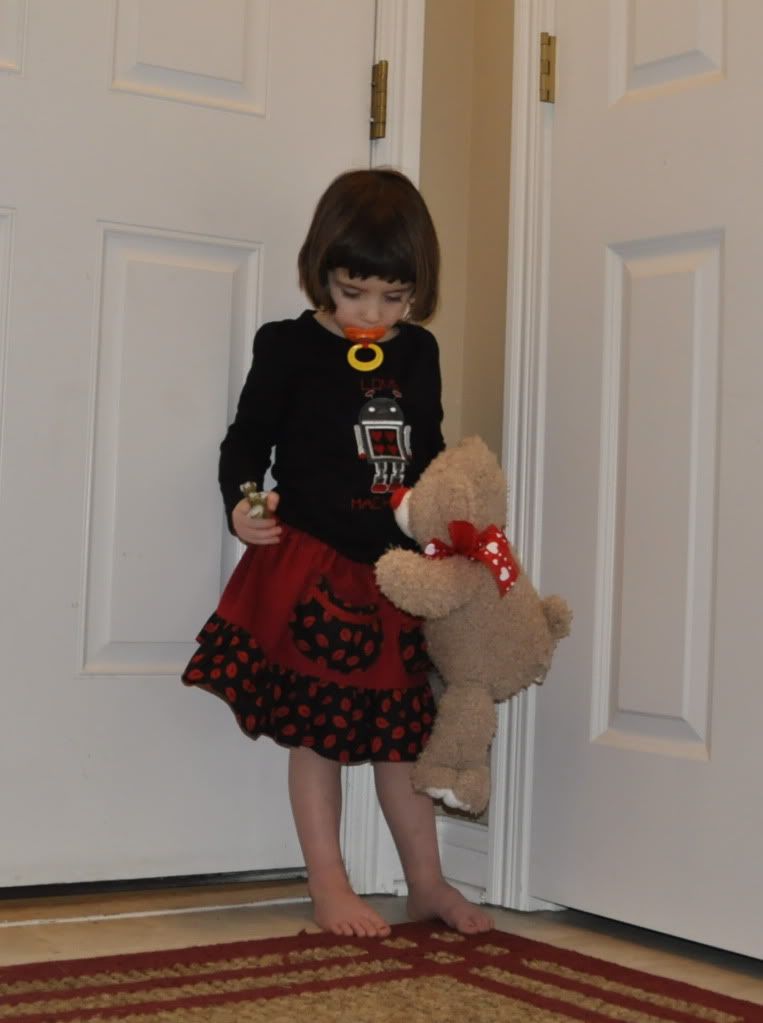
I also sewed Sophia a matching skirt.  She usually doesn't like skirts, but I thought I could lure her into wearing it with the bait of extra, big, luxurious, gathered pockets.  (Sophie LOVES pockets and insists that she has them in everything she wears.)   Sophie made good use of these pockets today.  She used them to stash about 4-5 pacifiers in them should she need them for back up. 

Here is the complete outfit together:


And here is the obligatory "stand by the door and let me take your picture" shot:
Thanks for looking!!

Links to Become Attached To:
- Don't waste your homemaking 
- Homemaking Link Up

Thursday, August 12, 2010

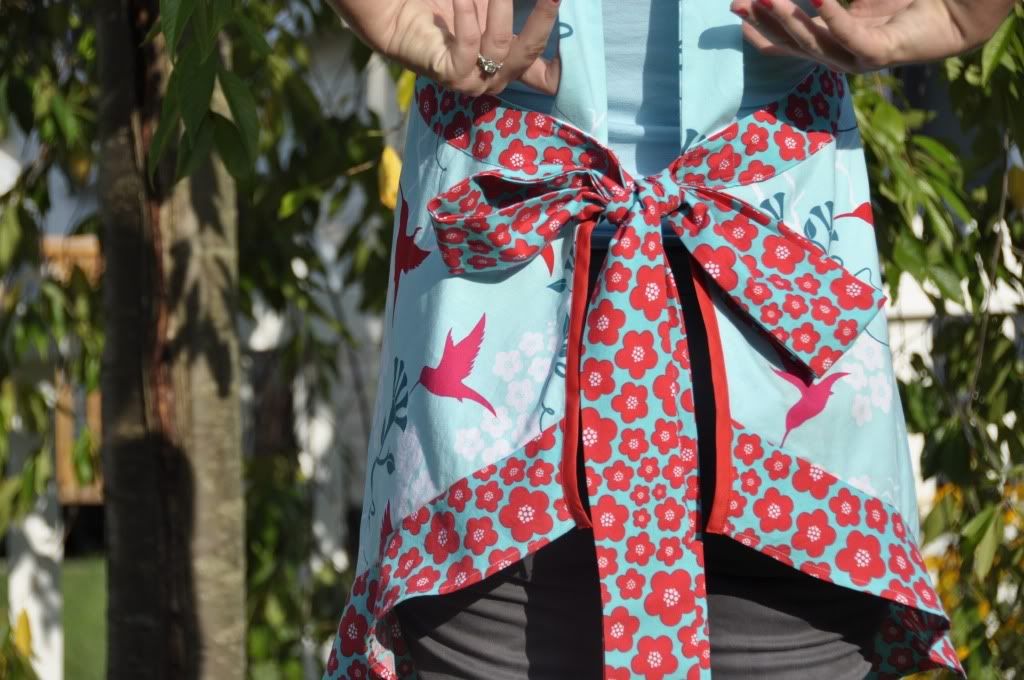
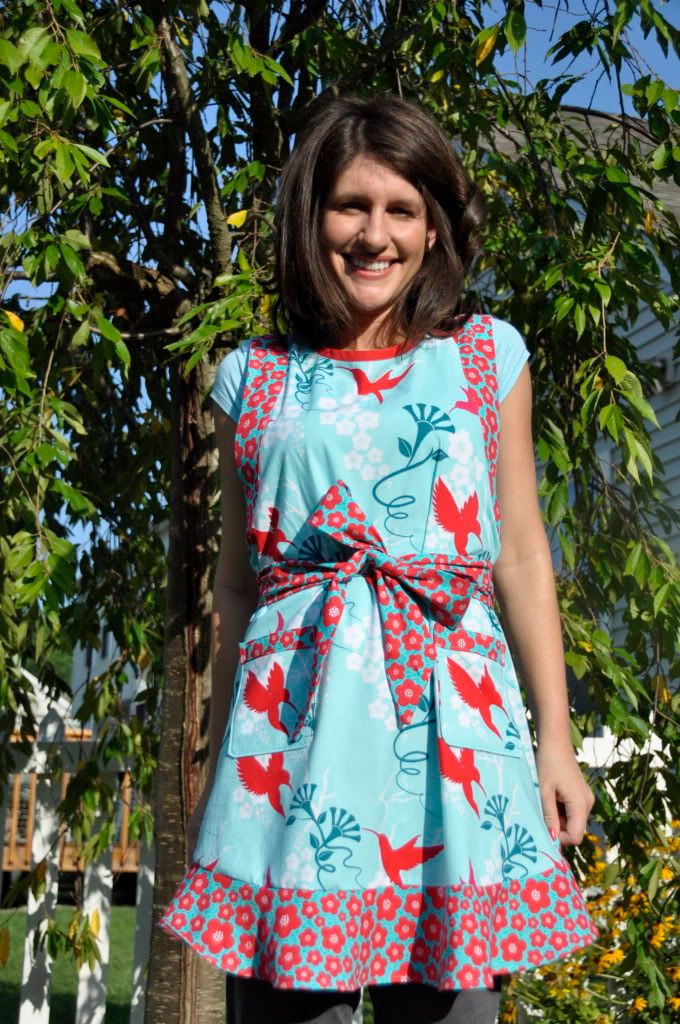
Hummingbird Apron

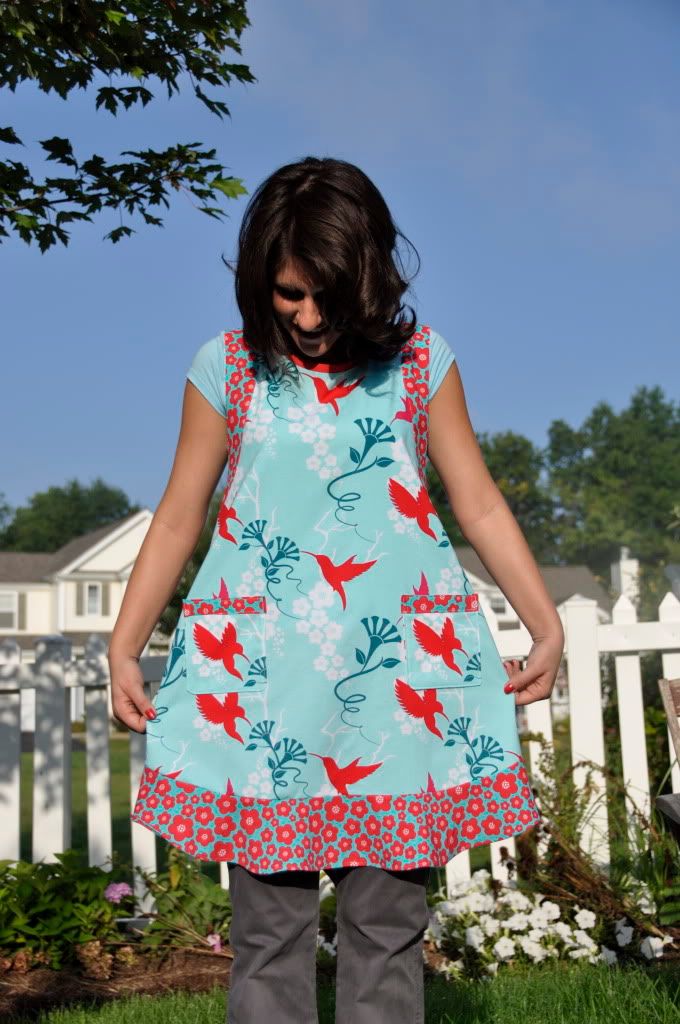
Here is a brand new apron made for a friend of mine.  My friend came to me with an apron problem, and needed some help solving it.  She has lots of cute aprons at home, but none of them are giving her the coverage she needs.  You know me, I love an apron challenge, so I was so excited to work on this project! 
You see, my friend is a very domestic woman.  She grows a lot of her own food and is very active in the kitchen.  She also has four small children.  So not only did she need an apron that would be beautiful, she needed an apron that would be functional as well.  While wearing her other aprons, the tops and sides of her shirt were still getting messy.  She also needed more coverage on the back so she could wipe her hands on her hips.  (I can so relate to that last point!)

While searching the internet, my friend came across this apron here.  She thought this might be the perfect design to give her the functionality that she needed.  We both thought that apron was amazing.  However, my friend decided that she wanted a bit more shape and definition in her apron design. 

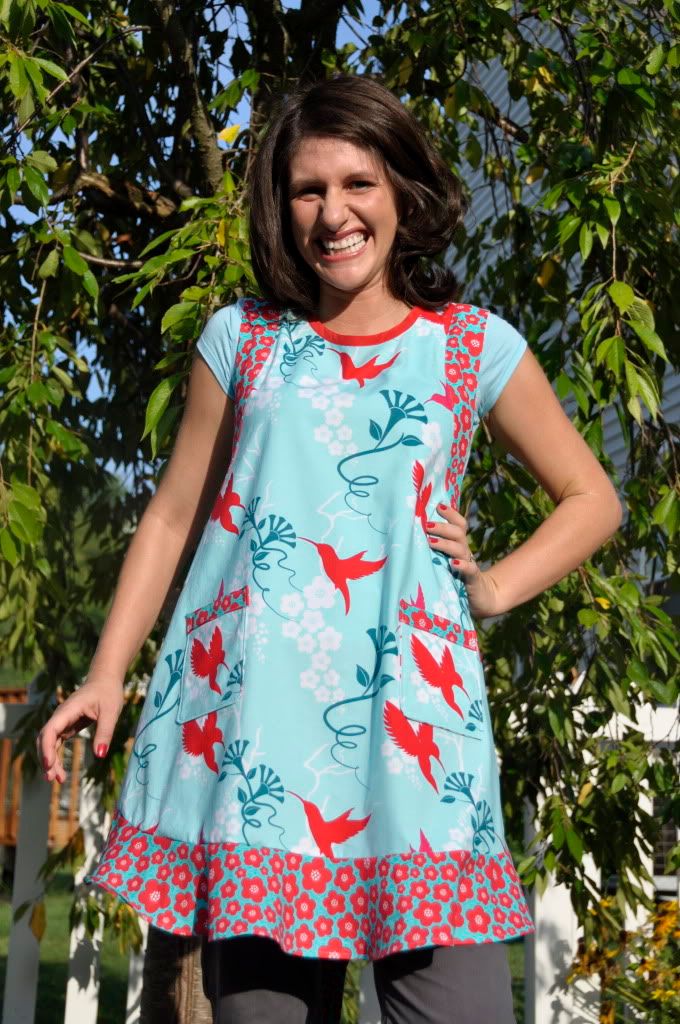
After trading nearly 20 emails back and forth, we worked together to create this apron here.  And I think we came up with the perfect solution: 

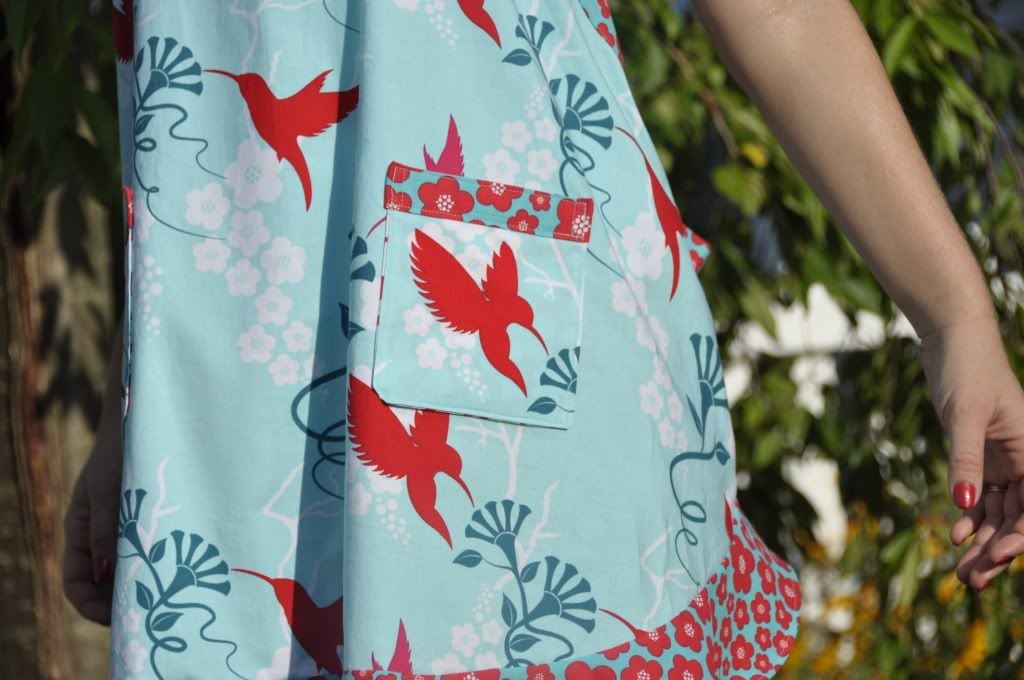
As you can see, the apron has a very high neckline and wide shoulder line.  This will help give her the coverage that she needs.  This apron is also a workhorse apron.  All pockets, straps and seams are TRIPLE reinforced.  This apron, while beautiful, will stand up to little children tugging on the straps and as many washings and drying as she can put it through!

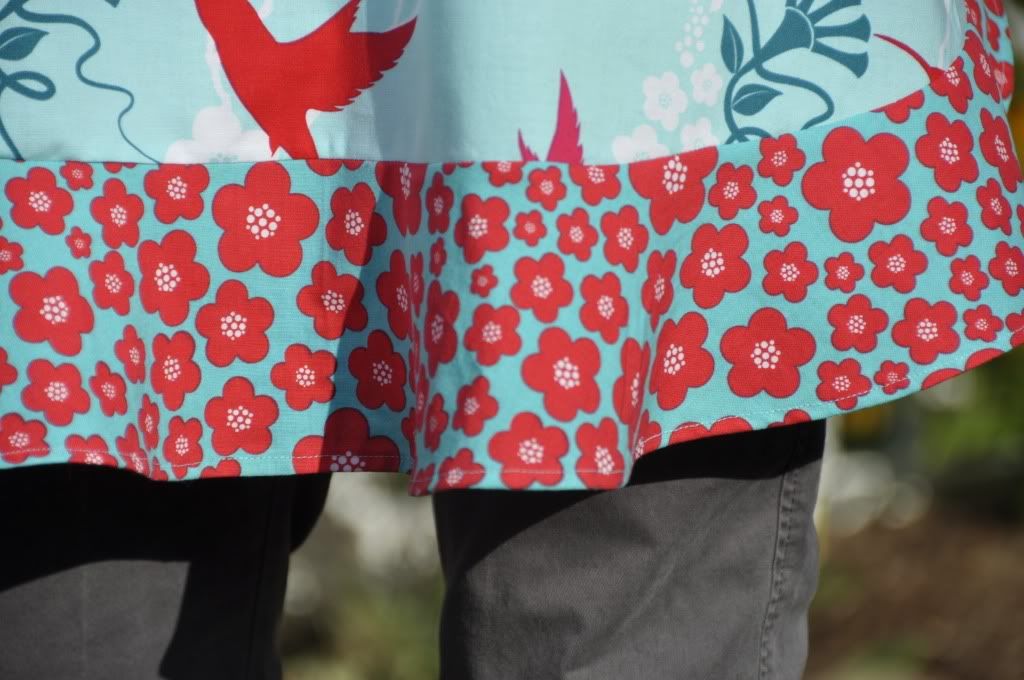
My friend gave me almost complete reign on choosing and coordinating the fabric.  (Which is a lot of fun for me!)  She told me that her favorite color is red and that she also likes owls and birds.  I thought that this fabric would be perfect for her.  I choose this fabric because it is a very modern fabric and color scheme.  I think that gives a new take on the nostalgic design of the apron.


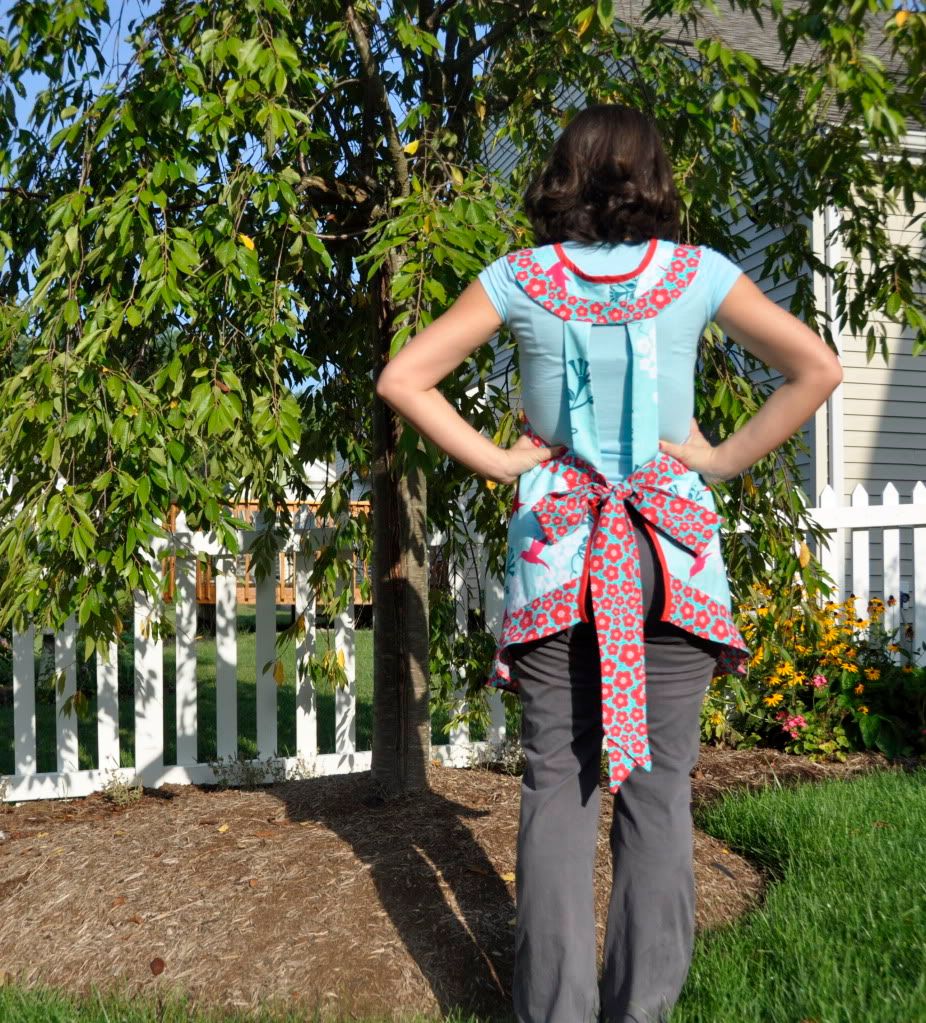
The back is very cool if I do say so myself!  ;)  It has two straps that come down and attach to the waste.  This will help hold the apron top in place so that it won't ride down, up,  or slip.  (Another problem she was having with her other aprons.)  As you can see, the apron also gives plenty of coverage to keep the sides of her pants clean while working in the garden and kitchen.
As with all of the aprons I sew, I made the ties completly reversible.  Many homemade aprons only have the ties hemmed.  I personally do not like that because the wrong side of the fabric shows when you tie them.  (Pet peeve of mine!) 
I also made the straps extra long so that they could be tied in the front or the back.  (I personally like the ease of tying my apron in the front, so I try to build that into everything I sew.)


Well, thanks for looking! 
Sunday, August 1, 2010

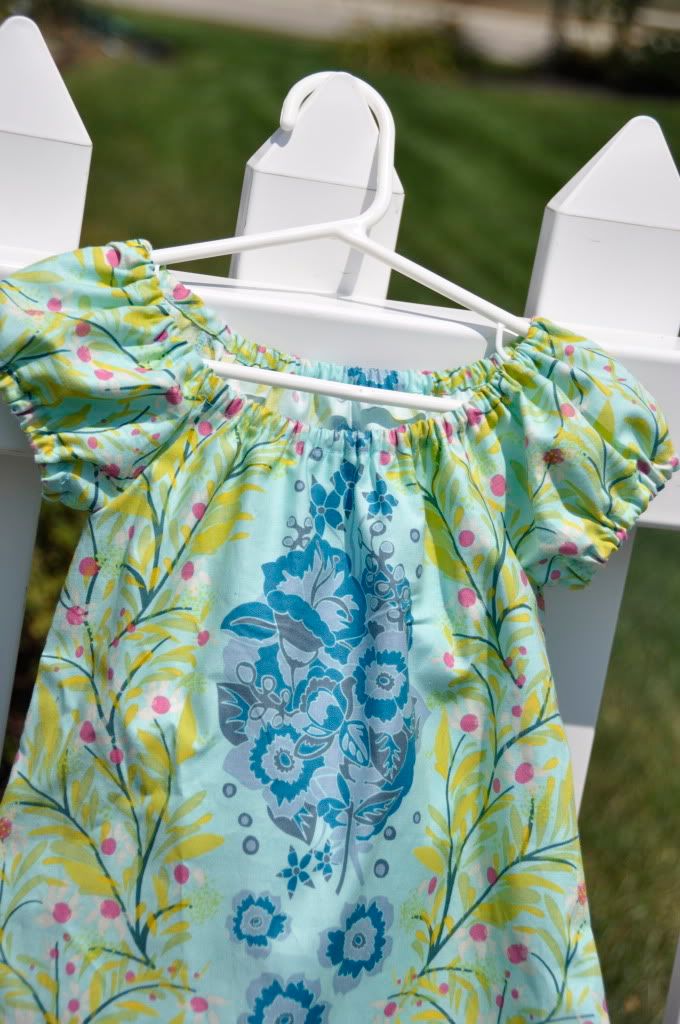
The She She Dress

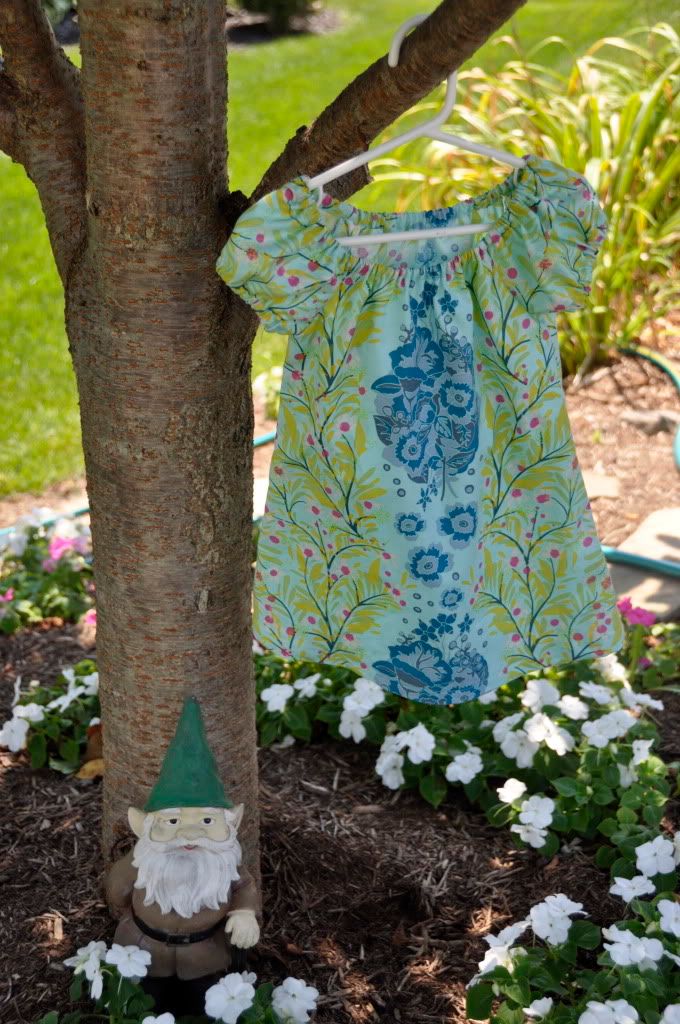
Here is a cute little dress that I sewed for Sophia.  For those of you who don't know, she calls herself "She-She."  So I named this dress the "She She Dress."
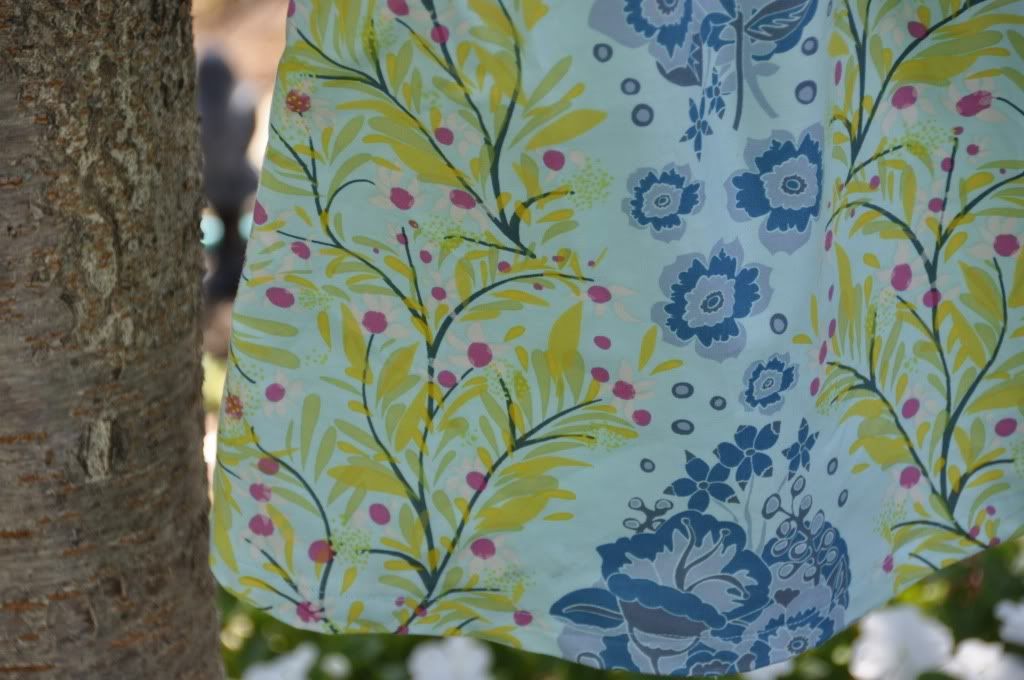
I really, really love the fabric of this dress.  It is called "Small Gatherings" in sea by Anna Maria Horner.  I kept the lines of the dress very simple so that it wouldn't distract from the fabric and I am very happy with how it turned out.  

 I also like this dress for practical reasons.  It is very comfy and will make a great all purpose playdress all year long.  In the summer she can wear it alone.  And in the fall it will look great layered with a denim jacket, leggings and boots.
The other great thing is that this is one of those dresses that will grow with her.  She can wear it now as a dress and eventually it can be worn as a peasant style tunic or shirt.  You gotta love that!

Well, thanks for reading!!  And yes, that is a garden gnome in my yard!! 
Tuesday, July 20, 2010

We Play...

...Ballerina!

Here is a Tutu and shorts set that I sewed.
 

To see some other playful ideas, check out Childhood 101!


Warning:  Shameless Self Promotion to follow...

If you have a little girl who would like a handmade tutu, please feel free to contact me.  I am selling handmade tutus like the one pictured above.  They are great for family portraits, dress-up, halloween, and little ballerinas!  Each tutu is sewn by me with tender loving care.  Each one is very soft and luxuriously full.  (Made with nearly 125 yards of tulle!)  The one pictured above can be made for only $25.  Your choice of color(s).

For more info, email Cathy @ AttachedAtTheSeams  Dot Com or leave a comment.  :)
 

Blog Template by BloggerCandy.com