Showing posts with label 26 Months Old. Show all posts
Thursday, July 15, 2010

A is for Alien: A Unit Study on Space

At the library this week, Marcus asked to get some books out about aliens. 
I did a quick search and found stumbled upon two titles that we really enjoyed.  I ended up turning this into a light unit study.

Updated: 11/10/2010 with more ideas!  

Fun Read-Alouds:

The first book we read was Alien Invasion written and illustrated by 7 year old Benjamin Kendall.
 Alien Invasions
When I first checked this book out, I had no idea that it was written by a little kid.  However, I have to say that Benjamin Kendall is one awesome kid!  This book had me chuckling from beginning to end.  It is not outright funny, but it has this subtle type of humor that I found extremely enjoyable to read.
The story was a great one, and Marcus asked me to read it to him about 9 times this week!   I also couldn't get over his illustrations.  I am 30 and can't draw near as well as Benjamin at 7! 


The second book we checked out was Alistair and the Alien Invasion.
 Alistair and the Alien Invasion
This was another great find.  The kids both enjoyed this story and I read it multiple times too this week.  This book also had my chuckling.  My favorite part is the illustration of Alistair ironing his socks before he leaves for space.

History:  
For history, we read Aliens are Coming!
Aliens Are Coming!: The True Account Of The 1938 War Of The Worlds Radio Broadcast
This is a true account of the 1938 War of the Worlds radio broadcast written for children.  This book did a great job describing what life was like in 1938 and role that radio played in society. 


Projects: 
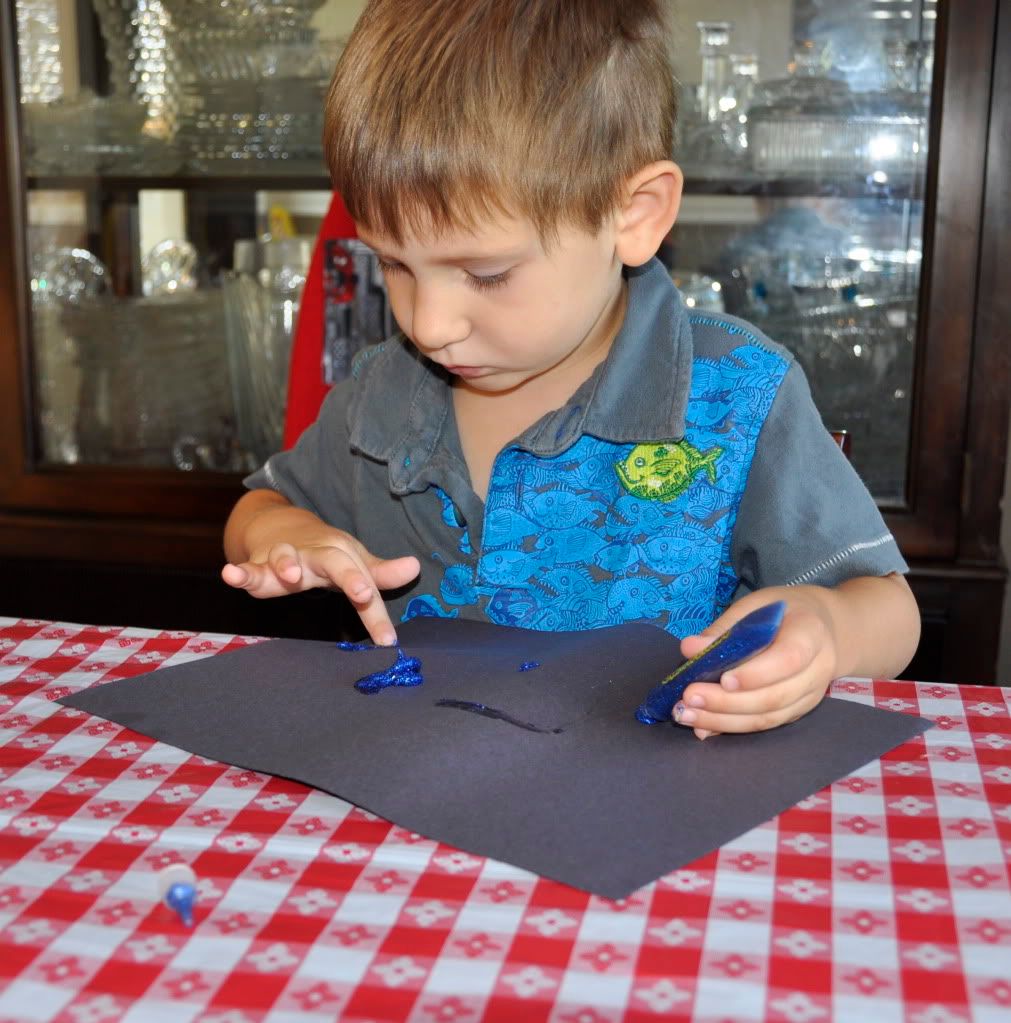
After reading our alien books, I remembered seeing a Alien Letter craft on the blog No Time for Flashcards.  So I quickly pulled out all of the stuff to make it and Marcus made an Alien shaped letter A.
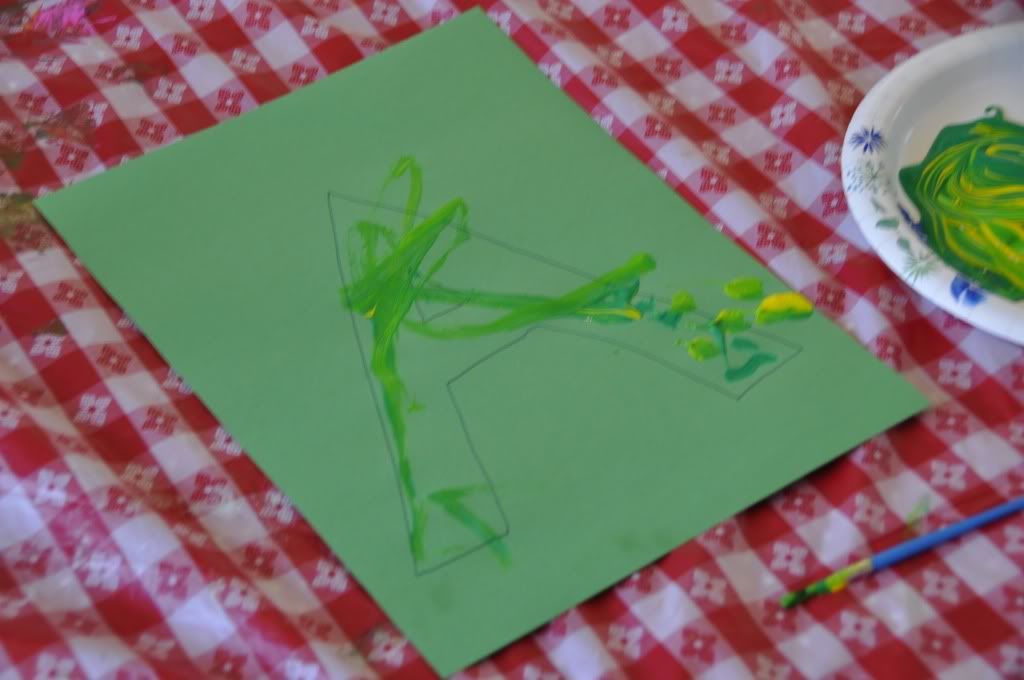
First I drew an A on a piece of construction paper and he painted it.
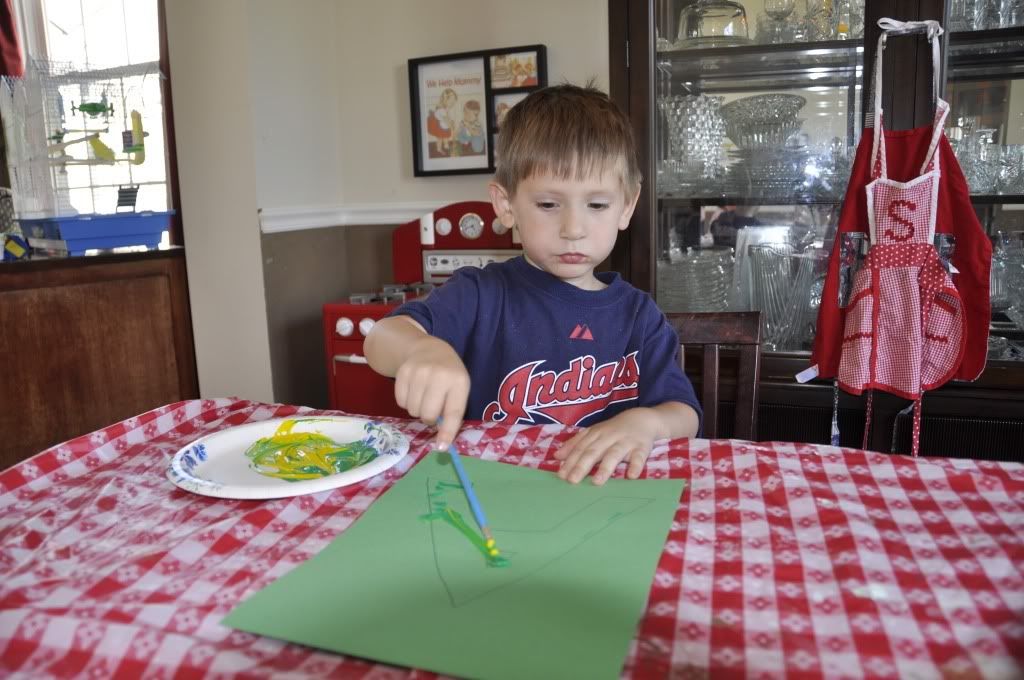
Without any prompting from me, I noticed that he was just naturally tracing the shape of a letter A with his paint brush.  This is what the "A" looked like when he was finished. 
After that we cut out the A and pasted it to another sheet of paper.  Then we added some eyes, a mouth, and antenna.  It turned out very cute I think!
I then asked him if he wanted to add the page to the alphabet book he is making.    (More about the alphabet book in another post.) However, he said that he wanted to use it to pretend to be an alien.


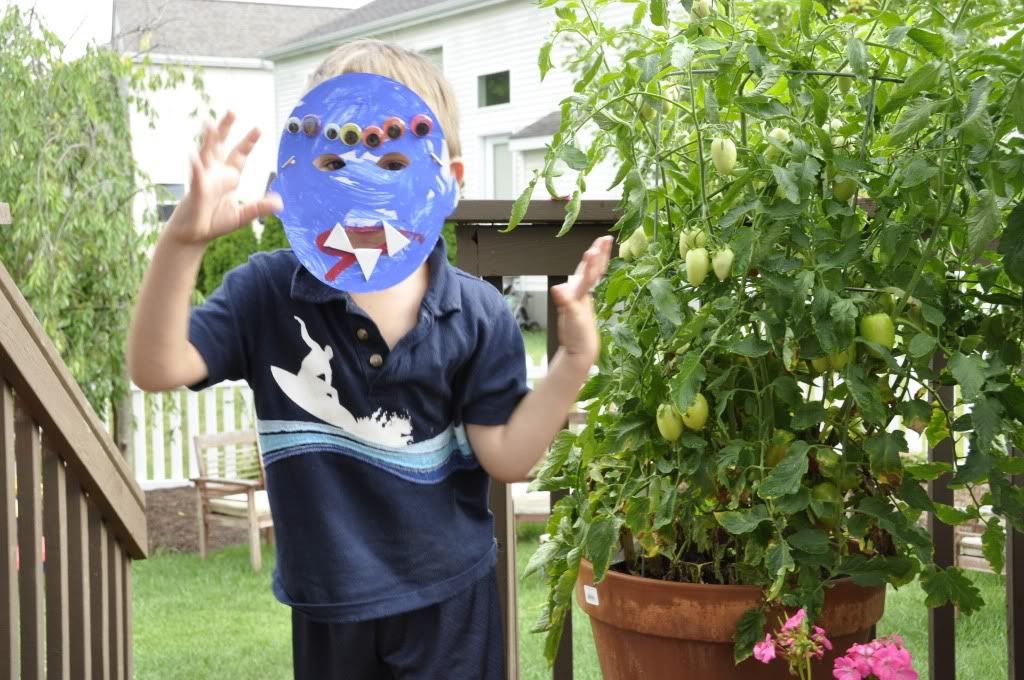
I told him that we could do better than that...we could make actual Alien Masks!!!  This wasn't a craft project I planned.  I just happened to remember that we had some things on hand that would work for alien masks. This is one of the reasons I like to have lots of generic craft supplies on hand.  Sometimes they make for very enjoyable impromptu projects like this.  And things always feel so much more natural when they are child-led and driven.  As opposed to some huge, planed out thing that I try to get the child excited about doing.

So, what did I have on hand?  

Well, Michael's (one of my favorite places in the world to shop) has this aisle of paint-able items that are made out of very thick and heavy card-stock.  They have full sized swords, crowns, animals, dinosaurs, feet...all sorts of things made out of card-stock.  They usually come in packs of 6-12, and they are fairly inexpensive.  I often stock up on these just to have around the house when I need a craft project for the kids to do.  You can paint them, color them, decorate them with jewels, glitter, decoupage, stickers...you name it.

I actually have an entire bin that is labeled "paper things for the kids to paint".  You can see my stash here.

Well, one of the things that we have are masks.  (You can see them sitting on top in the picture.)  Again, I wasn't exactly sure what I would do with these when I bought them.   I will tell you one thing, I didn't expect that we would turn them into aliens!

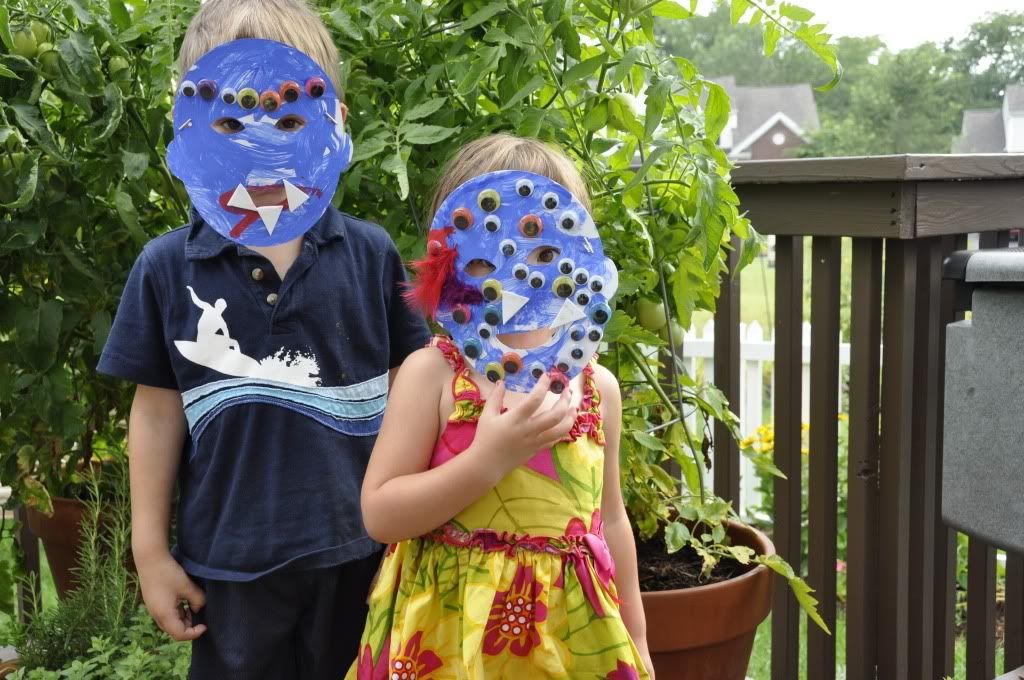
This was an open-ended art project that the kids totally made and designed themselves.   I put the following supplies out on the table for them to use as they wanted.


Supplies:
1)  Blank card-stock masks (availabe at Michael's)
2)  Purple and Green paint
3)  A bowl of Googly Eyes
4)  Teeth cut out of craft foam left over from our Aligator art project
5)  Craft feathers
6)  Pipe Cleaners  (antenna?)
7)  Paint brushes
8)  School Glue

I love watching my kids at work.  This is one of the reasons I love open ended projects like this.  I love to observe how they each interact with the supplies given.  This is what I observed as they were working with the various supplies:

Paint:
Well, after I laid out the green and purple paint the first thing Marcus did was ask for blue and red paint.  I said, "Aren't aliens green?"  He said, "No, I want a blue alien".  So I gave him some blue and red paint.  Shortly after Sophia said, "I want blue!"  So we had two blue aliens.  :)

Marcus also wanted to paint his aliens mouth red.  However, it gave his alien a very scary look because it kind of looks like blood!  I don't think that was his intention...although maybe it was!  


Eyes:
Marcus made a neat row of eyes on the forehead of his alien.  
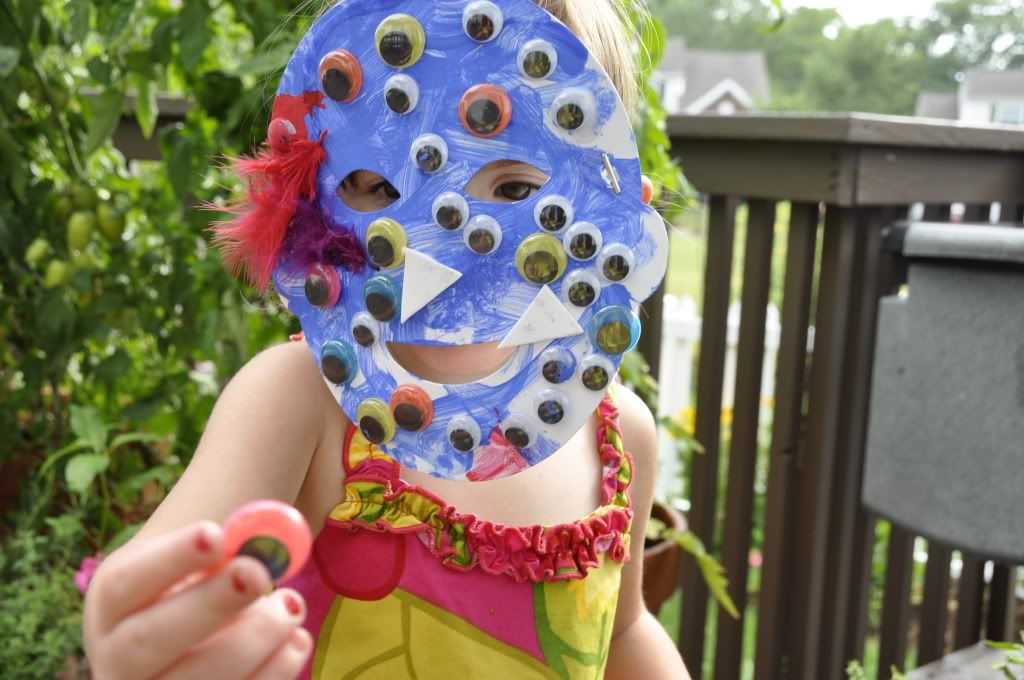
Sophia used every remaining googly eye in the bowl to cover her alien.  (Seriously!  She used up the supply of googly eyes!)


Feathers:
Sophia added feathers, but only two, and only to one side of her alien's head.
Marcus didn't want any feathers on his alien.

Pipe Cleaners:
Neither child attempted to use pipe cleaners in their design.

Teeth:
Each child certainly wanted their alien to have lots of sharp teeth! 

After our masks dried we danced around in them and played alien for quite awhile.
Marcus and Sophia also thought it would be fun to jump out and scare Daddy with the masks when he got home from work.  I swear I had nothing to do with giving them that idea!  ;) Poor Doug!
Uh-oh....an alien lost an eye.  Luckly she has many back ups!


Sensory Exploration:
For sensory exploration we played with moon sand.  Moon sand is a great material that even adults love to play with.  It has a really cool consistency.  It is like sand that can be molded and hold its shape.  The con is that it can be quite expensive.  Here is a great moon sand recipe that you can make from home.
Moon Sand Two-Pack 10 Oz Space Blue & 10 Oz Galaxy Green
To make a sensory box for play, I suggest adding in some minature space toys and astronauts. 


Other ideas for sensory play are to provide white playdough(This is my favorite play dough recipe.)  Have your child roll the dough into a ball and use an eraser tip to create moon creators.  For even more fun, put out your miniture astronauts and spaceships and have them explore the moon.  Add rocks (astroids) and have those crash into the planets and smash them.  (Can you tell I have a little boy?!) 


Nature Study:  Make a Lunar Calendar
An easy thing for preschoolers to observe in space is the moon.  Take the kids outside at night and have them observe the shape of the moon throughout the month.  Have them draw the shape of the moon and create their own lunar calendar.  DLTK has a some great ideas that makes it possible for even little kids to re-create the shapes of the moon that they observe. 

Making Learning Fun also has some nice moon sequencing cards that can be used to reinforce your observations. 

Other Science Ideas:
With our local preschool co-op, we took the kids outside and we built a scale model of our solar system using various balls as props.  This really gives the kids an idea of how large our solar system is.  We used a 16 foot wide sun made out of old yellow sheets sewn together.  For the rest of the planets we used various balls that were aproximatly the correct diameter.  If you want to replicate this experiment at home, you can use this cool calculator to determine the sizes and distances of your "to scale" model. 

Math:
We also had some Montessori math items on our shelves this week.

We used star counting cards and mini star erasers. The kids identify the number and then count out the appropriate number of start erasers for each number. 

We also used these rocket counting cards.  With these cards, the child counts the stars and then puts a clothes pin on the correct number.  The kids didn't seem to be very interested in these, so we will probably put these out until they are a bit older. 

Field Trip:
We happen to live near an AWESOME children's science museum that has a space exhibit.  If you don't have something like that, you could take your kids to visit a planetarium.

However, even if you don't have any of those things, how wonderful would it be to just take the kids out at night and star gaze.  Talk about making memories!  How special would it be to stay up late one night and just gaze at the stars together. 


Go-Along Books to Put on the Reserve List:


Other links to become Attached to:
The  Ultimate Alphabet Craft Collection for the Letter A.
STart (A Story + Art)
Tot School (See what other toddlers are doing)
Preschool Corner (See what other preschoolers are doing)
Paint the Moon with Puffy "Moon Paint"
Making Learning Fun (a host of Space related ideas for learning!)
Kid Soup Space Ideas (this is a subscription only site.  However, you can get a free trial.)  
More Books About Space


Thanks for reading!!
Monday, July 12, 2010

Pom Pom Sorting and Cutting Activity

As promised, here is some more info on our pom-pom and cutting activities.

Pom-Pom Sorting Activity:
Purpose:  Works on some math skills such as sorting, counting, and number identification

What you will need:
1)  Bamboo mat
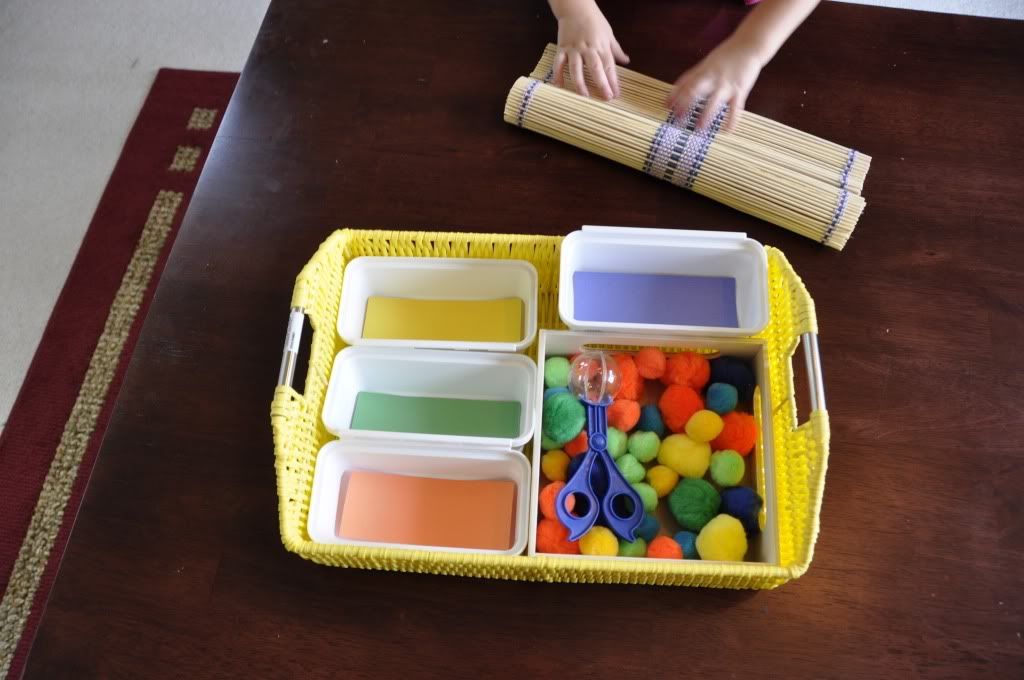
2)  Tray with four compartments to sort into labeled by color.  (You could use a paint tray, egg carton, muffin tin, pop cycle container, or whatever you have on hand.)  I used four separate Rubbermaid containers that are meant to organize a drawer.  They can connect together which makes them nice since I can connect however many I need.   To label them, I inserted a small piece of construction paper. 
3)  Pom-Poms in four colors in a basket or container
4)  Bug Catcher Bubble  I purchased mine at Michaels.  They came with a bug kit.  (You can also purchase those them online here.)  
5) Number cards (available as a free download from Montessori for Everyone)


Presentation:
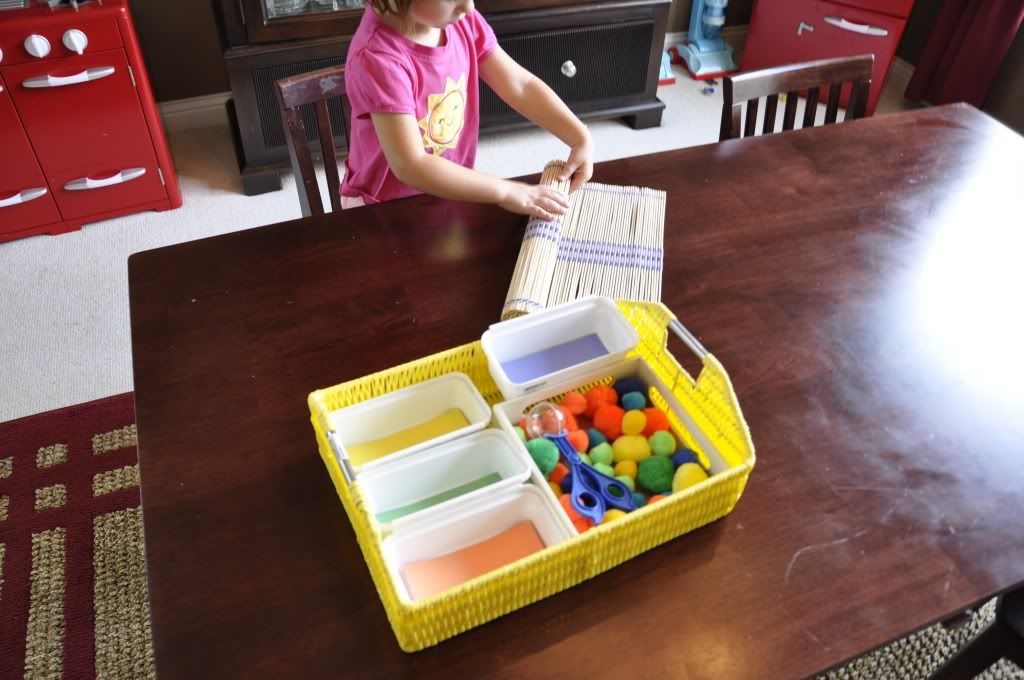
We put this activity basket out on the kids shelves this week.  When one of the kids wanted to play with it, they would carry all of the materials over to their table.  
Then they would unroll the mat and set up the sorting trays.

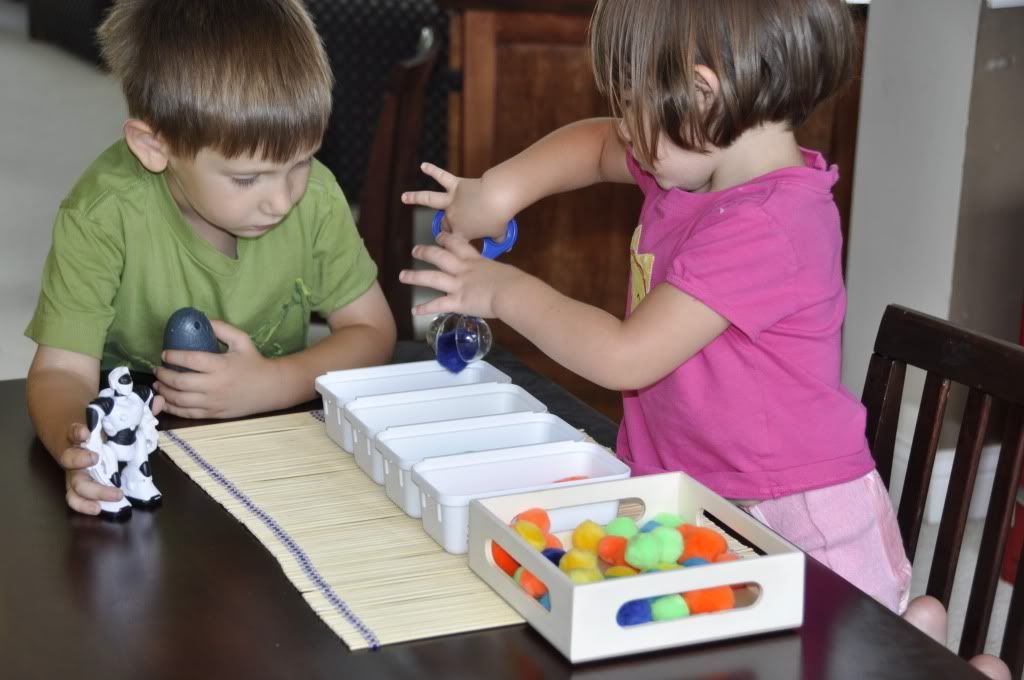
Then, using the bug catcher they would pick up pom-poms and sort them by color.  The bubble shaped bug catcher made the game more interesting and added in an extra bit of fine motor challenge.

To add an extra challenge, I made sure and included pom-poms in various shades of the colors.  For example, I had both dark navy blue and light baby blue poms-poms that they had to identify as being blue. 

For older children, you could also have them count the pom-poms.  Then choose a number card that identifies the number of pom-poms in the containers.


Cutting Activity:
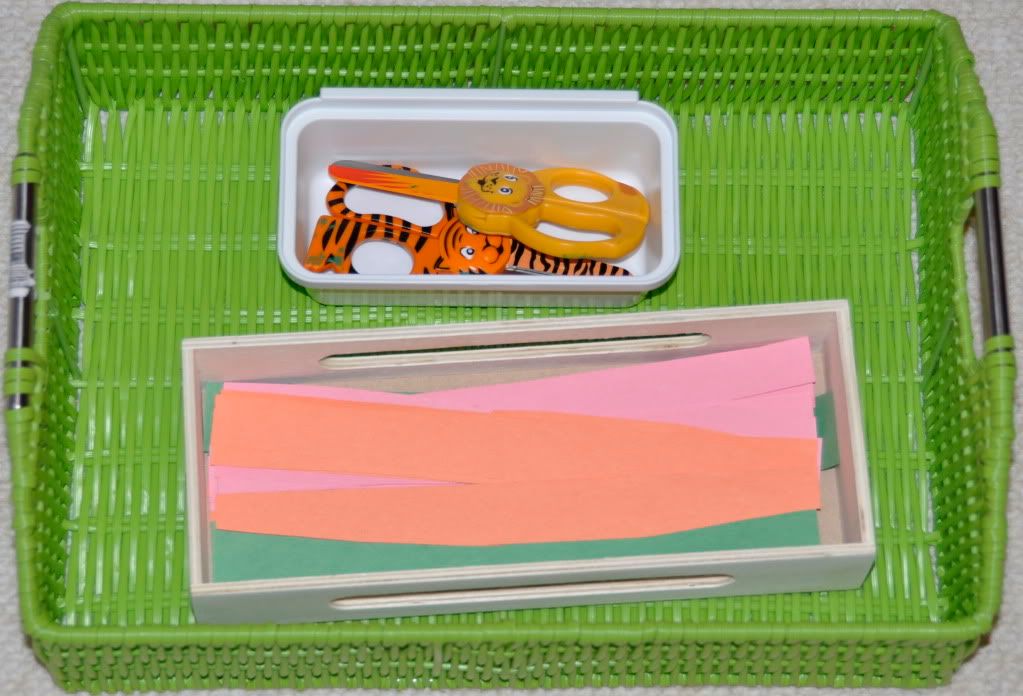
Purpose:  The purpose of this activity is to teach a beginner scissor user (like 2 year old Sophia) how to use scissors properly.  


The next idea I got from an activity in the Montessori Services catalog.  It is called the "using scissors activity") 

(Photo from Montessori Services)

I put my version together and it looked like this:


To put this activity together you will need:
1)  Strips of paper cut approximately 1" wide.  (This will allow the child to cut through the strip in one snip.  You can also optionally put some lines on this paper showing the child where to cut.  I decided to just concentrate on opening and closing the scissors.) 
2)  Good quality safety scissors
3)  Small basket to put the paper scraps

After I put this activity together, I saw that the blog My Montessori Journey has some great tips on teaching a child to use scissors.  If you haven't checked out this blog yet, please do so!  It is a great resource of ideas.

We also added a simple scissor fingerplay to our activity.  It goes like this:


Scissor Fingerplay:
Open Shut Them
Open, shut them, open shut them.

(use index and middle finger to make scissors motion)
Give a little snip, snip, snip.
(three quick snips with fingers)
Open, shut them, open shut them.
(repeat scissors motion)
Make another clip.
(make another scissor motion)


Thanks for reading!  And above all else, have fun and enjoy your precious time with your children.  


For more ideas on using Montesori methods at home, check out:  One Hook Wonder.
For more ideas on introducing math concepts to young children, check out The Joyful Learner.  

Tuesday, July 6, 2010

We play...

...on a Pirate Ship and Pirate Graveyard!!!

My mama lives in a big farmhouse that sits on a couple of acres.   In nearly every corner of the property, she has created a fun little place for the kids to play.

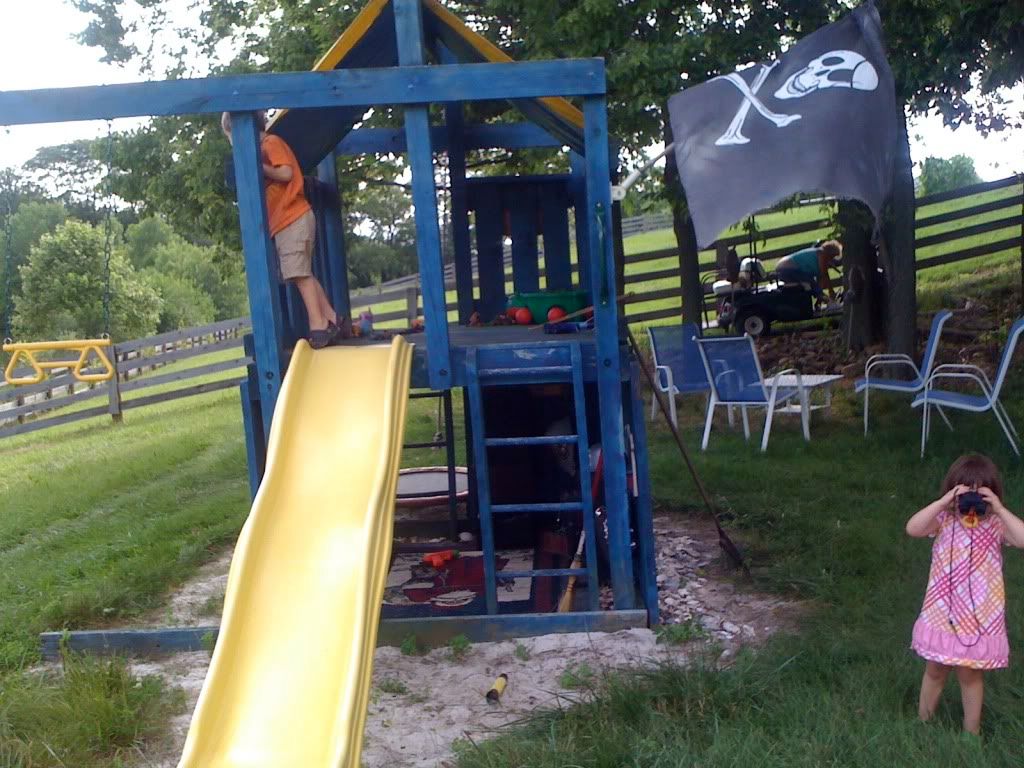
Here is one of the spaces that she has put together for the kids.  We call it the Pirate Fort and Pirate Graveyard. 

She took an old swing set and painted it blue and decorated it in pirate accessories.  It has old pirate flags and skulls and cross-bone plaques in the sides.  It also has a couple of nautical paintings that she found at the thrift store and hung up inside of the fort. 
The kids love to go there and pretend that they are on a pirate ship.  The pretend that the fort is the ship and all around it is the ocean.  All around the "pirate fort" we put some sand and some shells that we have gathered from our various vacations. 

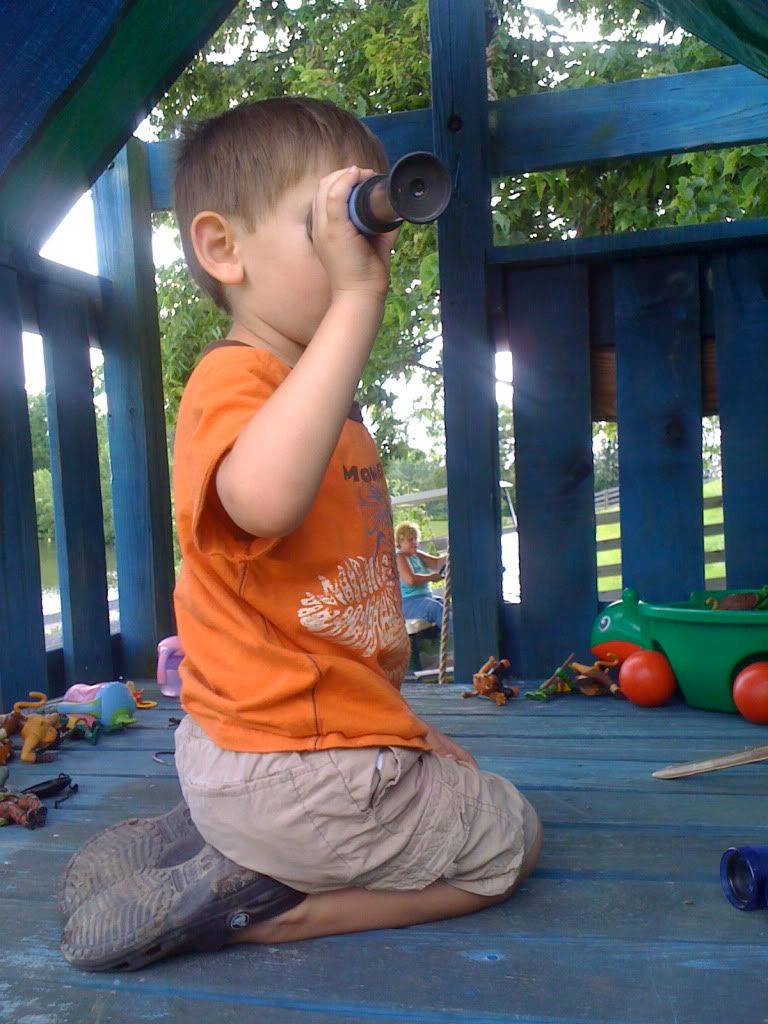
Here is Marcus looking out at the "ocean" for other ships.  Instead he spots land.  "LAND-HO!" he cries.


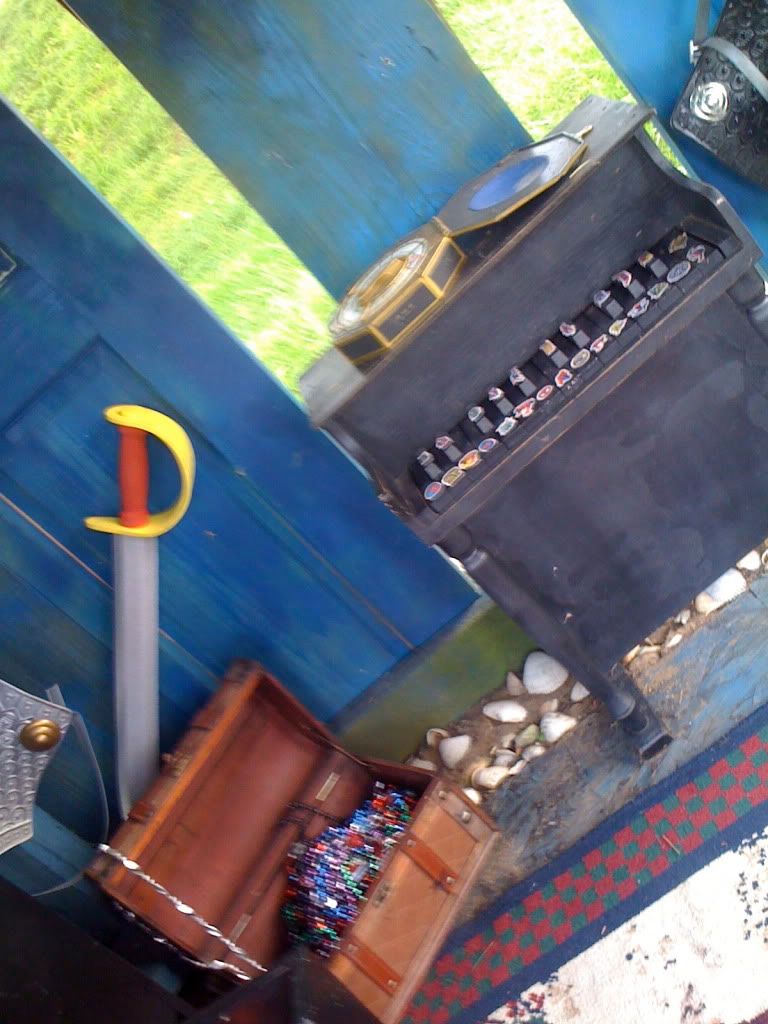
In the first level of the pirate fort, there is a treasure chest full of fake beads, golden coins, and jewelry.  Sophia loves to play dress up with the necklaces.  There is also lots of other dress up clothes there including pirate hats, eye patches, swords, knight helmets, breast plates, and shields.

There is also a small piano that the kids use to belt out some pirate music. 

Next to the pirate fort, is the "pirate graveyard".    We collected rock's from Papa's garden (poor Papa had A LOT of rocks in his garden) and threw them under the tree making a rock garden.

Then we put in some pirate flags and some creepy crawly creatures in there to make it more spooky.   There are owls, snakes, spiders, and bats hanging from the trees.

The kids LOVE playing in this fort.  It has created hours and hours of fun dramatic play.

For pirate reading, I recommend the book On a Pirate Ship by Sarah Courtauld.
On a Pirate Ship (Picture Books)

For more play inspired ideas, check out the blog Childhood 101.
Monday, July 5, 2010

A is for Alligator

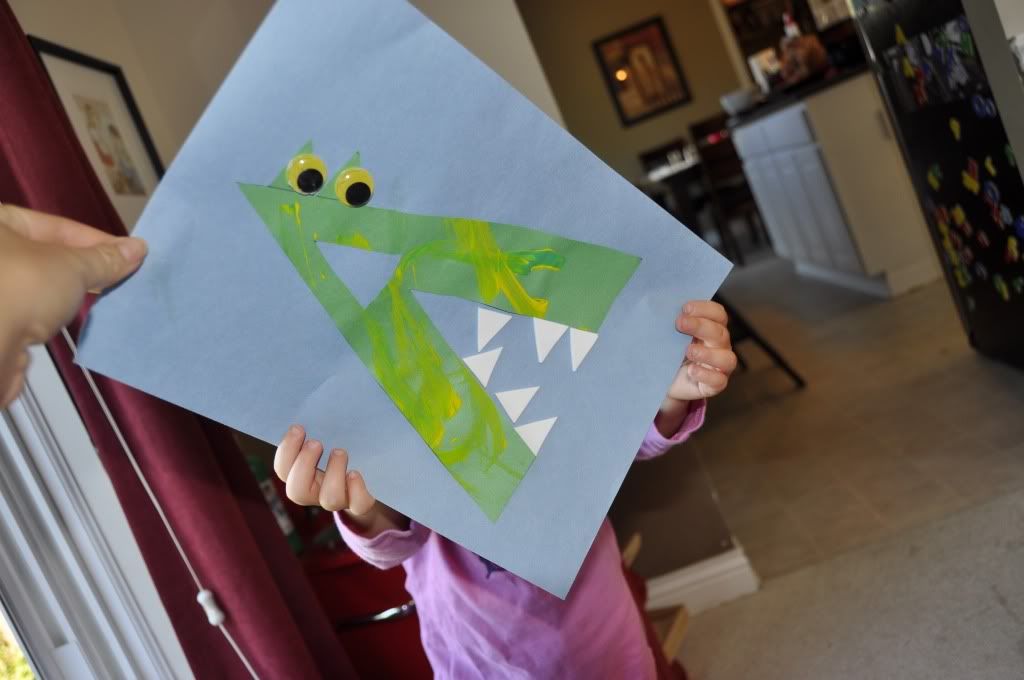
 Here is a cute Letter A craft that was inspired by this post.

To make this craft--


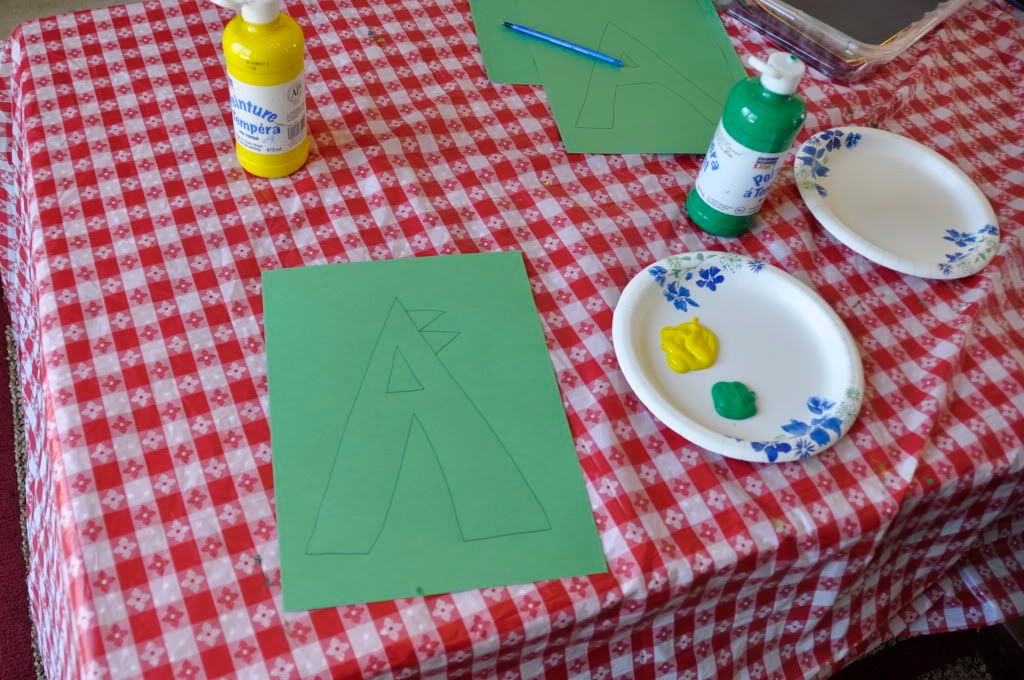
1)  Gather your supplies:
You will need:
Construction paper,
Safety scissors,
Glue Stick
White craft foam (or white paper in a pinch)
Googly eyes,
Paint


We used green and blue construction paper, and "reptile" colored tempera paints in green and yellow.

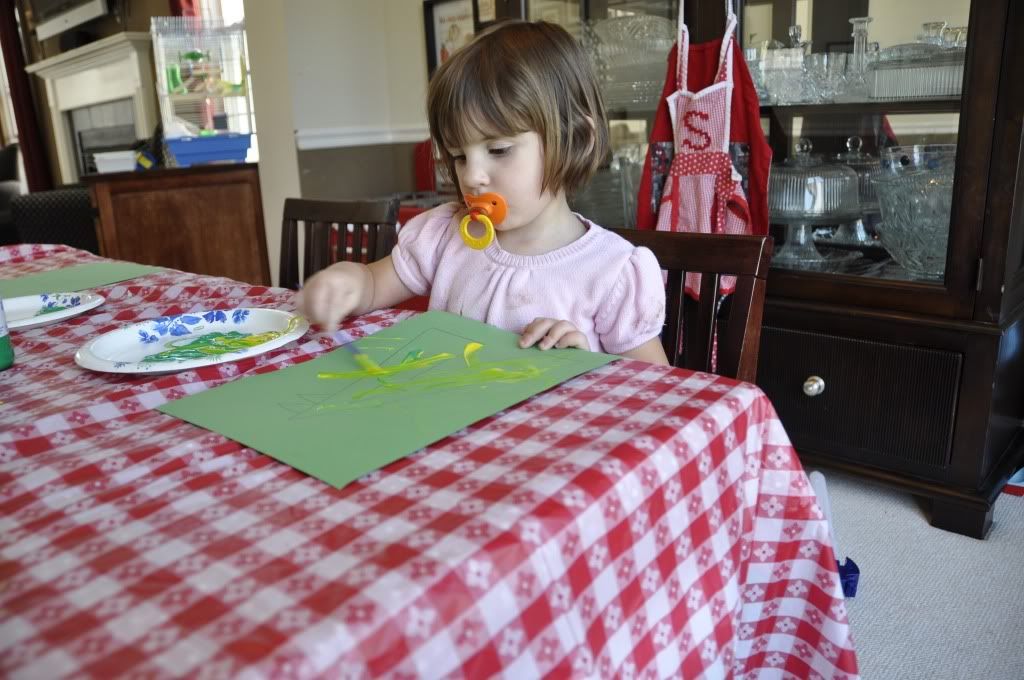
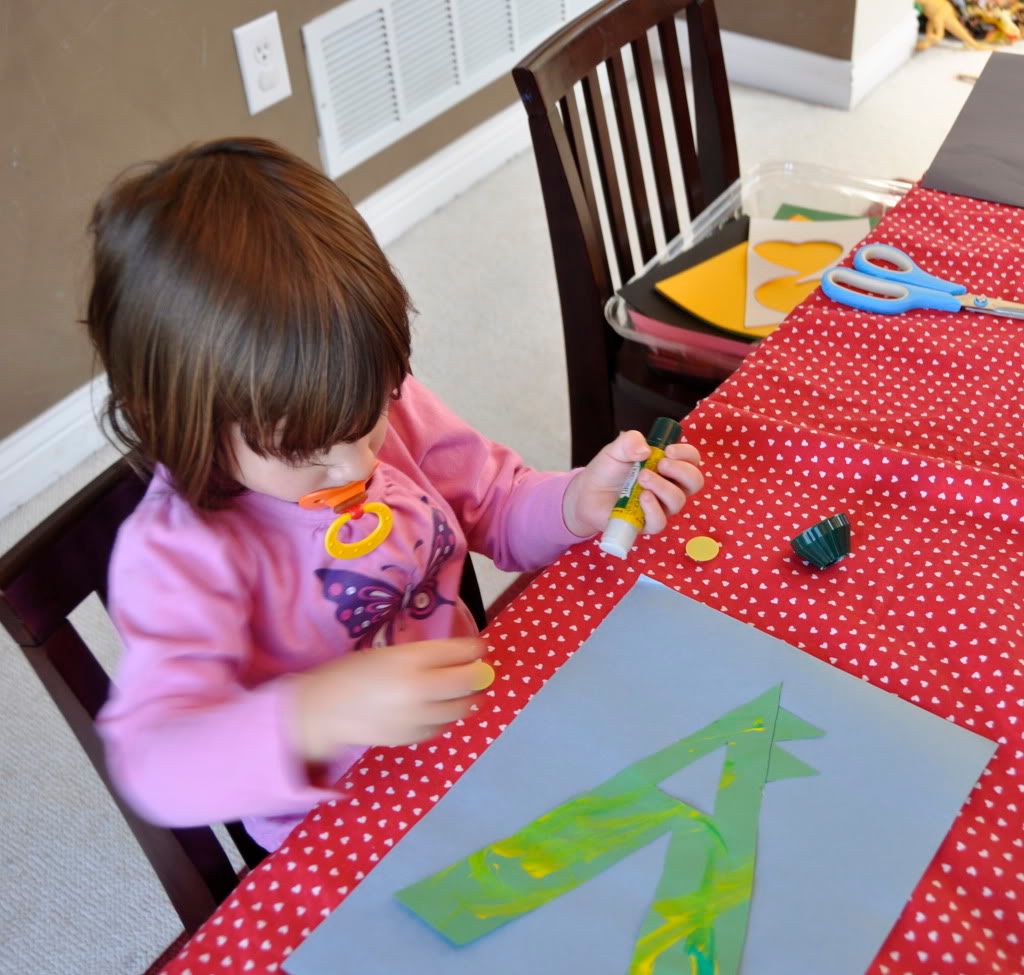
2)  Draw the outline of a letter A on a piece of green contruction paper.  (If you want, you can draw two triangles where the eyes will go.)  Allow your child to paint the letter any way they want.

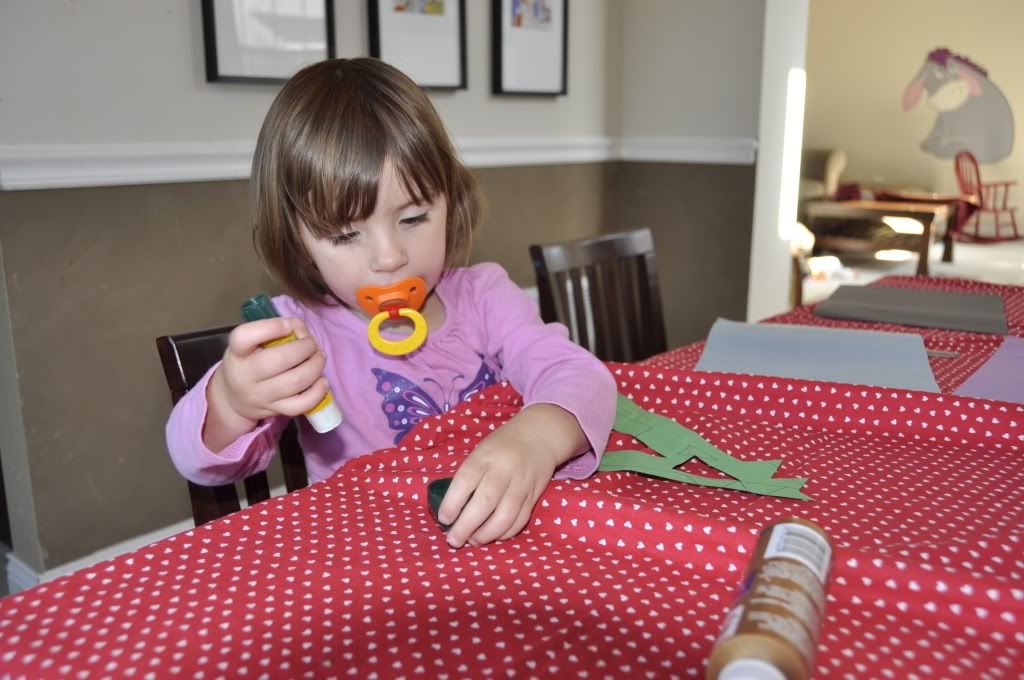
3)  Allow the paint to dry and then cut out your letter A. 


4)  Glue your letter A onto another piece of paper.  

5)  Decorate your letter A.  We used yellow googly eyes at the top.  And then we used white craft foam for the teeth.


6)  Display your alligator proudly!  
 
Sunday, July 4, 2010

Learning and Playing: Our Week in Review

 Here is an overview of what we did this week.  We use the Sonlight P3/P4 curriculum supplemented with some Montessori based tot school.


Learning Trays:
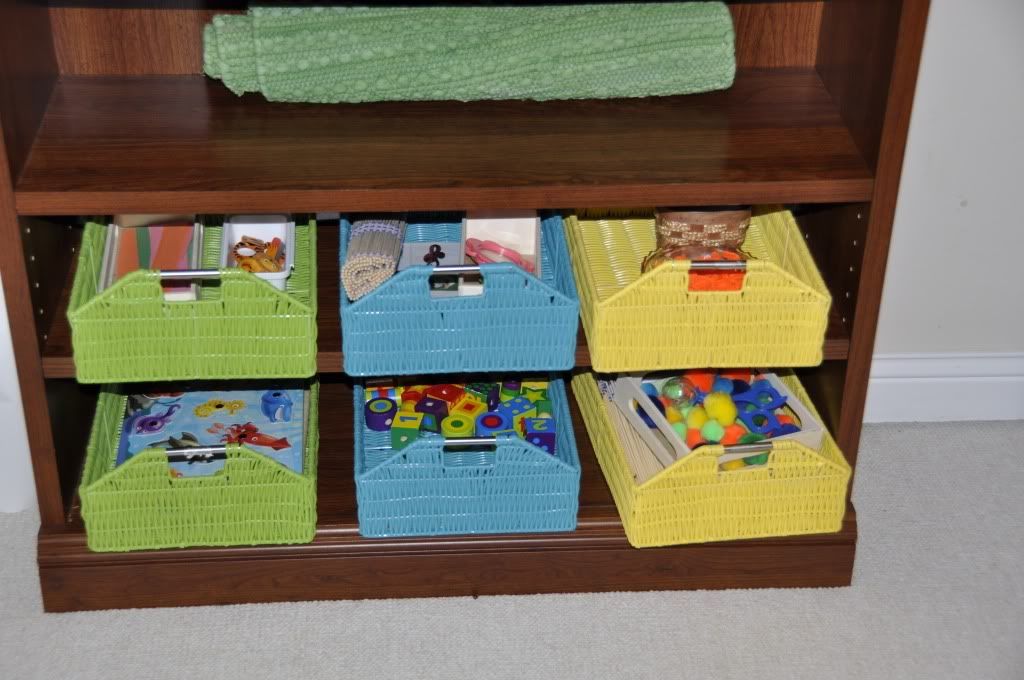
I had the following learning activities on the shelves for the kids--  (Note:  You can see more information on some of these activities by clicking on the links.)

1)  Cutting Practice (post coming soon!)

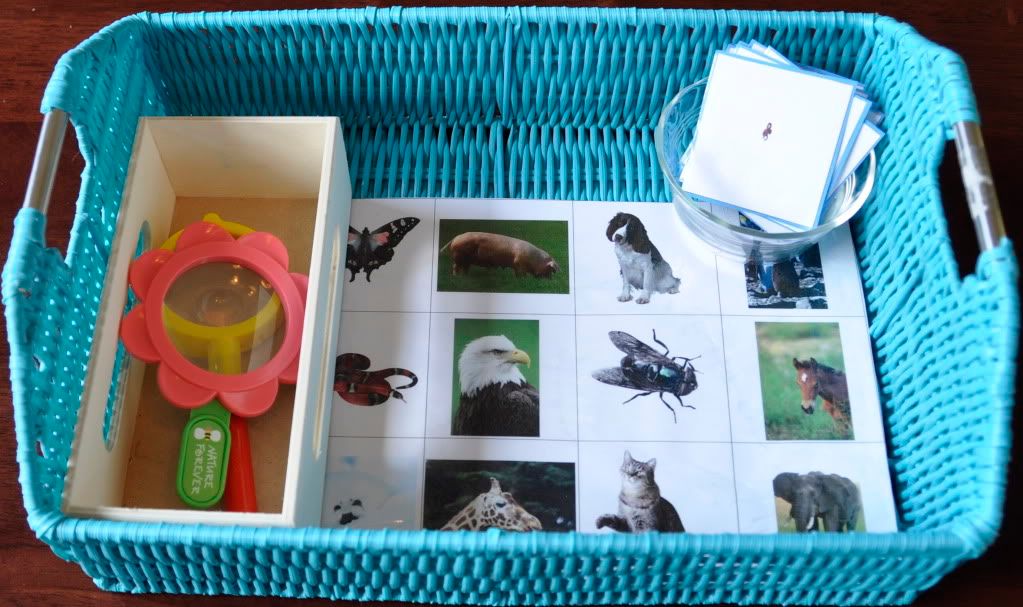
2)  Magnifying Glass Picture Match
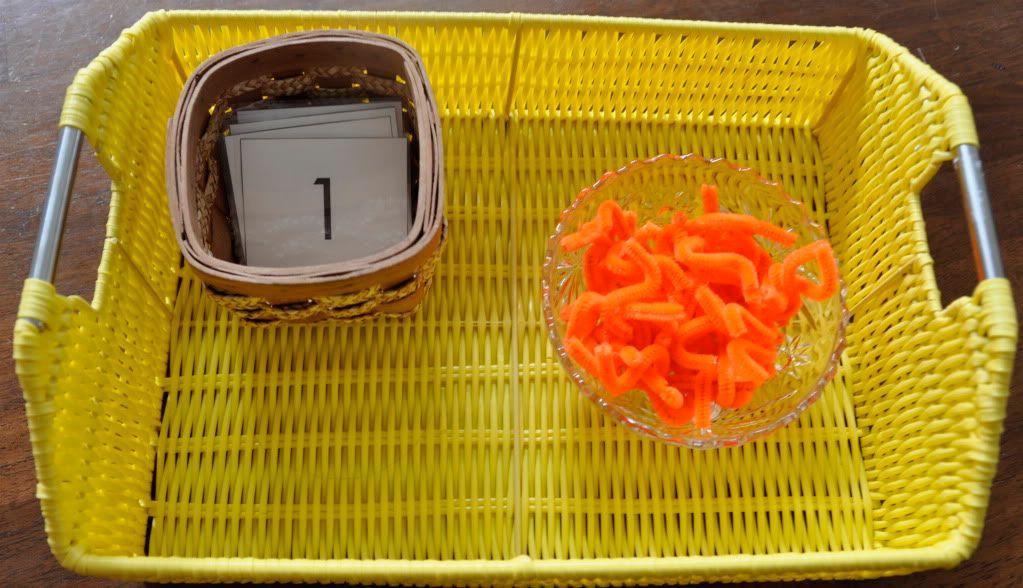
 3)  Snake Counting Game
 5)  Lacing Beads
  6)  Pom-Pom Color Match (post coming soon!)
How We Use Learning Trays:
I keep the learning trays on a shelf in our "library".  When I first put out an activity I will show the kids how to "play the game" and how to put it away when they are finished.   Then, I leave them to it!  When they want to get out an activity, they are allowed.  If they are not interested, they can play with whatever they want instead. 

The green roll that you see in the top shelf is a rug that we use with the snake counting game.  I teach the kids how to roll it up and put it away when they are finished.  Sometimes that is more fun for them then the actual game. 

Some of these actives are repeats from last week.  I like to leave an activity out until I notice that they are no longer interested in it.  Why switch it out if they are still having fun with it?  Right?


Besides our Learning Activities, we had a lot of fun and playful learning moments at home and away.
Here is what we did this week.


Sunday
The kids went to Nana's house to play at the pirate fort.    They also played in their swimming pool and had fun pouring and dumping water.

Monday
On Monday, we went to a special tot school themed playgroup hosted by a friend of mine.  (For more information on our tot school play group, check out Barefoot in Suburbia.)    The kids read some books, played with sidewalk chalk, water, and various tot school toys.  Sophia enjoyed covering a page with stickers and Marcus found another little boy to play star wars with.  I enjoyed some GREAT conversation and company.  So all in all, it was a great day.

 (Photo courtesy of barefoot in suburbia) 
Tuesday
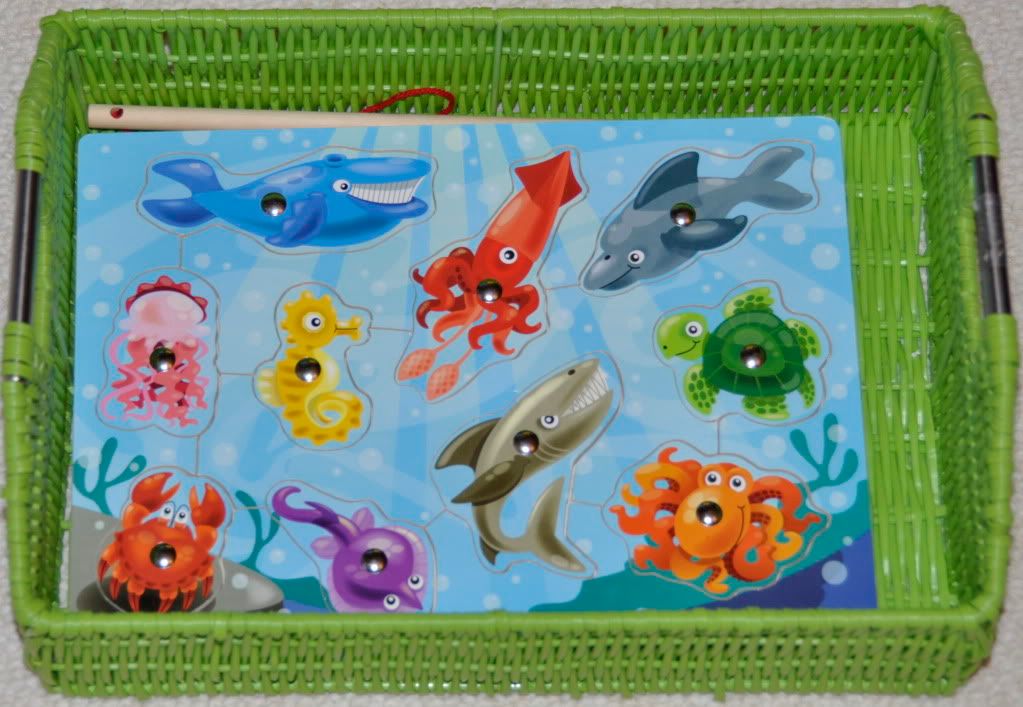
The kids got out their Learning Trays in the morning.  Sophia worked on sorting by color, and matching with her magnifying glasses.  Marcus was interested in playing with the fishing puzzle and stringing some beads on a shoelace.  (He said he was making a necklace for Nana.)


We also spent lots of time cuddling on the couch and reading books together.  My kids love to be read to and I strive to create a literature rich environment for them.  One of the great tools that I have found to do that with is the Sonlight P3/P4 book list.   You can read more about what we read this week here

We spent some time working in the garden and harvested our first ripe tomato, along with some GIANT habenaro and jalapenos.

In honor of our first ripe tomato, I read the story The First Tomato by Rosemary Wells. 


Wednesday
Wednesday is our library day.  We usually go to the library as a family and all pick out some new books to read for the week.  After the library, we had a picnic lunch at the playground and did some playing.  Then, we went to dairy queen and ate ice cream.  This has become a weekly tradition this summer.  The kids enjoy it and really look forward to it.  It is so fun to create special memories like this.

When the kids woke up from their nap, we met some friends up at the park for the local outdoor summer concert series.  This week they had a juggler.  It was Marcus and Sophia's first time seeing someone juggle.  Afterwards, they did a lot of pretending that we were juggling.  I packed a picnic dinner and we enjoyed it together as we watched the concert.  It was such a fun time. 

After the concert, we went followed our friends to another park and played until almost 9:00PM at night.  We are really enjoying these long summer days! 

I realized later that we had eaten every single one of our meals under the blue sky on a picnic blanket.  How wonderful is that?  We are very lucky to have such beautiful weather that allows us to do this. 

Thursday
The kids wanted to get out their learning trays again in the morning.   Here they are playing with the magnifying glass activity.

Then we read some more books.  After their nap, we went back to the park and played, played, played. 

Friday:
On Friday we stayed home and played with our toys and learning trays.   Here Marcus is working on the lacing beads.  He said he was going to make a necklace for his Nana.  He loves his Nana.  :)
 And here is Sophia with the cutting tray.

We cuddled on the couch and read some books together.

The kids also worked on their letter A crafts.

Sophia made an Alligator in the shape of an A.
Marcus made an Alien in the shape of an A.


Saturday
We went to the pool together as a family.   The kids enjoyed hot dogs, chips, and ice cream at the pool.  What is more American than that!?

In the afternoon, we were all very tired from swimming.  So, the entire family took a long relaxing two hour nap together. 

When we woke up, we made a special Independence Day craft.  You can read how to make it here.

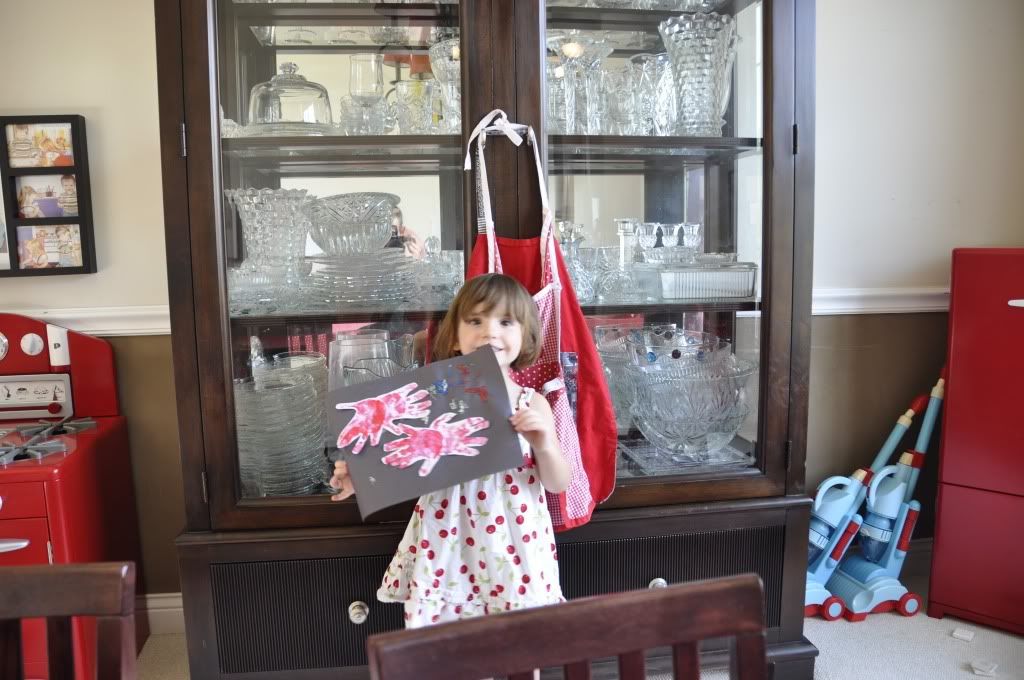
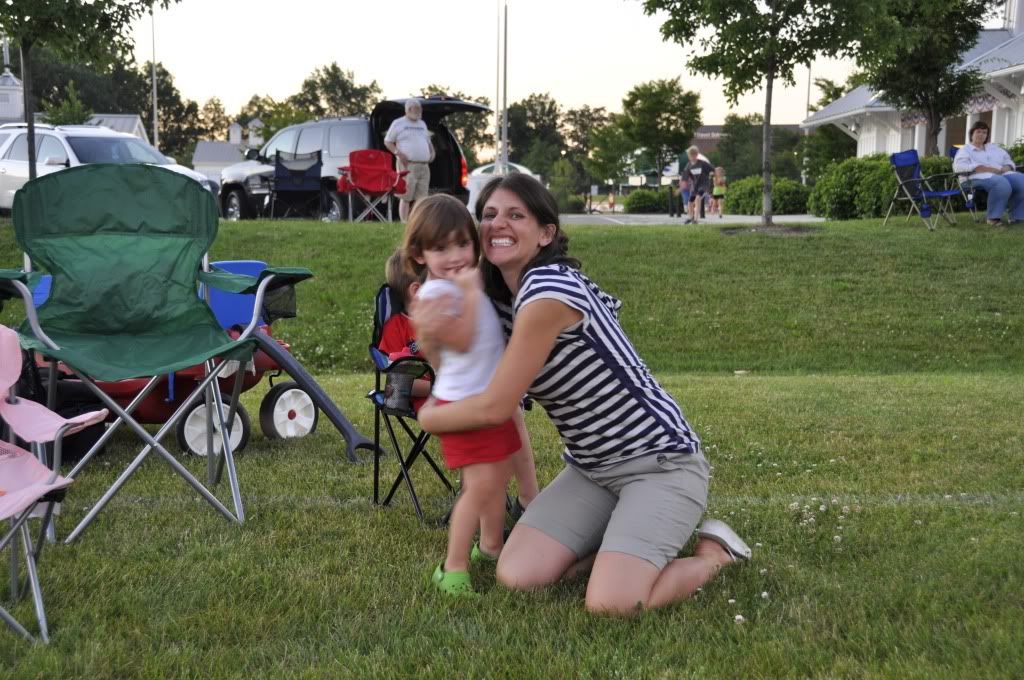
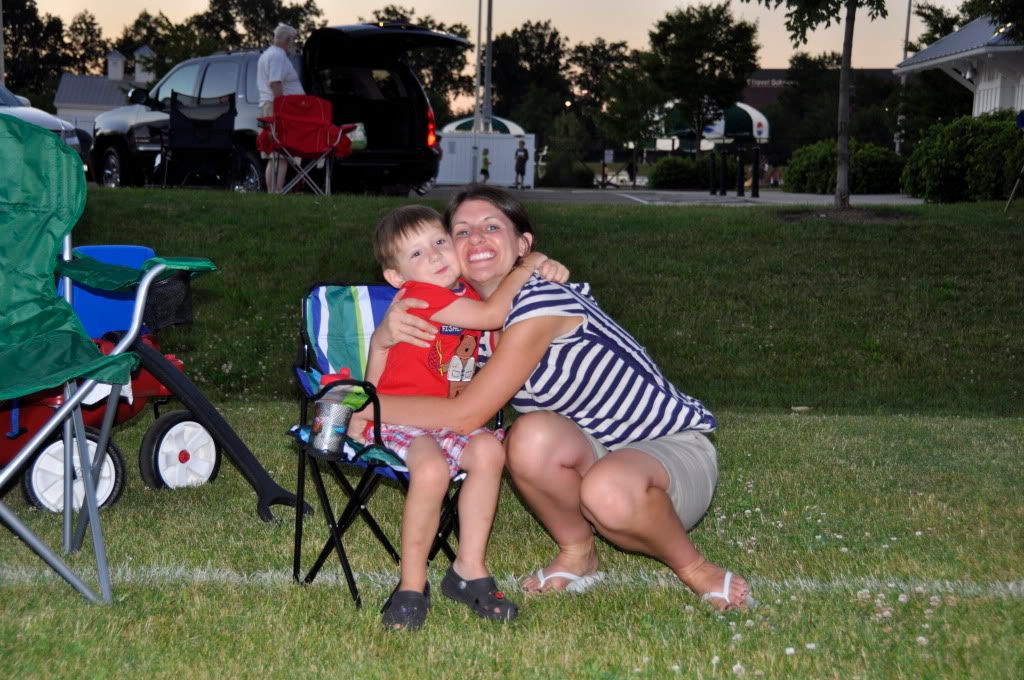
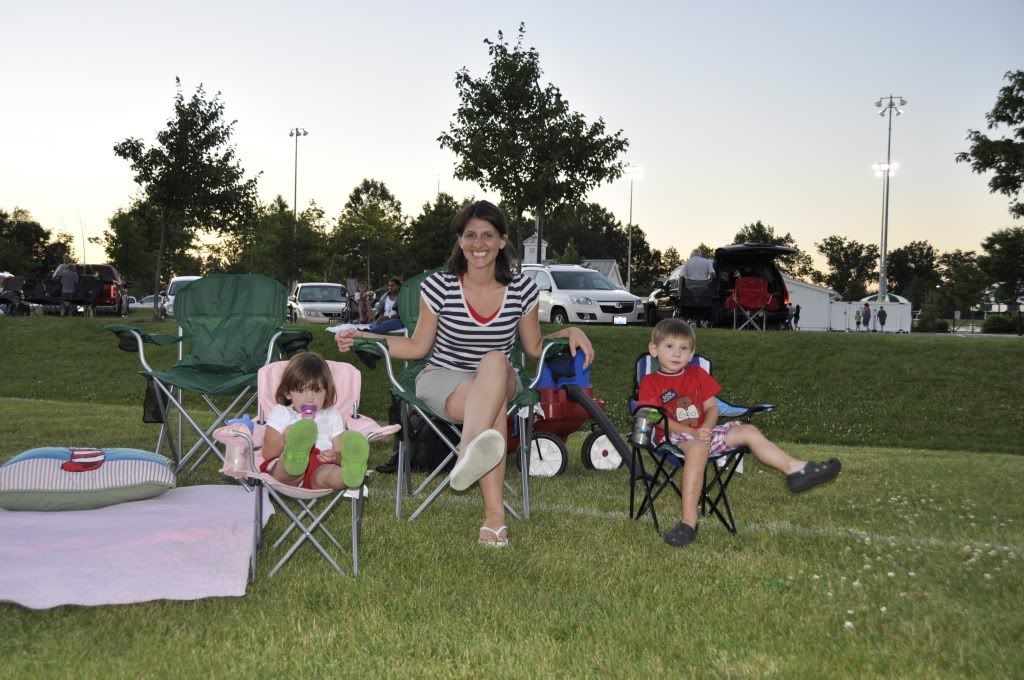
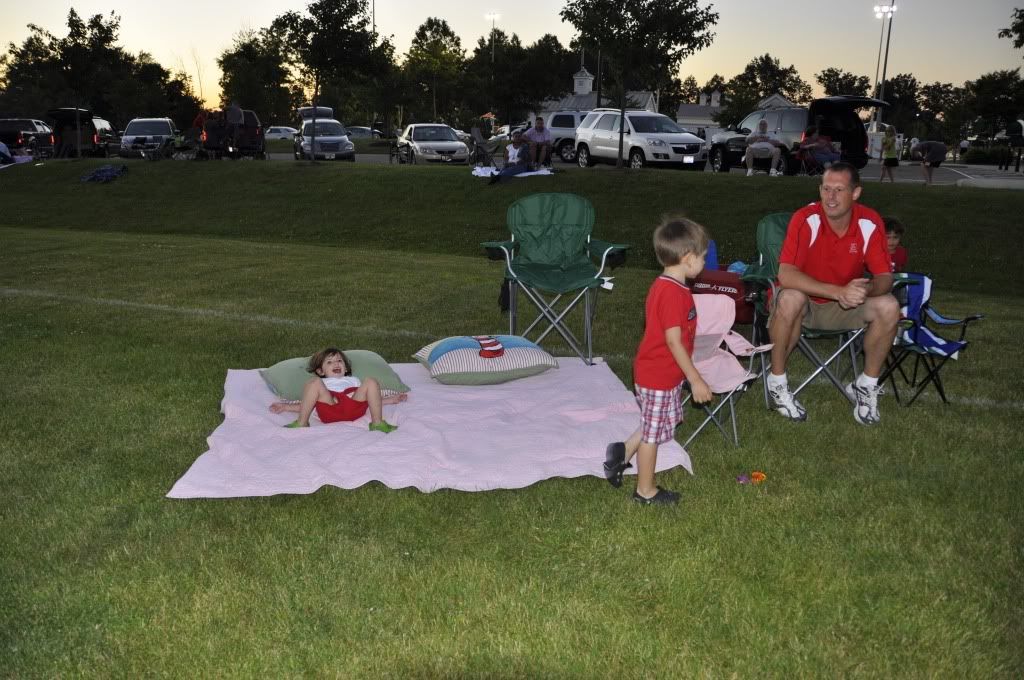
 At night we went and watched the local fireworks together.  This has been a family tradition since before Doug and I were married.  It is even more fun now that we have some children to share it with.  We set up a place on the field with some lawn chairs.

 We also bring a blanket and pillows so that we can lay down and watch the fireworks together.

We got there early and played on the playground.

Then, we laid on the blanket in the field and watched the fireworks in the field.

 To see what some other kids are doing this week, check out:

Tot School

preschool corner
 

Blog Template by BloggerCandy.com