Showing posts with label Art. Show all posts
Sunday, August 29, 2010

What we did all day...


 (Marcus is 45 months old and Sophia is 28 months old)

Here are some of our recent adventures learning and playing--


On the Learning Shelves:
*To see more information on how we use our learning shelves, please visit this tot school post here.
I rotated the following toys/activites out on the shelves this week:


1)  3D Feel & Find--  This was a HUGE hit with the kids this week.  Sophia and Marcus would just crack up laughing every time we brought this out to play.   To play this game, you put the different 3D shaped blocks into the "mystery bag".  Then, you try to feel around and find that block that matches your tile.  To make it easier, I started out with only 3 shapes that were very different from each other.  By the end of the week they seemed to need more of a challenge, so I added in a fourth shape. 

3D Feel & Find

2)   See & Spell Puzzles--  This was another activity that both kids enjoyed.  I liked this activity because they had enough letters and puzzle tiles for both kids to play at once.  I started out the week with all of the letters and puzzles out.  However, I could tell that it was overwhelming for Sophia.  She was having problems finding the correct letters.  So I put away all of the longer word puzzles and left out only the three letter word puzzles.  I also only put out the letters that worked with the puzzle.  Sophia had a lot more success this way. 
Melissa & Doug See & Spell

3)  Bead Sequencing Set--  I have to admit that I was not happy with the quality of this activity.  The wooden cards are really difficult to get into the slots.  You have to really cram them in.  No way could a child do this by themselves.  Also, we seem to be short a purple bead that is needed to complete the first pattern.  I need to contact the manufacturer...but, you know, it is just annoying that I have to do that.  The kids enjoyed this activity very much.  They didn't seem to get the idea of following the patterns, but they did enjoy building "towers" by stringing the beads.  We will continue to work on the patterns later on.  I just brought this out as an introduction.
Melissa & Doug Bead Sequencing Set

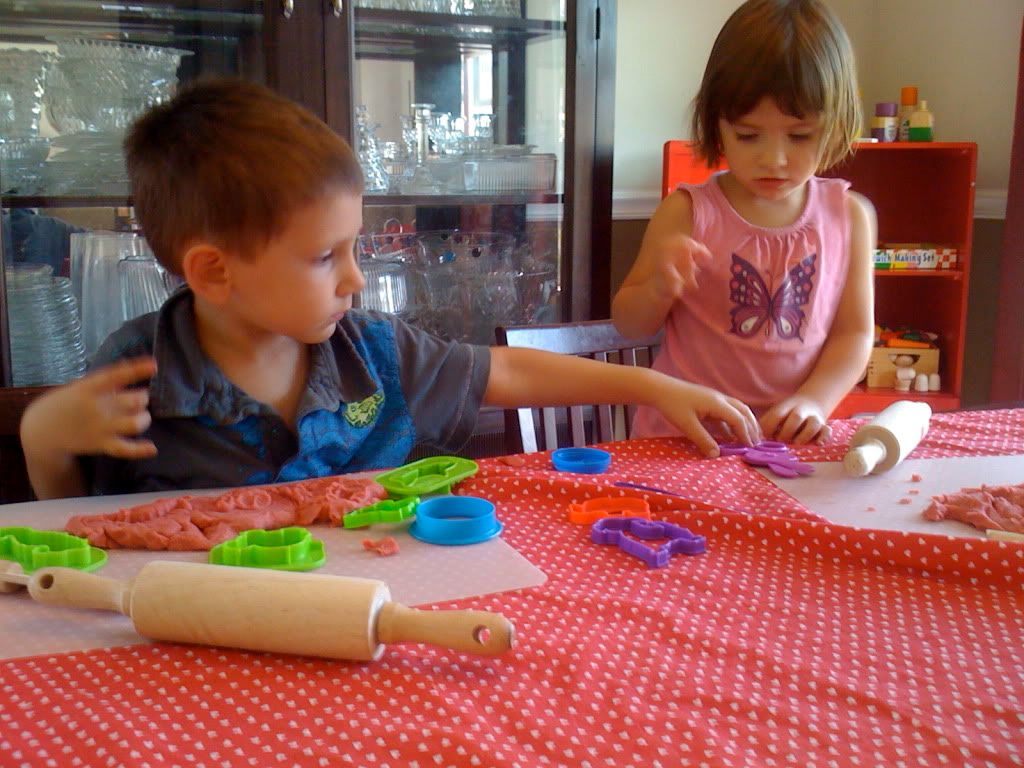
We are doing a very laid back apple unit study this month and next.  So I made a red play dough scented with real ground cinnamon to go with the apple theme.  This is my new favorite play dough recipe.  The smell is indescribably.  It has an amazing texture unlike any other dough recipe I have tried before, AND, it has a great shelf life.  My kids have left this play dough out and uncovered for hours and hours this week.  All I usually need to do is kneed it a few times, and recover it and it is good to go.  Gotta love that!  You can view the recipe here.

5)  Wedgets
The whole family had fun playing with wedgits this week.  I have to admit that Doug was much better at building with these than I was. 
I put these out on the shelf in a basket/tray thing, with a building board, and a few of the easier design cards to give them some ideas.  The kids didn't care much for the building board or the design cards.  They had a lot more fun just building with them on their own. 
WEDGiTS Deluxe Set - 30 Piece Set

Nature Study:
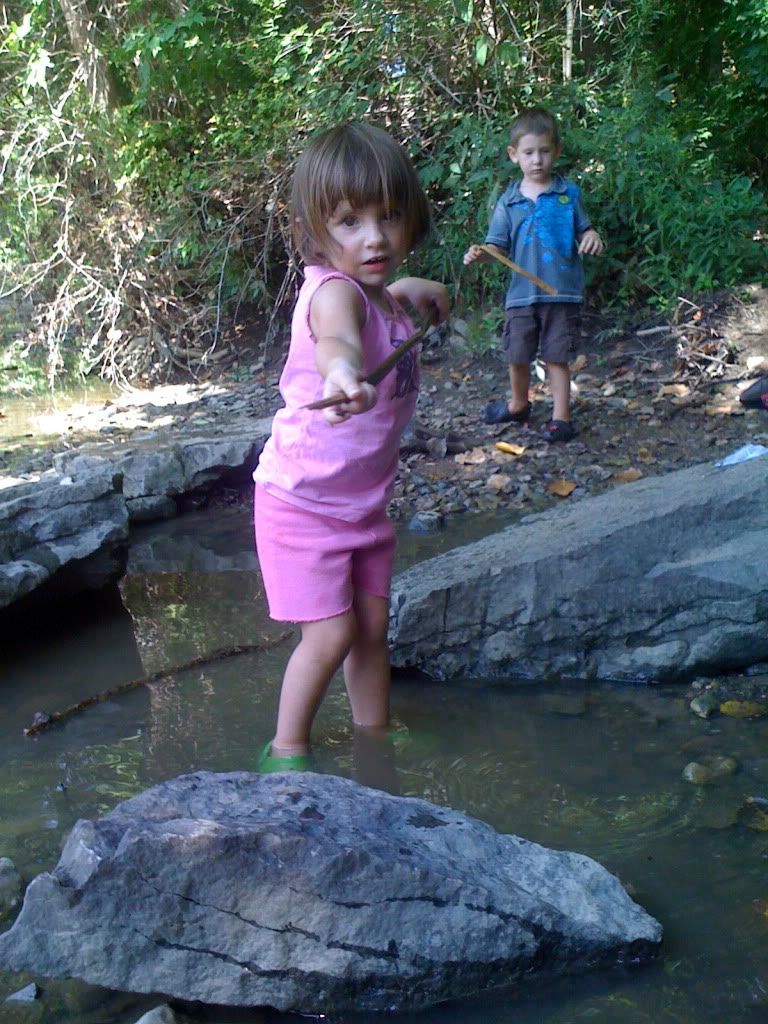
We went on two nature walks this week.  The first was throgh a wooded area and then metro garden.  The second trip was a visit exploring a stream.  You can read about our adventures and why we study nature here.
Litterature & Reading with Mommy:
You've heard of Oprah's book club right?  Well, Sophia and Marcus have their own little book club .  I let them pick the books they want to read during the week.  Here are their picks for this week.   You can check out their past choices by looking at the "weekly reading" labeled entries. 

Field Trips:
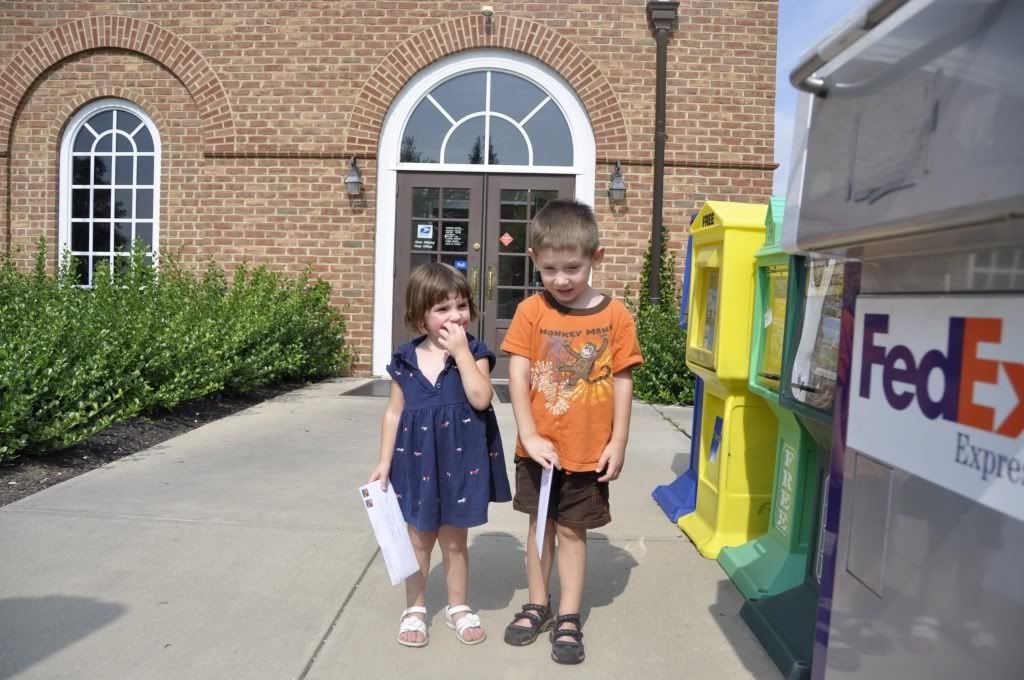
We also went on a field trip to the post office.   We actually did this a few weeks ago, but couldn't blog about it until now because I didn't want to give my grandparents a chance to read their letters before they had a chance to open them!  :)   

We were reading in the book What Do People Do All Day by Richard Scary about how post offices work. 
Richard Scarry's What Do People Do All Day
Fantastic Book! 
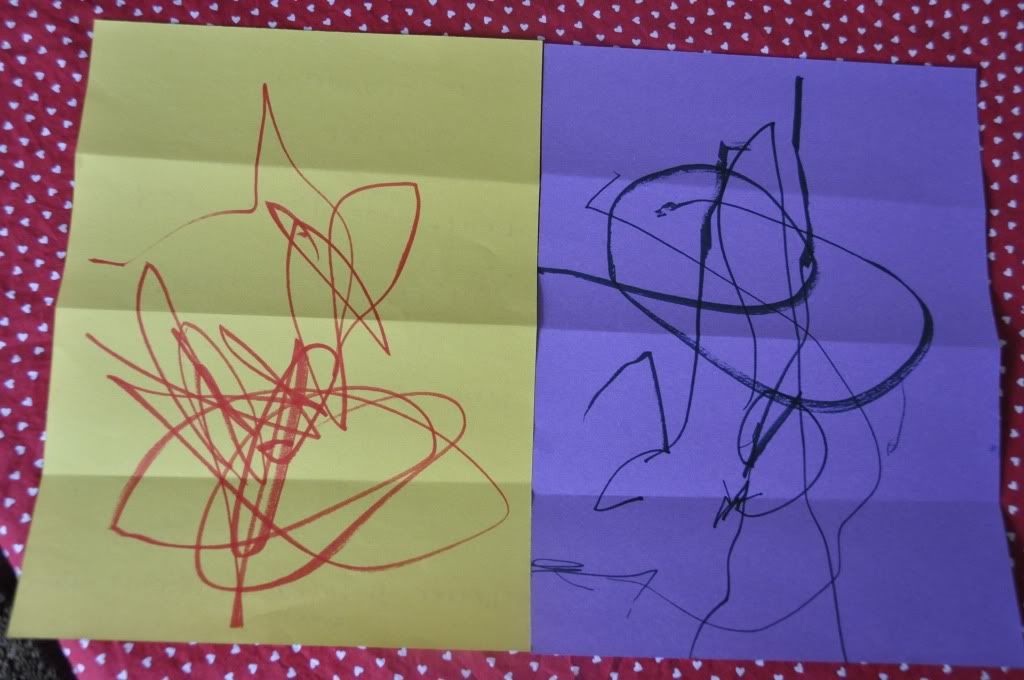
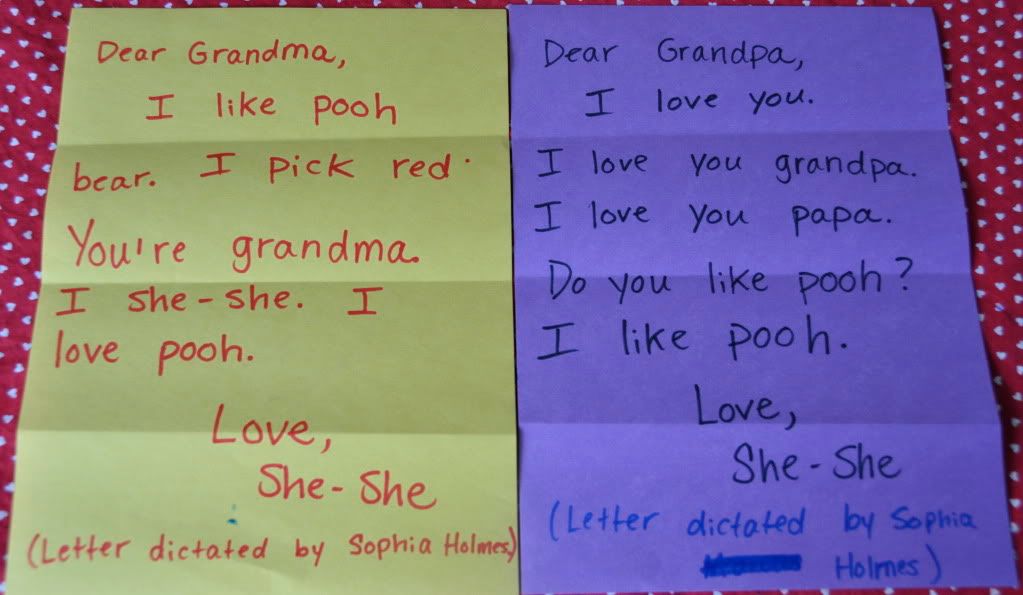
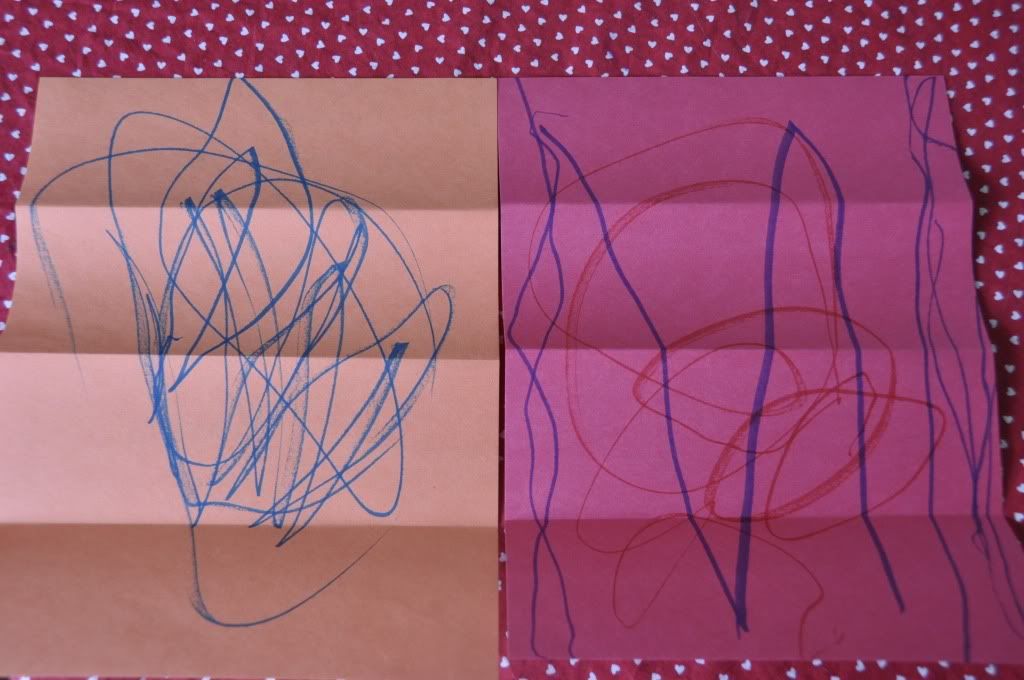
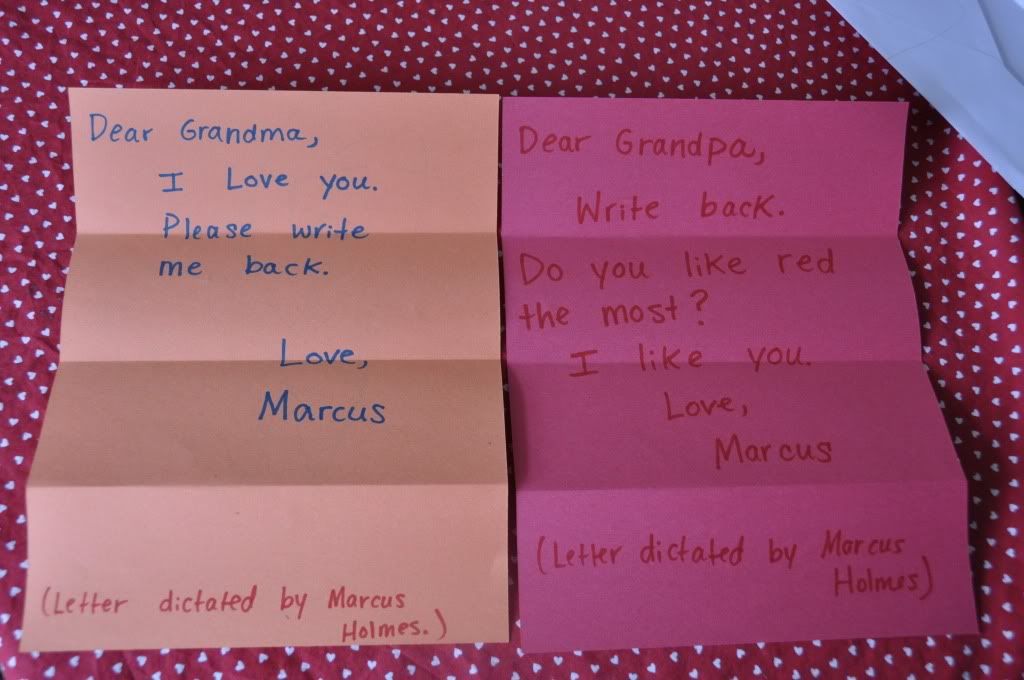
The kids decided that they wanted to receive some mail of their own.  I told them that in order to receive mail, they needed to write a letter to someone.  So we wrote to their great grandma and grandpa.   I let them pick the colors of paper and marker that they wanted to use.  On one side they drew them a picture  (Their "writing")  and on the other side they dictated a letter for me to write to them.

Here are Sophia's letters:

Sophia drew some pictures for Great Grandma and Grandpa

Sophia (aka She-She) then dictated what she wanted to write to Grandma and Grandpa.  These letters cracked me up.  My favorite line is "You're Grandma.  I She-She." I like this in a letter, sometimes we need simple reminders like this.   I also thought her letter to Grandpa was very sweet.    Also, can you tell that she likes Winnie the Pooh?  :)

Here are Marcus's letters:
Marcus took "writing a letter" very literally and literally wrote the letter M on one page.  The orange page is what he said was the "number 10".  I don't see it, but that is what he says he wrote.

Unlike Sophia, Marcus did not beat around the bush in his letters.  He got right to the point and asked his Grandparents to "write him back". 

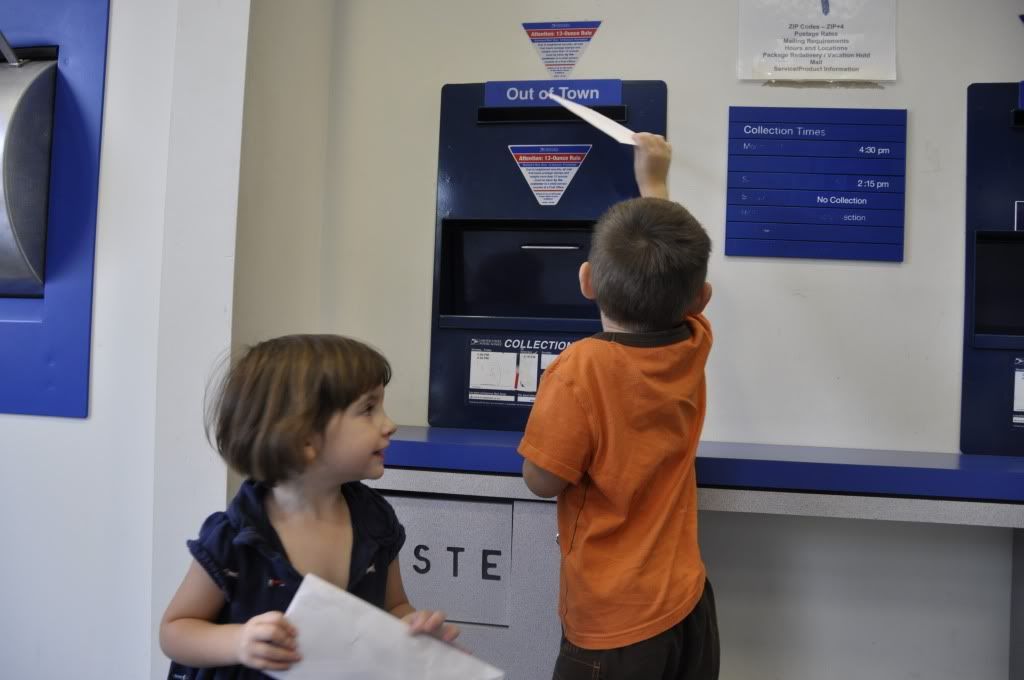
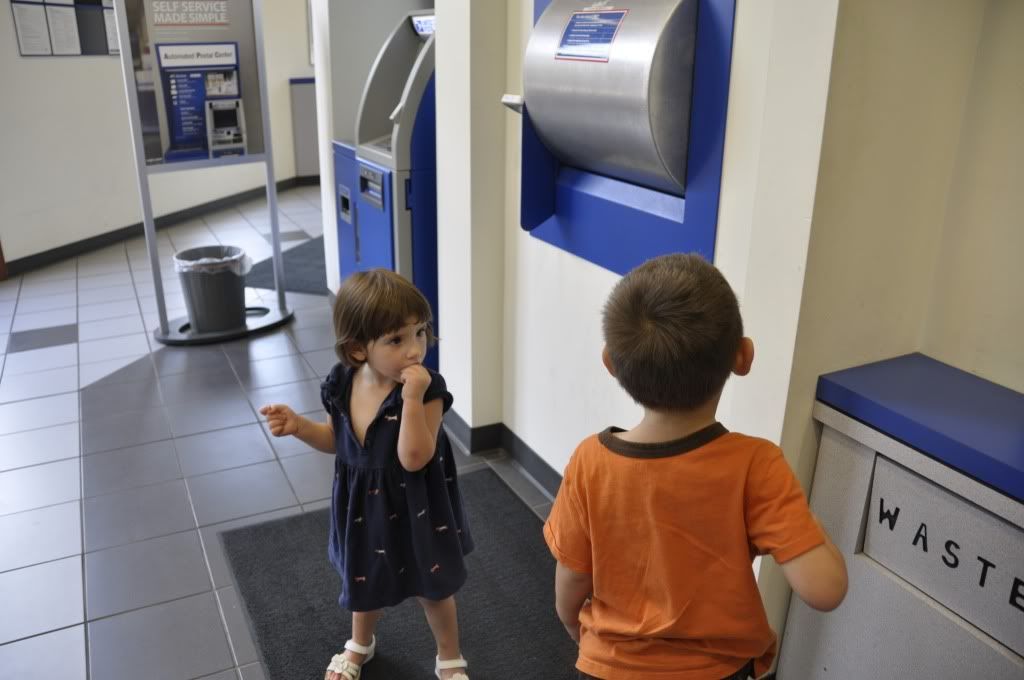
Here are some snaps of taking the kids to the post office to mail their letters.  Sure I could have just put the flag up on our mail box...but this was more fun.
Art:
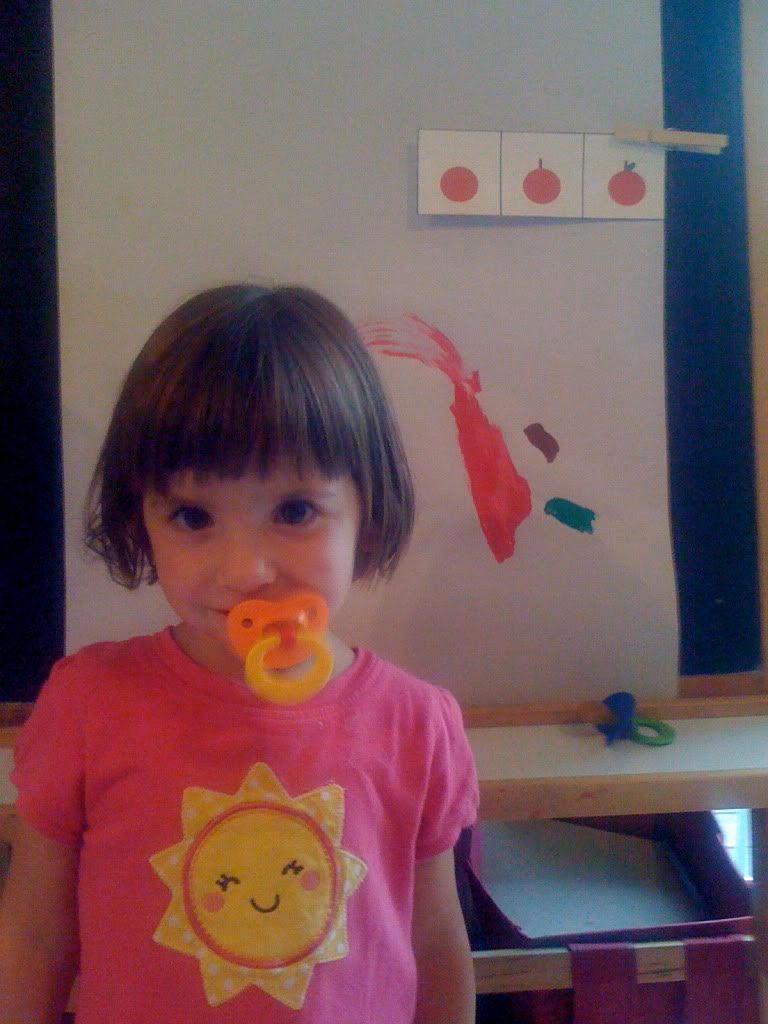
I found some Easel Art Pages on the blog "Making Learning Fun".  The idea is that kids paint simple objects by following graphic instructions.  I printed out an apple to go with our theme.  (Also becasue an apple is one of the more simple designs to print.)  Marcus showed no interest in wanting to paint on the easel.  Sophia was very eager to try this.
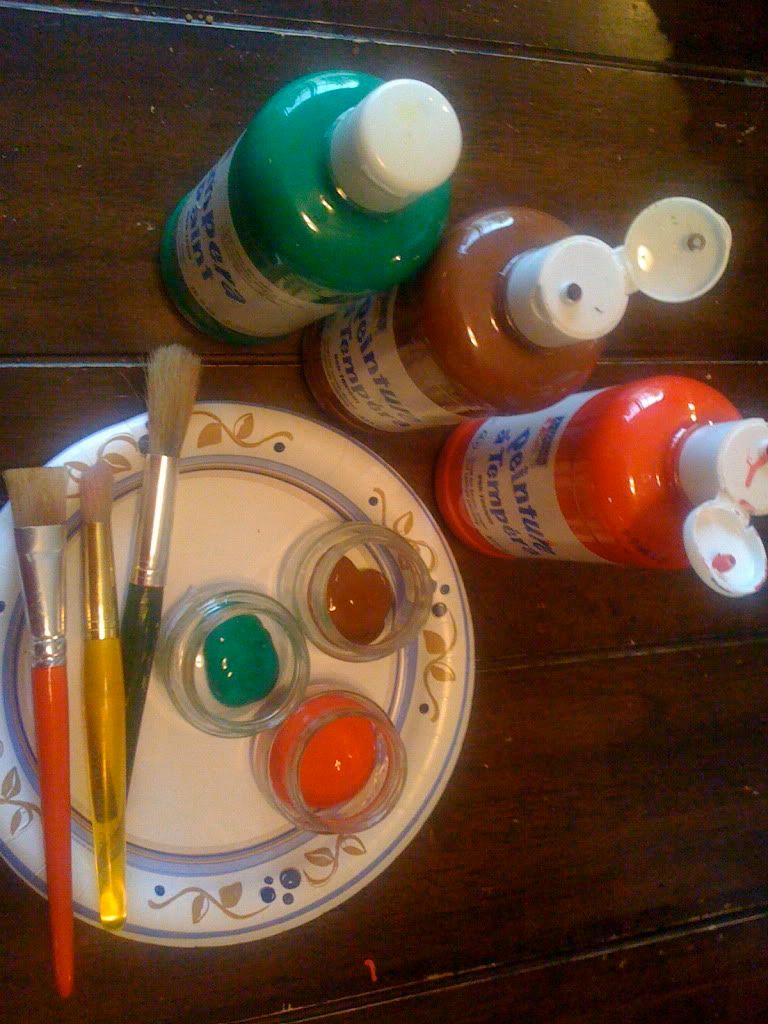
I laid out three baby food jars filled with red, green, and brown paint.  I also gave her three matching paint brushes so the colors would stay separate.  

Here is Sophia and the apple that she painted in the background.  If you can tell, she tried to paint a red circle, a brown stem, and a green leaf. 


I honestly regret introducing this art project to her.   I showed her how to follow the instruction and paint the apple.  (Which she did.)  But it seemed to take a lot of the joy out of her painting.  Before she would just go wild and cover the board with dripping paint.  But after I showed her the instructions she seemed to second guess everything she painted and wanted to know if it was "right" or not.  That kind of made me sad.  So I have decided that I like the unstructured art activities a lot more for now.  I won't be doing another one of these easel projects for awhile.  I would rather her just have fun and experiment with the process of painting at this age.

Well, if you have made it this far..  CONGRATULATIONS!!  Sorry for such a long post, but we had lots and lots of fun to share. 

Also, please check out the Ultimate Alphabet Craft Collection on my blog.  It is a collective of many, many great ideas for teaching children letter recognition and sounds.

To see what other tots have been doing this week, please visit this blog here.

Thanks for reading!!
Thursday, July 15, 2010

A is for Alien: A Unit Study on Space

At the library this week, Marcus asked to get some books out about aliens. 
I did a quick search and found stumbled upon two titles that we really enjoyed.  I ended up turning this into a light unit study.

Updated: 11/10/2010 with more ideas!  

Fun Read-Alouds:

The first book we read was Alien Invasion written and illustrated by 7 year old Benjamin Kendall.
 Alien Invasions
When I first checked this book out, I had no idea that it was written by a little kid.  However, I have to say that Benjamin Kendall is one awesome kid!  This book had me chuckling from beginning to end.  It is not outright funny, but it has this subtle type of humor that I found extremely enjoyable to read.
The story was a great one, and Marcus asked me to read it to him about 9 times this week!   I also couldn't get over his illustrations.  I am 30 and can't draw near as well as Benjamin at 7! 


The second book we checked out was Alistair and the Alien Invasion.
 Alistair and the Alien Invasion
This was another great find.  The kids both enjoyed this story and I read it multiple times too this week.  This book also had my chuckling.  My favorite part is the illustration of Alistair ironing his socks before he leaves for space.

History:  
For history, we read Aliens are Coming!
Aliens Are Coming!: The True Account Of The 1938 War Of The Worlds Radio Broadcast
This is a true account of the 1938 War of the Worlds radio broadcast written for children.  This book did a great job describing what life was like in 1938 and role that radio played in society. 


Projects: 
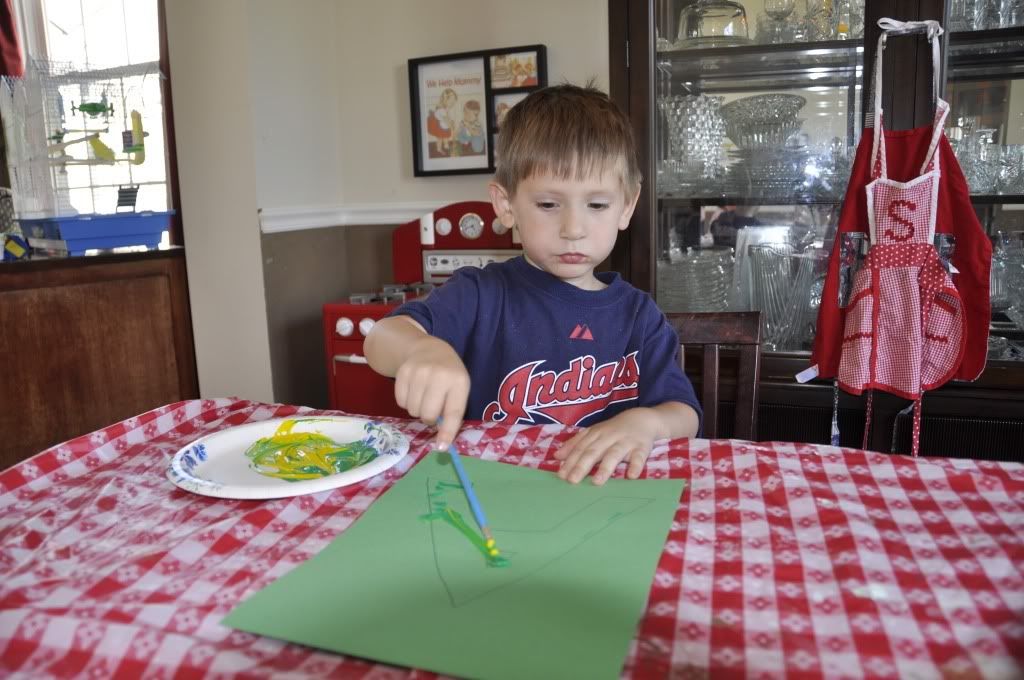
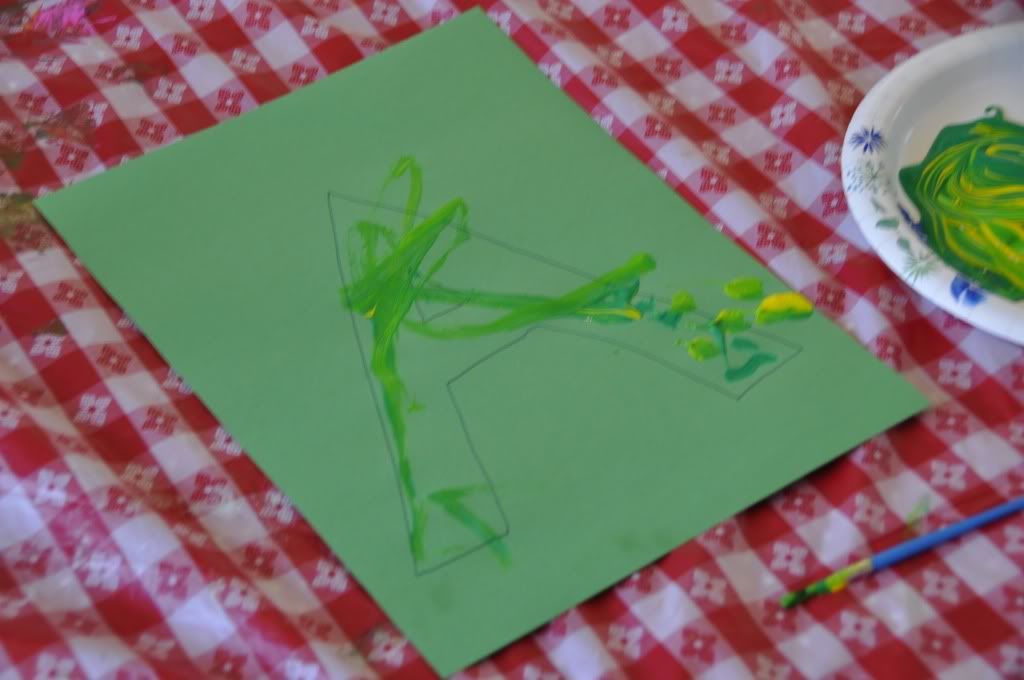
After reading our alien books, I remembered seeing a Alien Letter craft on the blog No Time for Flashcards.  So I quickly pulled out all of the stuff to make it and Marcus made an Alien shaped letter A.
First I drew an A on a piece of construction paper and he painted it.
Without any prompting from me, I noticed that he was just naturally tracing the shape of a letter A with his paint brush.  This is what the "A" looked like when he was finished. 
After that we cut out the A and pasted it to another sheet of paper.  Then we added some eyes, a mouth, and antenna.  It turned out very cute I think!
I then asked him if he wanted to add the page to the alphabet book he is making.    (More about the alphabet book in another post.) However, he said that he wanted to use it to pretend to be an alien.


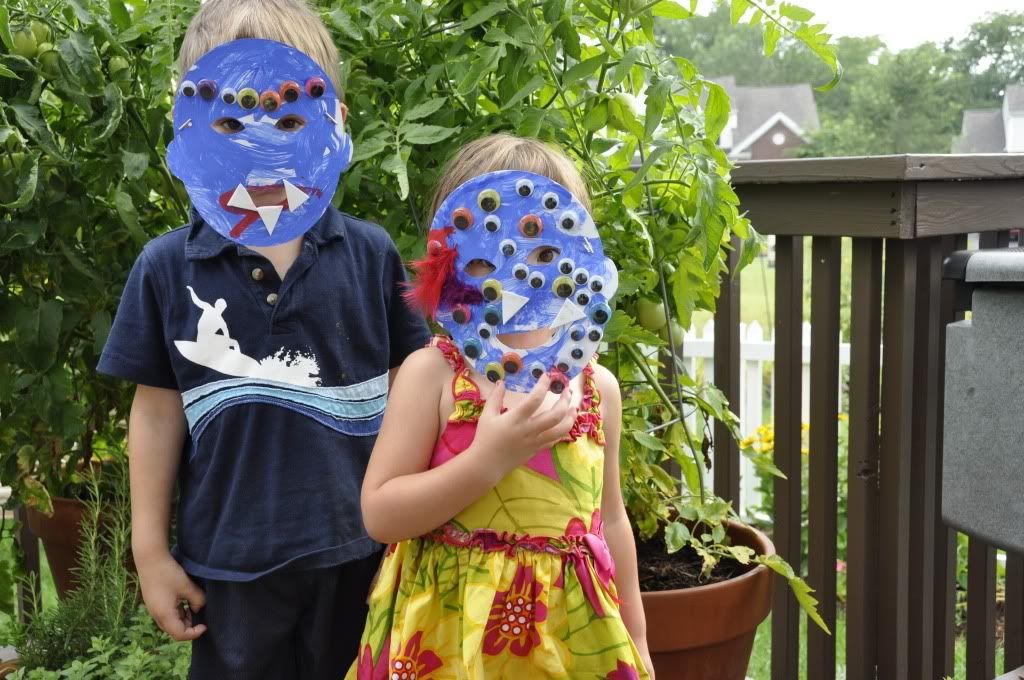
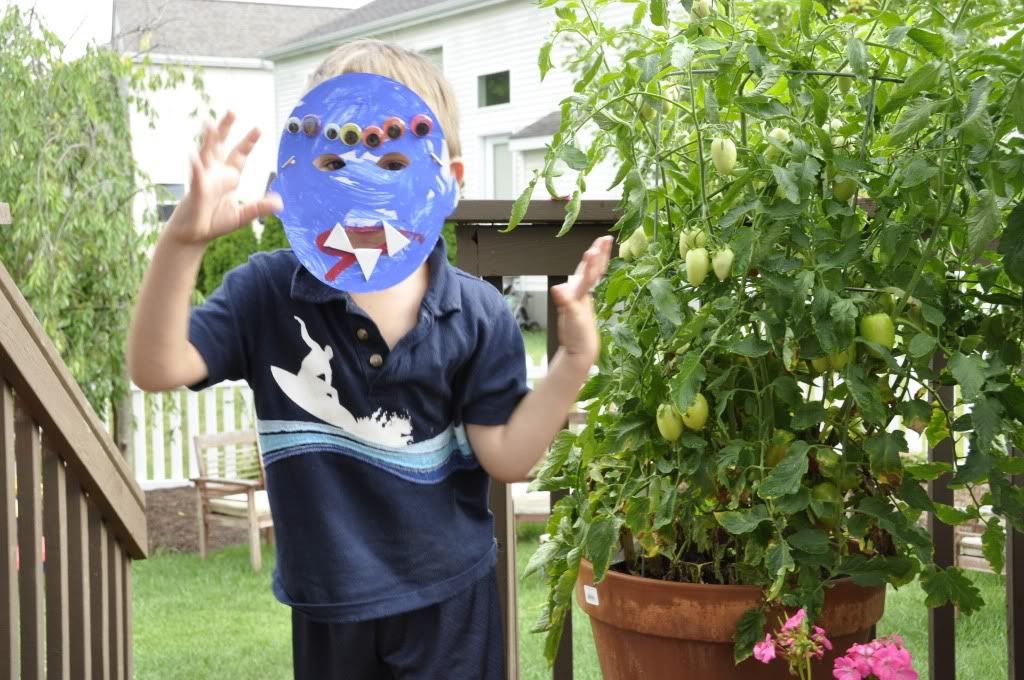
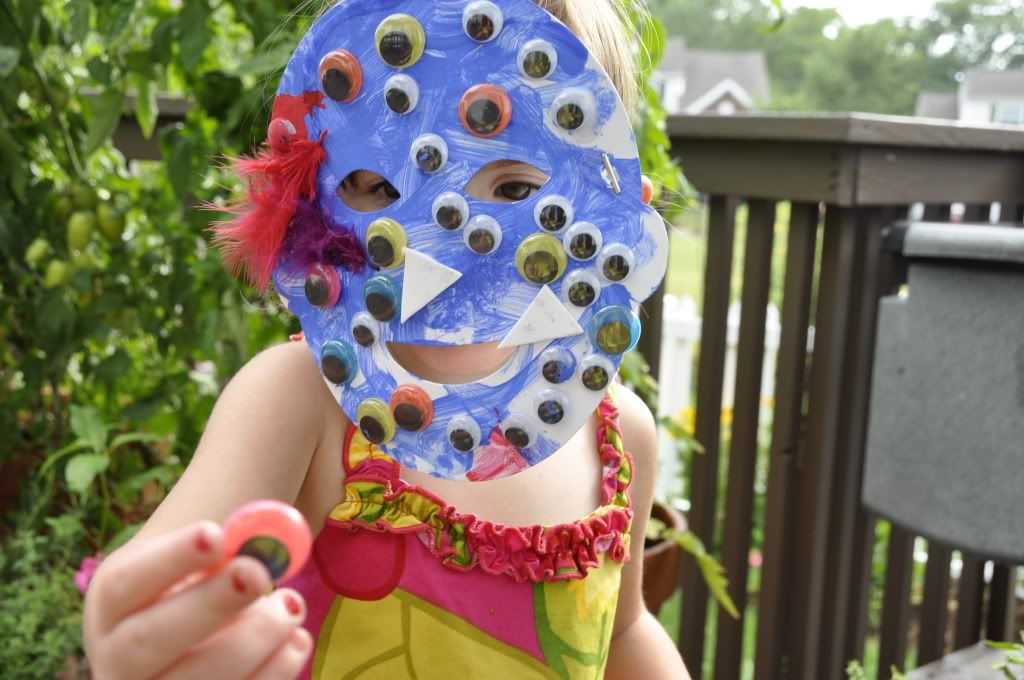
I told him that we could do better than that...we could make actual Alien Masks!!!  This wasn't a craft project I planned.  I just happened to remember that we had some things on hand that would work for alien masks. This is one of the reasons I like to have lots of generic craft supplies on hand.  Sometimes they make for very enjoyable impromptu projects like this.  And things always feel so much more natural when they are child-led and driven.  As opposed to some huge, planed out thing that I try to get the child excited about doing.

So, what did I have on hand?  

Well, Michael's (one of my favorite places in the world to shop) has this aisle of paint-able items that are made out of very thick and heavy card-stock.  They have full sized swords, crowns, animals, dinosaurs, feet...all sorts of things made out of card-stock.  They usually come in packs of 6-12, and they are fairly inexpensive.  I often stock up on these just to have around the house when I need a craft project for the kids to do.  You can paint them, color them, decorate them with jewels, glitter, decoupage, stickers...you name it.

I actually have an entire bin that is labeled "paper things for the kids to paint".  You can see my stash here.

Well, one of the things that we have are masks.  (You can see them sitting on top in the picture.)  Again, I wasn't exactly sure what I would do with these when I bought them.   I will tell you one thing, I didn't expect that we would turn them into aliens!

This was an open-ended art project that the kids totally made and designed themselves.   I put the following supplies out on the table for them to use as they wanted.


Supplies:
1)  Blank card-stock masks (availabe at Michael's)
2)  Purple and Green paint
3)  A bowl of Googly Eyes
4)  Teeth cut out of craft foam left over from our Aligator art project
5)  Craft feathers
6)  Pipe Cleaners  (antenna?)
7)  Paint brushes
8)  School Glue

I love watching my kids at work.  This is one of the reasons I love open ended projects like this.  I love to observe how they each interact with the supplies given.  This is what I observed as they were working with the various supplies:

Paint:
Well, after I laid out the green and purple paint the first thing Marcus did was ask for blue and red paint.  I said, "Aren't aliens green?"  He said, "No, I want a blue alien".  So I gave him some blue and red paint.  Shortly after Sophia said, "I want blue!"  So we had two blue aliens.  :)

Marcus also wanted to paint his aliens mouth red.  However, it gave his alien a very scary look because it kind of looks like blood!  I don't think that was his intention...although maybe it was!  


Eyes:
Marcus made a neat row of eyes on the forehead of his alien.  
Sophia used every remaining googly eye in the bowl to cover her alien.  (Seriously!  She used up the supply of googly eyes!)


Feathers:
Sophia added feathers, but only two, and only to one side of her alien's head.
Marcus didn't want any feathers on his alien.

Pipe Cleaners:
Neither child attempted to use pipe cleaners in their design.

Teeth:
Each child certainly wanted their alien to have lots of sharp teeth! 

After our masks dried we danced around in them and played alien for quite awhile.
Marcus and Sophia also thought it would be fun to jump out and scare Daddy with the masks when he got home from work.  I swear I had nothing to do with giving them that idea!  ;) Poor Doug!

Uh-oh....an alien lost an eye.  Luckly she has many back ups!


Sensory Exploration:
For sensory exploration we played with moon sand.  Moon sand is a great material that even adults love to play with.  It has a really cool consistency.  It is like sand that can be molded and hold its shape.  The con is that it can be quite expensive.  Here is a great moon sand recipe that you can make from home.
Moon Sand Two-Pack 10 Oz Space Blue & 10 Oz Galaxy Green
To make a sensory box for play, I suggest adding in some minature space toys and astronauts. 


Other ideas for sensory play are to provide white playdough.  (This is my favorite play dough recipe.)  Have your child roll the dough into a ball and use an eraser tip to create moon creators.  For even more fun, put out your miniture astronauts and spaceships and have them explore the moon.  Add rocks (astroids) and have those crash into the planets and smash them.  (Can you tell I have a little boy?!) 


Nature Study:  Make a Lunar Calendar
An easy thing for preschoolers to observe in space is the moon.  Take the kids outside at night and have them observe the shape of the moon throughout the month.  Have them draw the shape of the moon and create their own lunar calendar.  DLTK has a some great ideas that makes it possible for even little kids to re-create the shapes of the moon that they observe. 

Making Learning Fun also has some nice moon sequencing cards that can be used to reinforce your observations. 

Other Science Ideas:
With our local preschool co-op, we took the kids outside and we built a scale model of our solar system using various balls as props.  This really gives the kids an idea of how large our solar system is.  We used a 16 foot wide sun made out of old yellow sheets sewn together.  For the rest of the planets we used various balls that were aproximatly the correct diameter.  If you want to replicate this experiment at home, you can use this cool calculator to determine the sizes and distances of your "to scale" model. 

Math:
We also had some Montessori math items on our shelves this week.

We used star counting cards and mini star erasers. The kids identify the number and then count out the appropriate number of start erasers for each number. 

We also used these rocket counting cards.  With these cards, the child counts the stars and then puts a clothes pin on the correct number.  The kids didn't seem to be very interested in these, so we will probably put these out until they are a bit older. 

Field Trip:
We happen to live near an AWESOME children's science museum that has a space exhibit.  If you don't have something like that, you could take your kids to visit a planetarium.

However, even if you don't have any of those things, how wonderful would it be to just take the kids out at night and star gaze.  Talk about making memories!  How special would it be to stay up late one night and just gaze at the stars together. 


Go-Along Books to Put on the Reserve List:


Other links to become Attached to:
The  Ultimate Alphabet Craft Collection for the Letter A.
STart (A Story + Art)
Tot School (See what other toddlers are doing)
Preschool Corner (See what other preschoolers are doing)
Paint the Moon with Puffy "Moon Paint"
Making Learning Fun (a host of Space related ideas for learning!)
Kid Soup Space Ideas (this is a subscription only site.  However, you can get a free trial.)  
More Books About Space


Thanks for reading!!
Sunday, July 4, 2010

Independence Day Craft

We put together a VERY fun firework craft the other day.  This idea was inspired by a really cool blog post done on the blog Casa Camacho.  We decided to put our own spin on the idea.  The kids love crafts like this because of the sensory aspect of squishing wet paint in their palms.  I love craft ideas like this because it captures the size of their little hands in their art.  This is sure to be one craft project that makes it into the memory box.
Here is how to make it:

1)  Gather your supplies.  You will need:
  • Black Construction Paper
  • White Paper
  • Glitter Glue in various colors (we used red, white, and blue)
  • Washable Tempera Paint (we used red, blue, and silver sparkle pain
  • Safety Scissors
  • Glue Stick
  • Little Hands  (The most special of all of the tools!) 

(For quick and easy clean up I recommend getting a bucket of warm soapy water out with a couple of washcloths before you begin.  Then, as the kids finish, they can just dip their hands in the soapy water.  This makes cleanup quick, painless, AND fun!) 

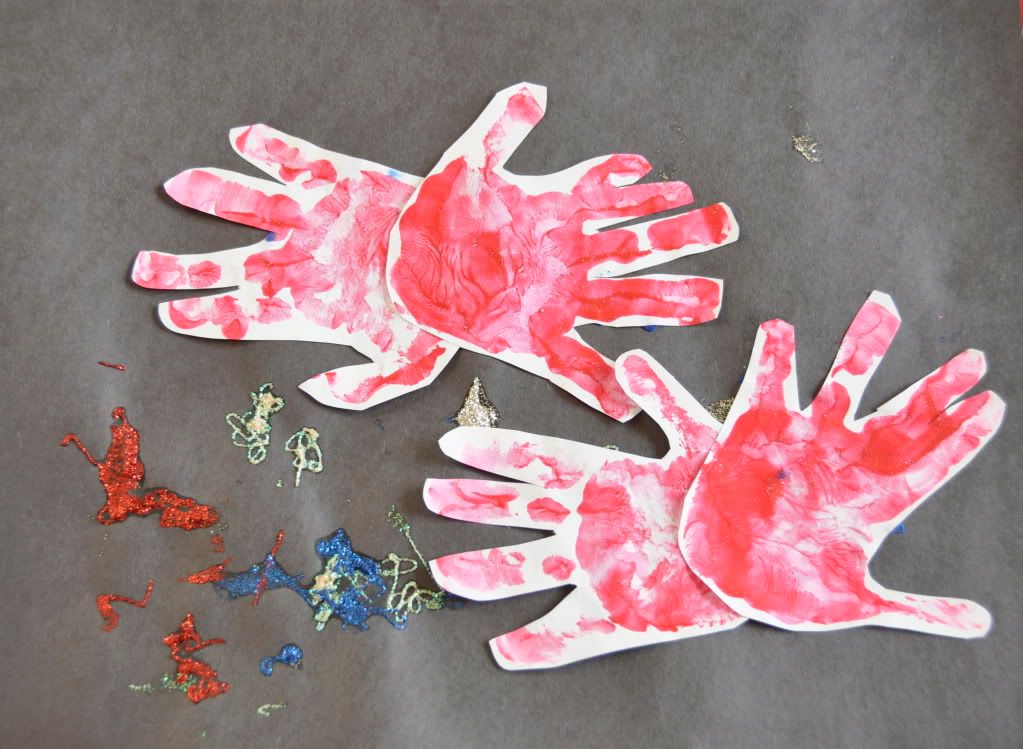
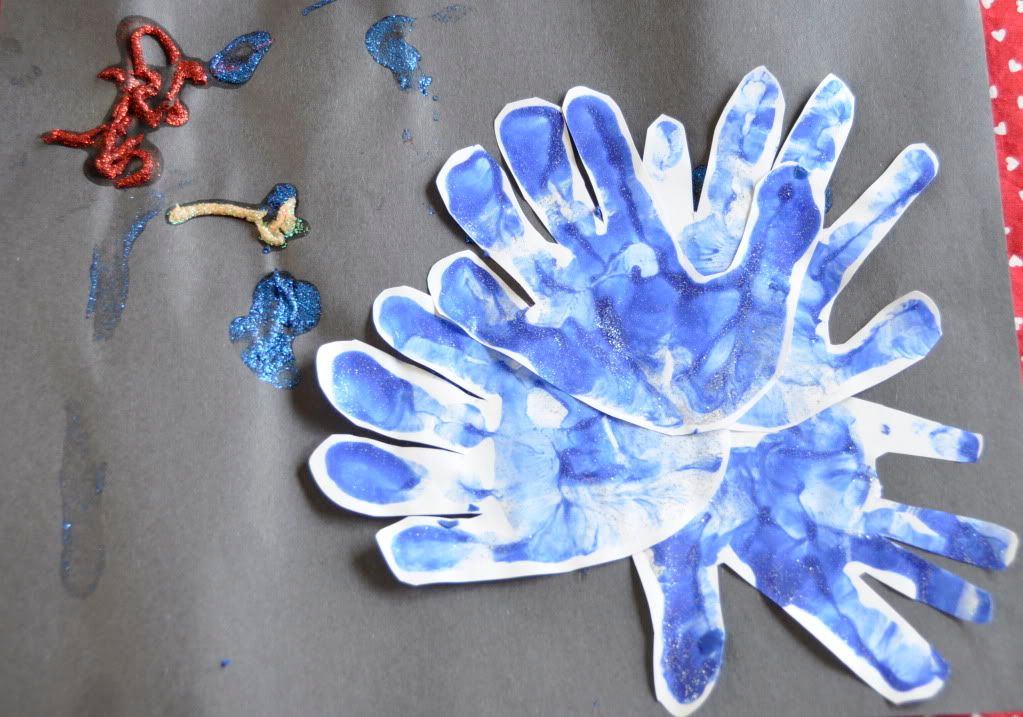
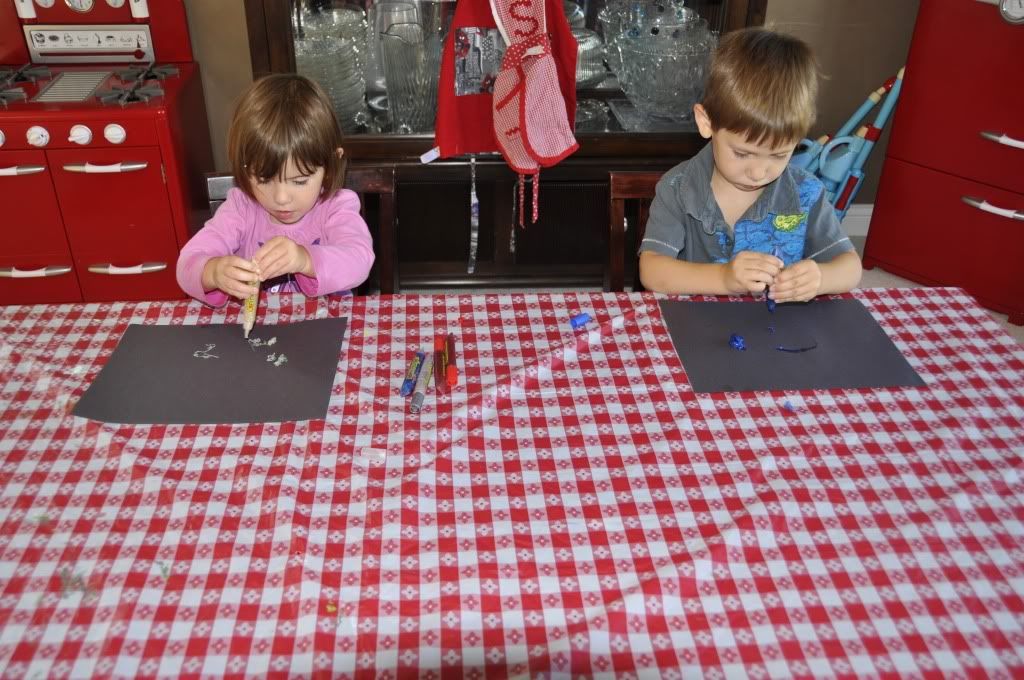
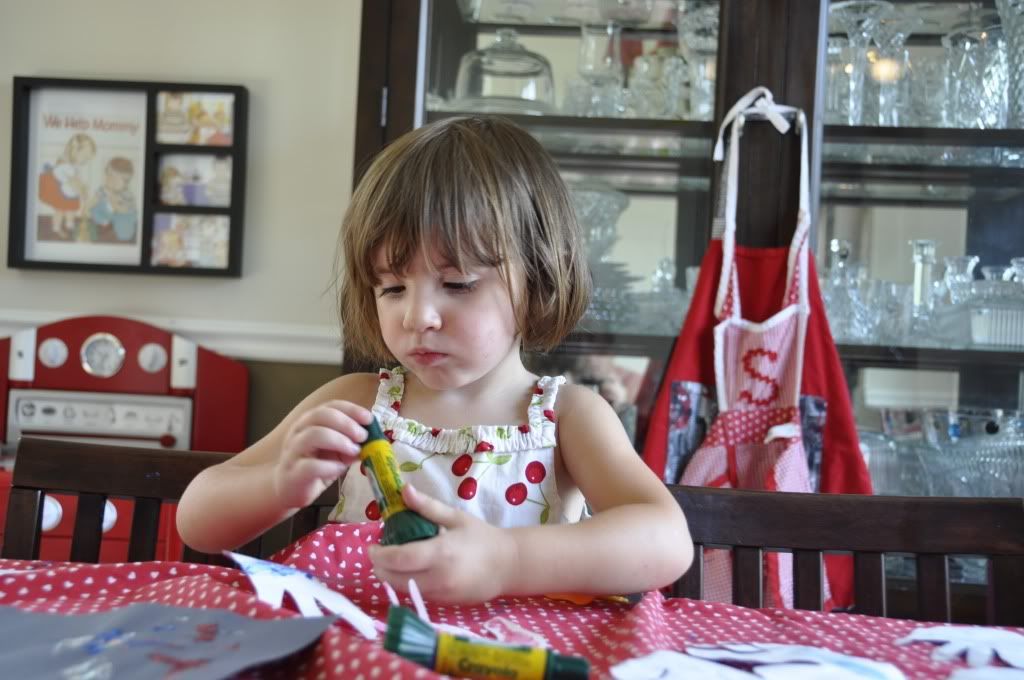
2)  Decorate your night sky (black construction paper) with the glitter glue.  Fireworks come in all shapes and sizes.  Some are the big explosions while others are just pretty sparkles in the sky.  Our glitter gave us the pretty sparkles.  
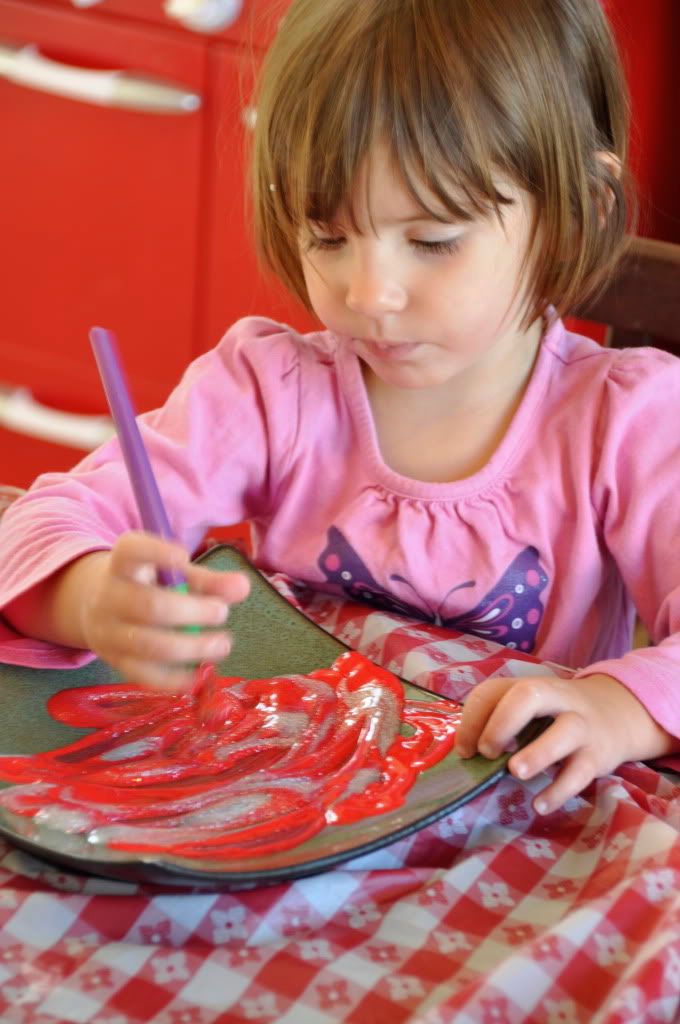
 3)  Set aside your night sky (black paper) and allow to dry.  Next, mix up your finger paint.  Sophia mixed red and silver glitter together.  Marcus mixed blue and silver glitter together.
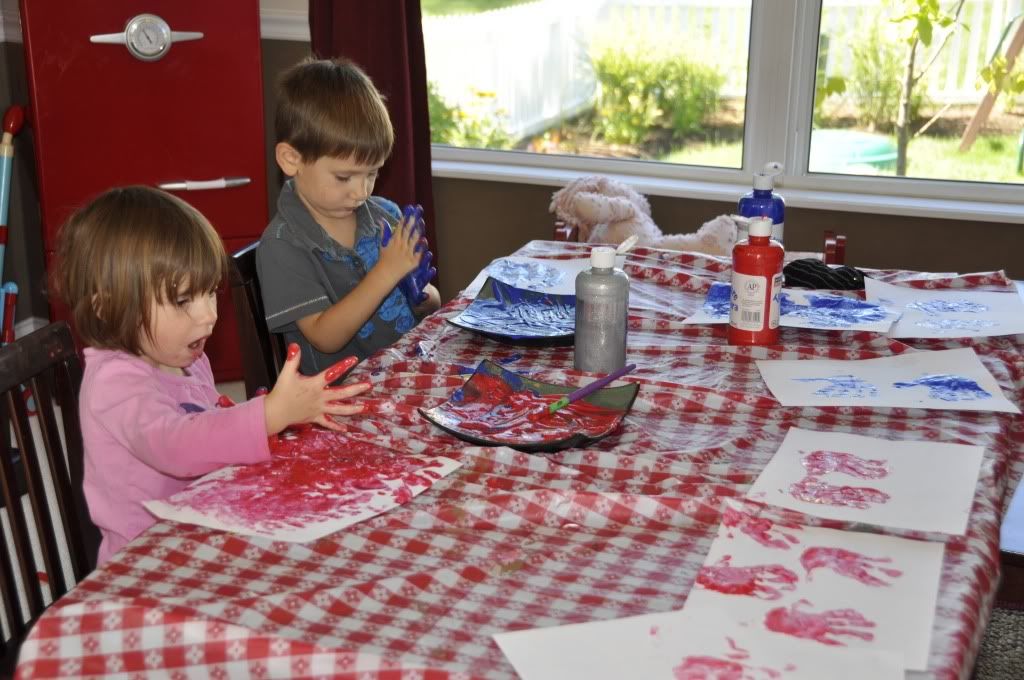
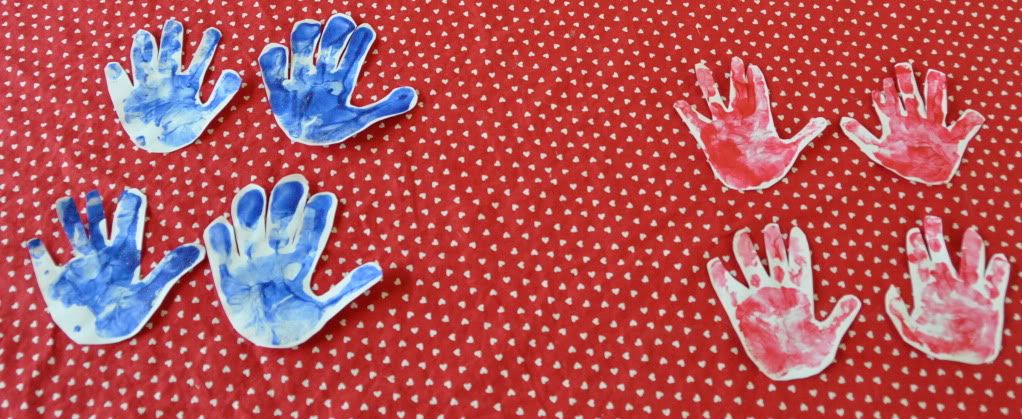
 4)  Dip your hands in the paint and then try your best to make a couple of hand prints on the white paper.  You will need at least 2. 
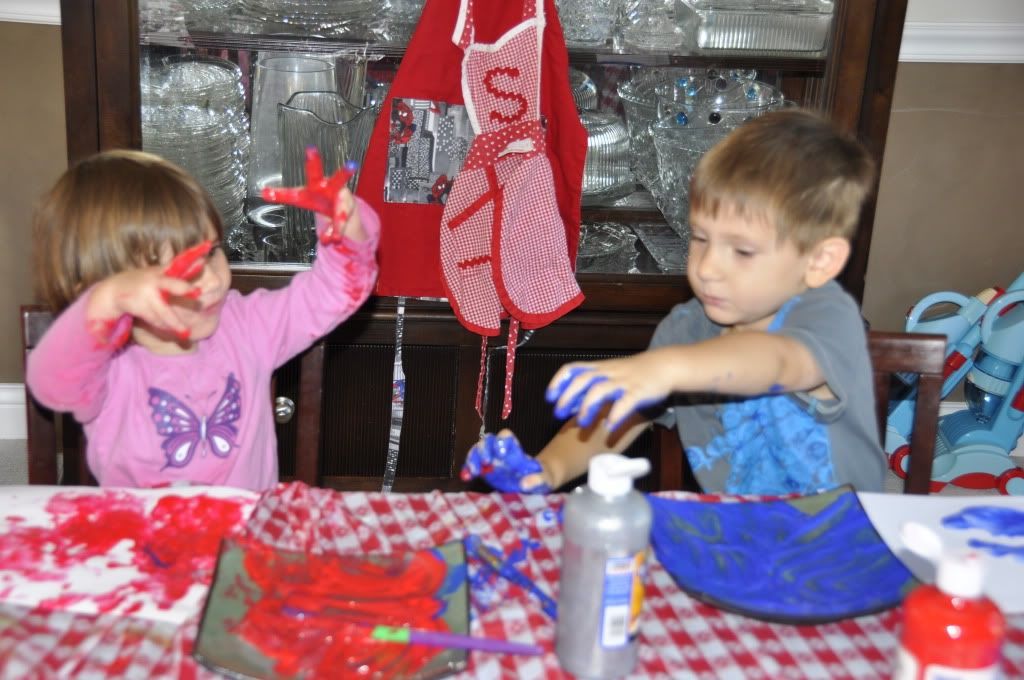
 I had originally planned on having the kids wash hands and switch colors.  (That way they would each get one blue firework and one red firework.)   However, they didn't want to stop and wash their hands.  So I just let them have fun and finger paint on some blanks sheets of paper for awhile. 
 5)  Allow hand-prints to dry.  When dry cut them out.
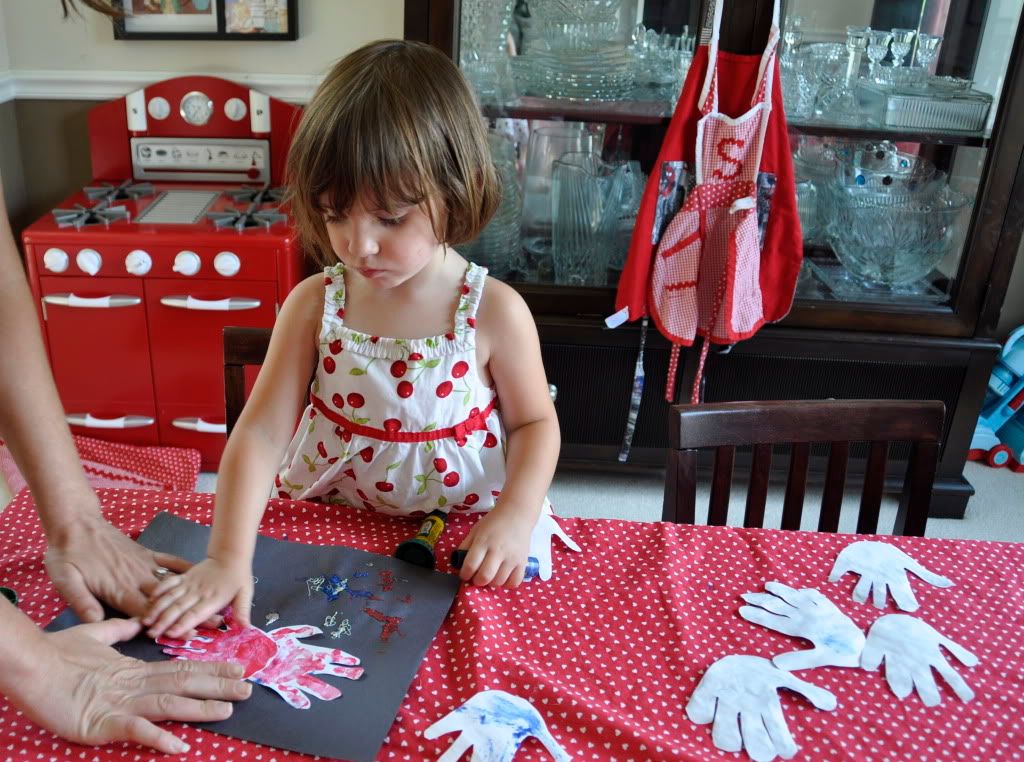
6)  Glue the hand-prints to your night sky. 
At this point, Marcus was no longer into using the glue sticks.  So he "outsourced" his gluing to his more than willing sister Sophia.  Sophia loves working on craft projects.  Marcus likes the part where he can get really messy, but easily tires of the whole gluing and cutting thing.  I like it that they each have such different likes and dislikes. 

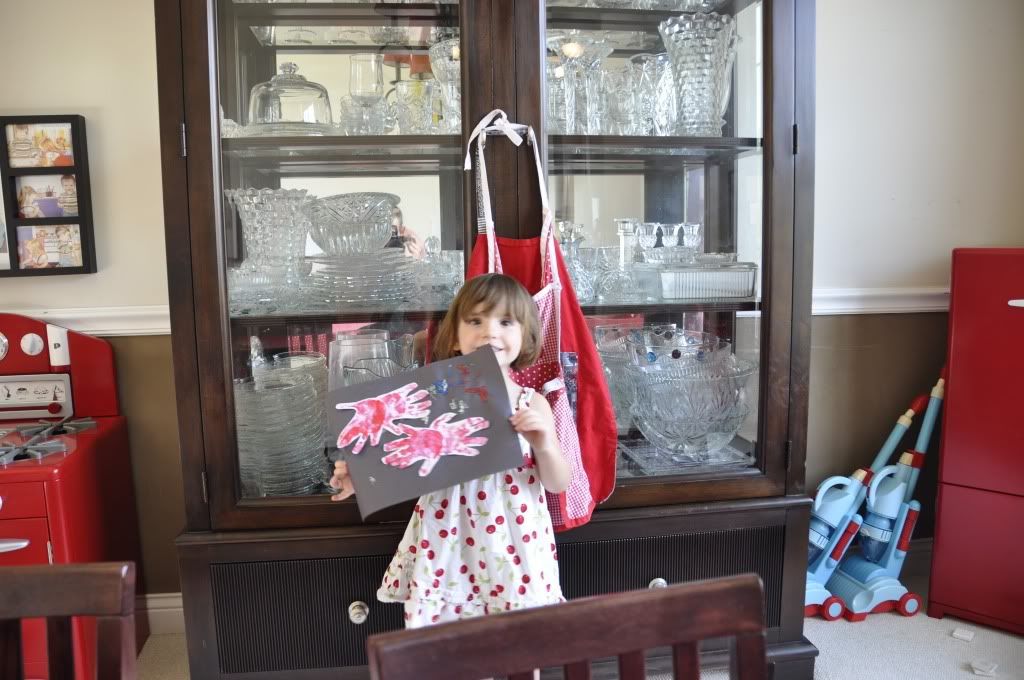
 7)  Hold your completed project up proudly for all to see!  


Blog Template by BloggerCandy.com